I just got an Osbone 1, in mostly-working-condition. Let's have a look at it.
Teardown
I bought this from a seller on the local used item website, and while it's very yellowed in large swaths, it does appear to work! It was demoed to me working, so I at least had some confidence it wouldn't blow up when I plugged it in.
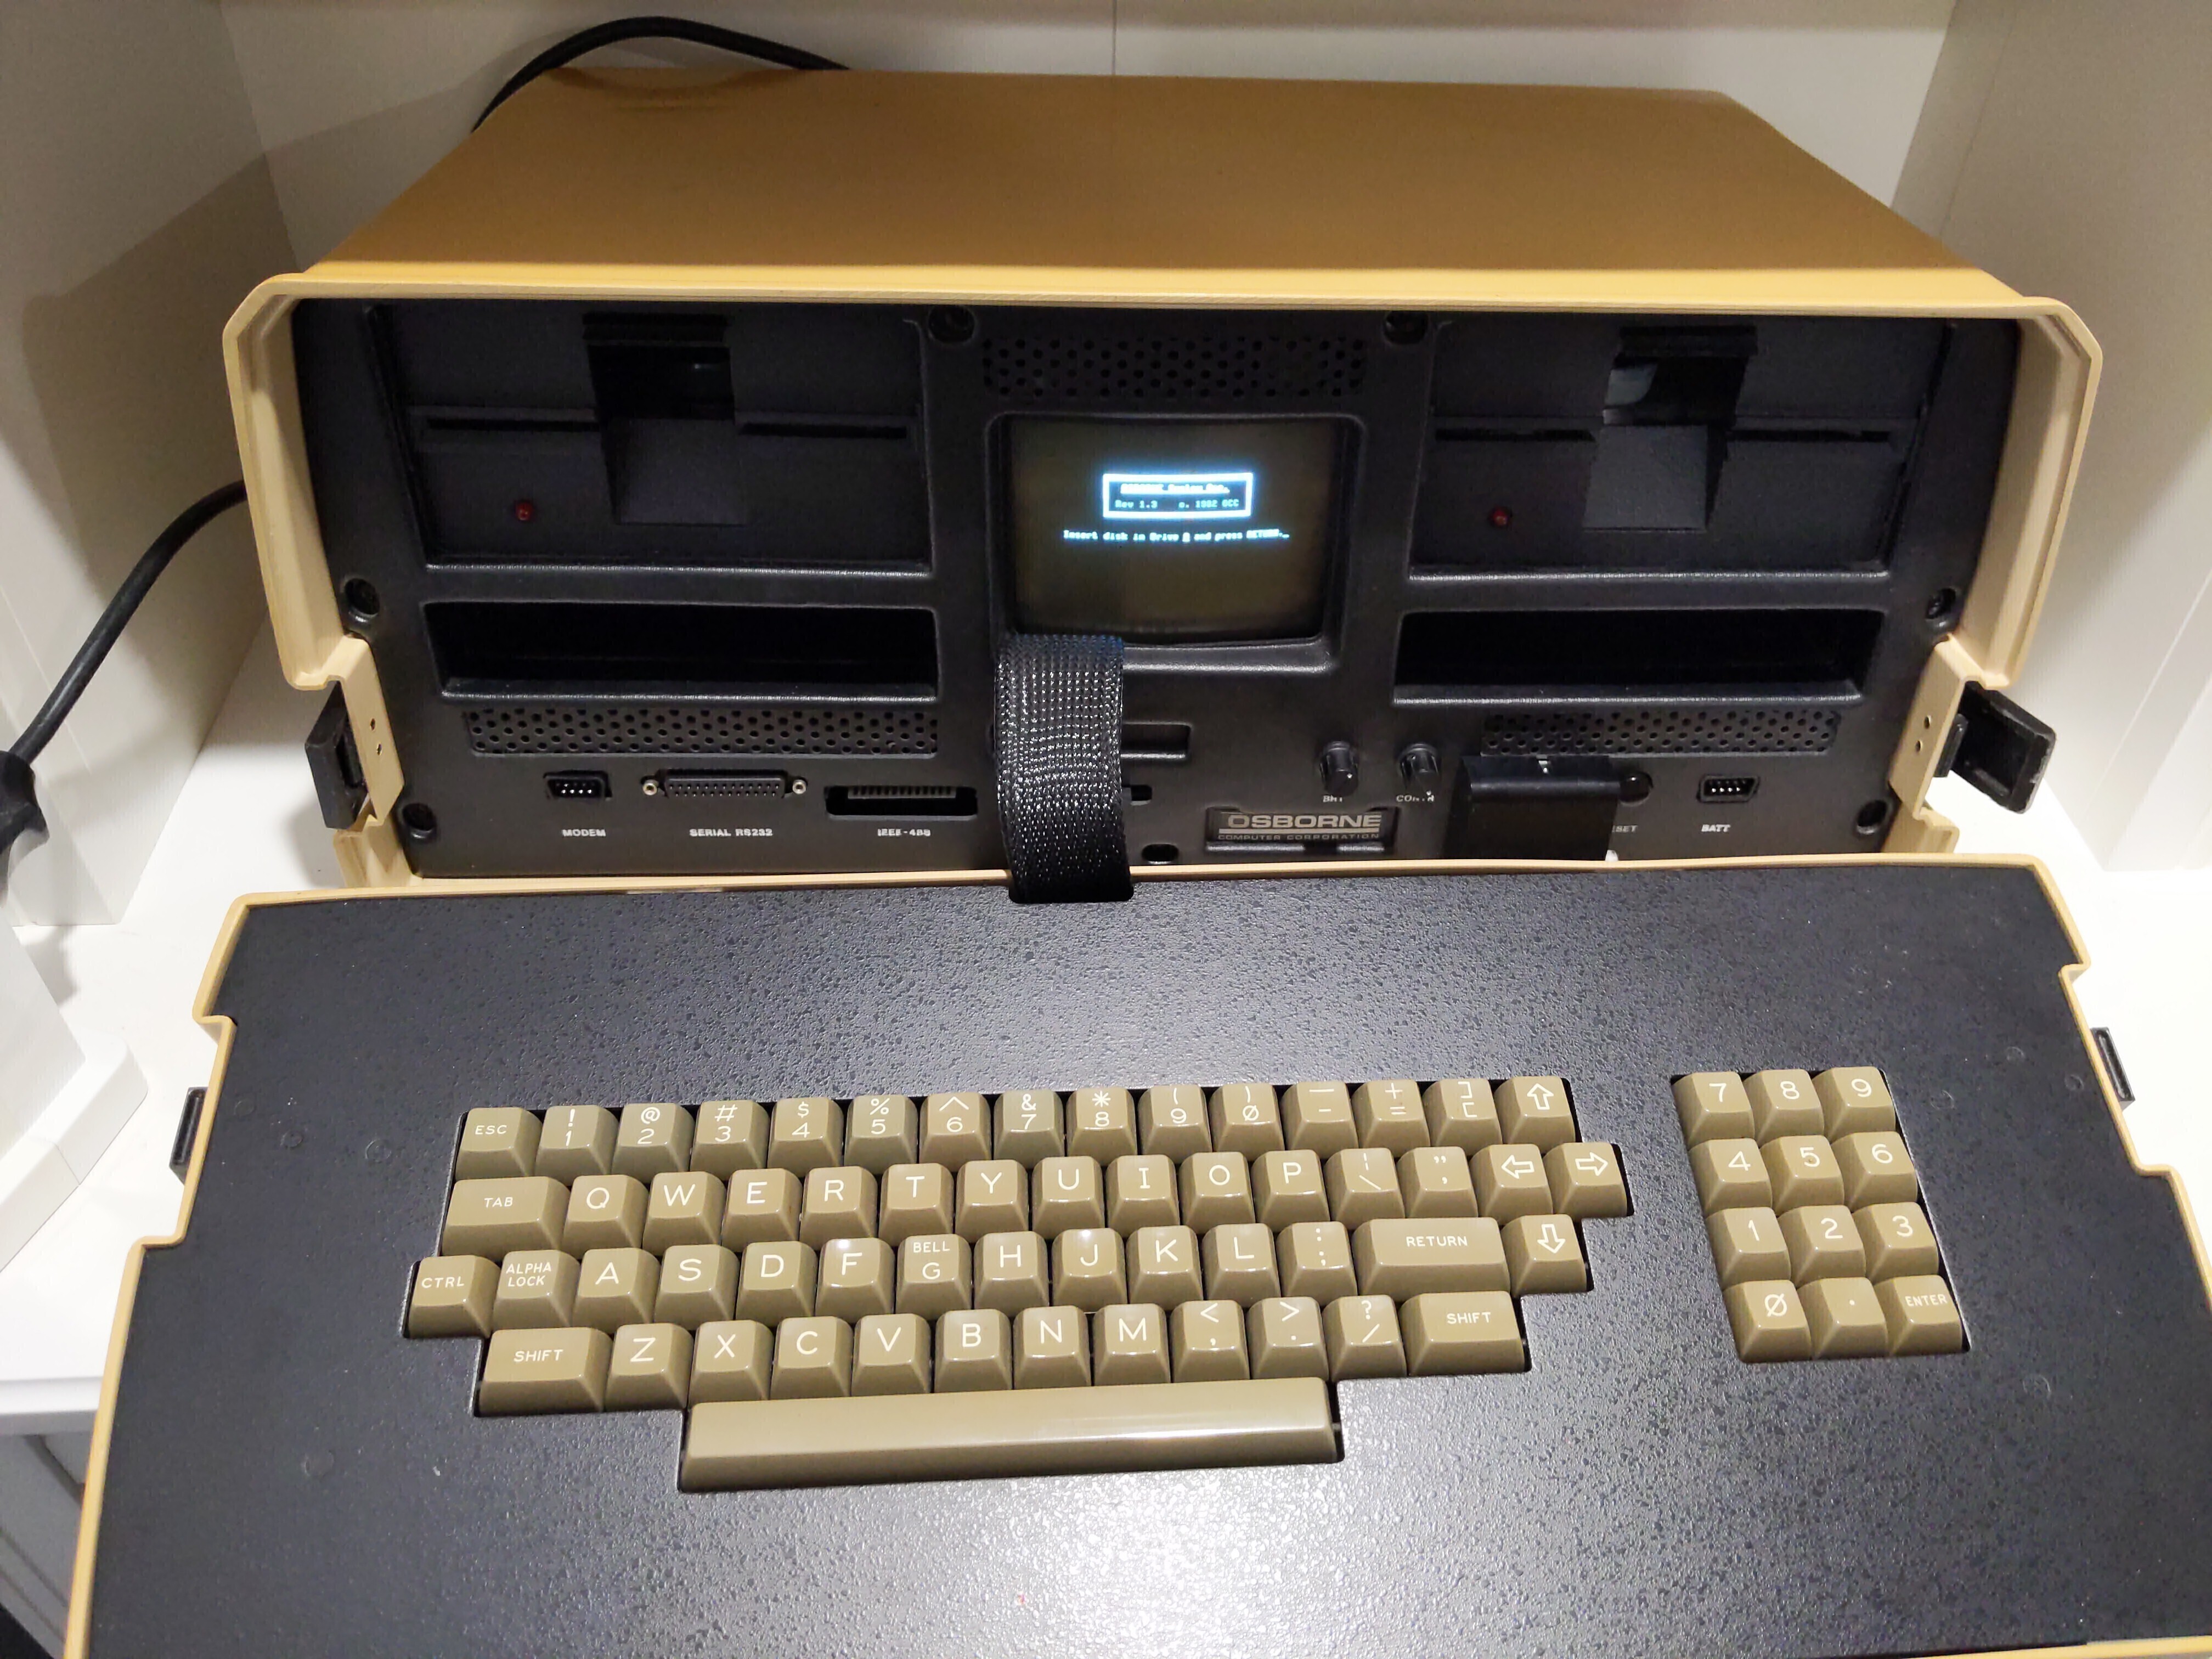
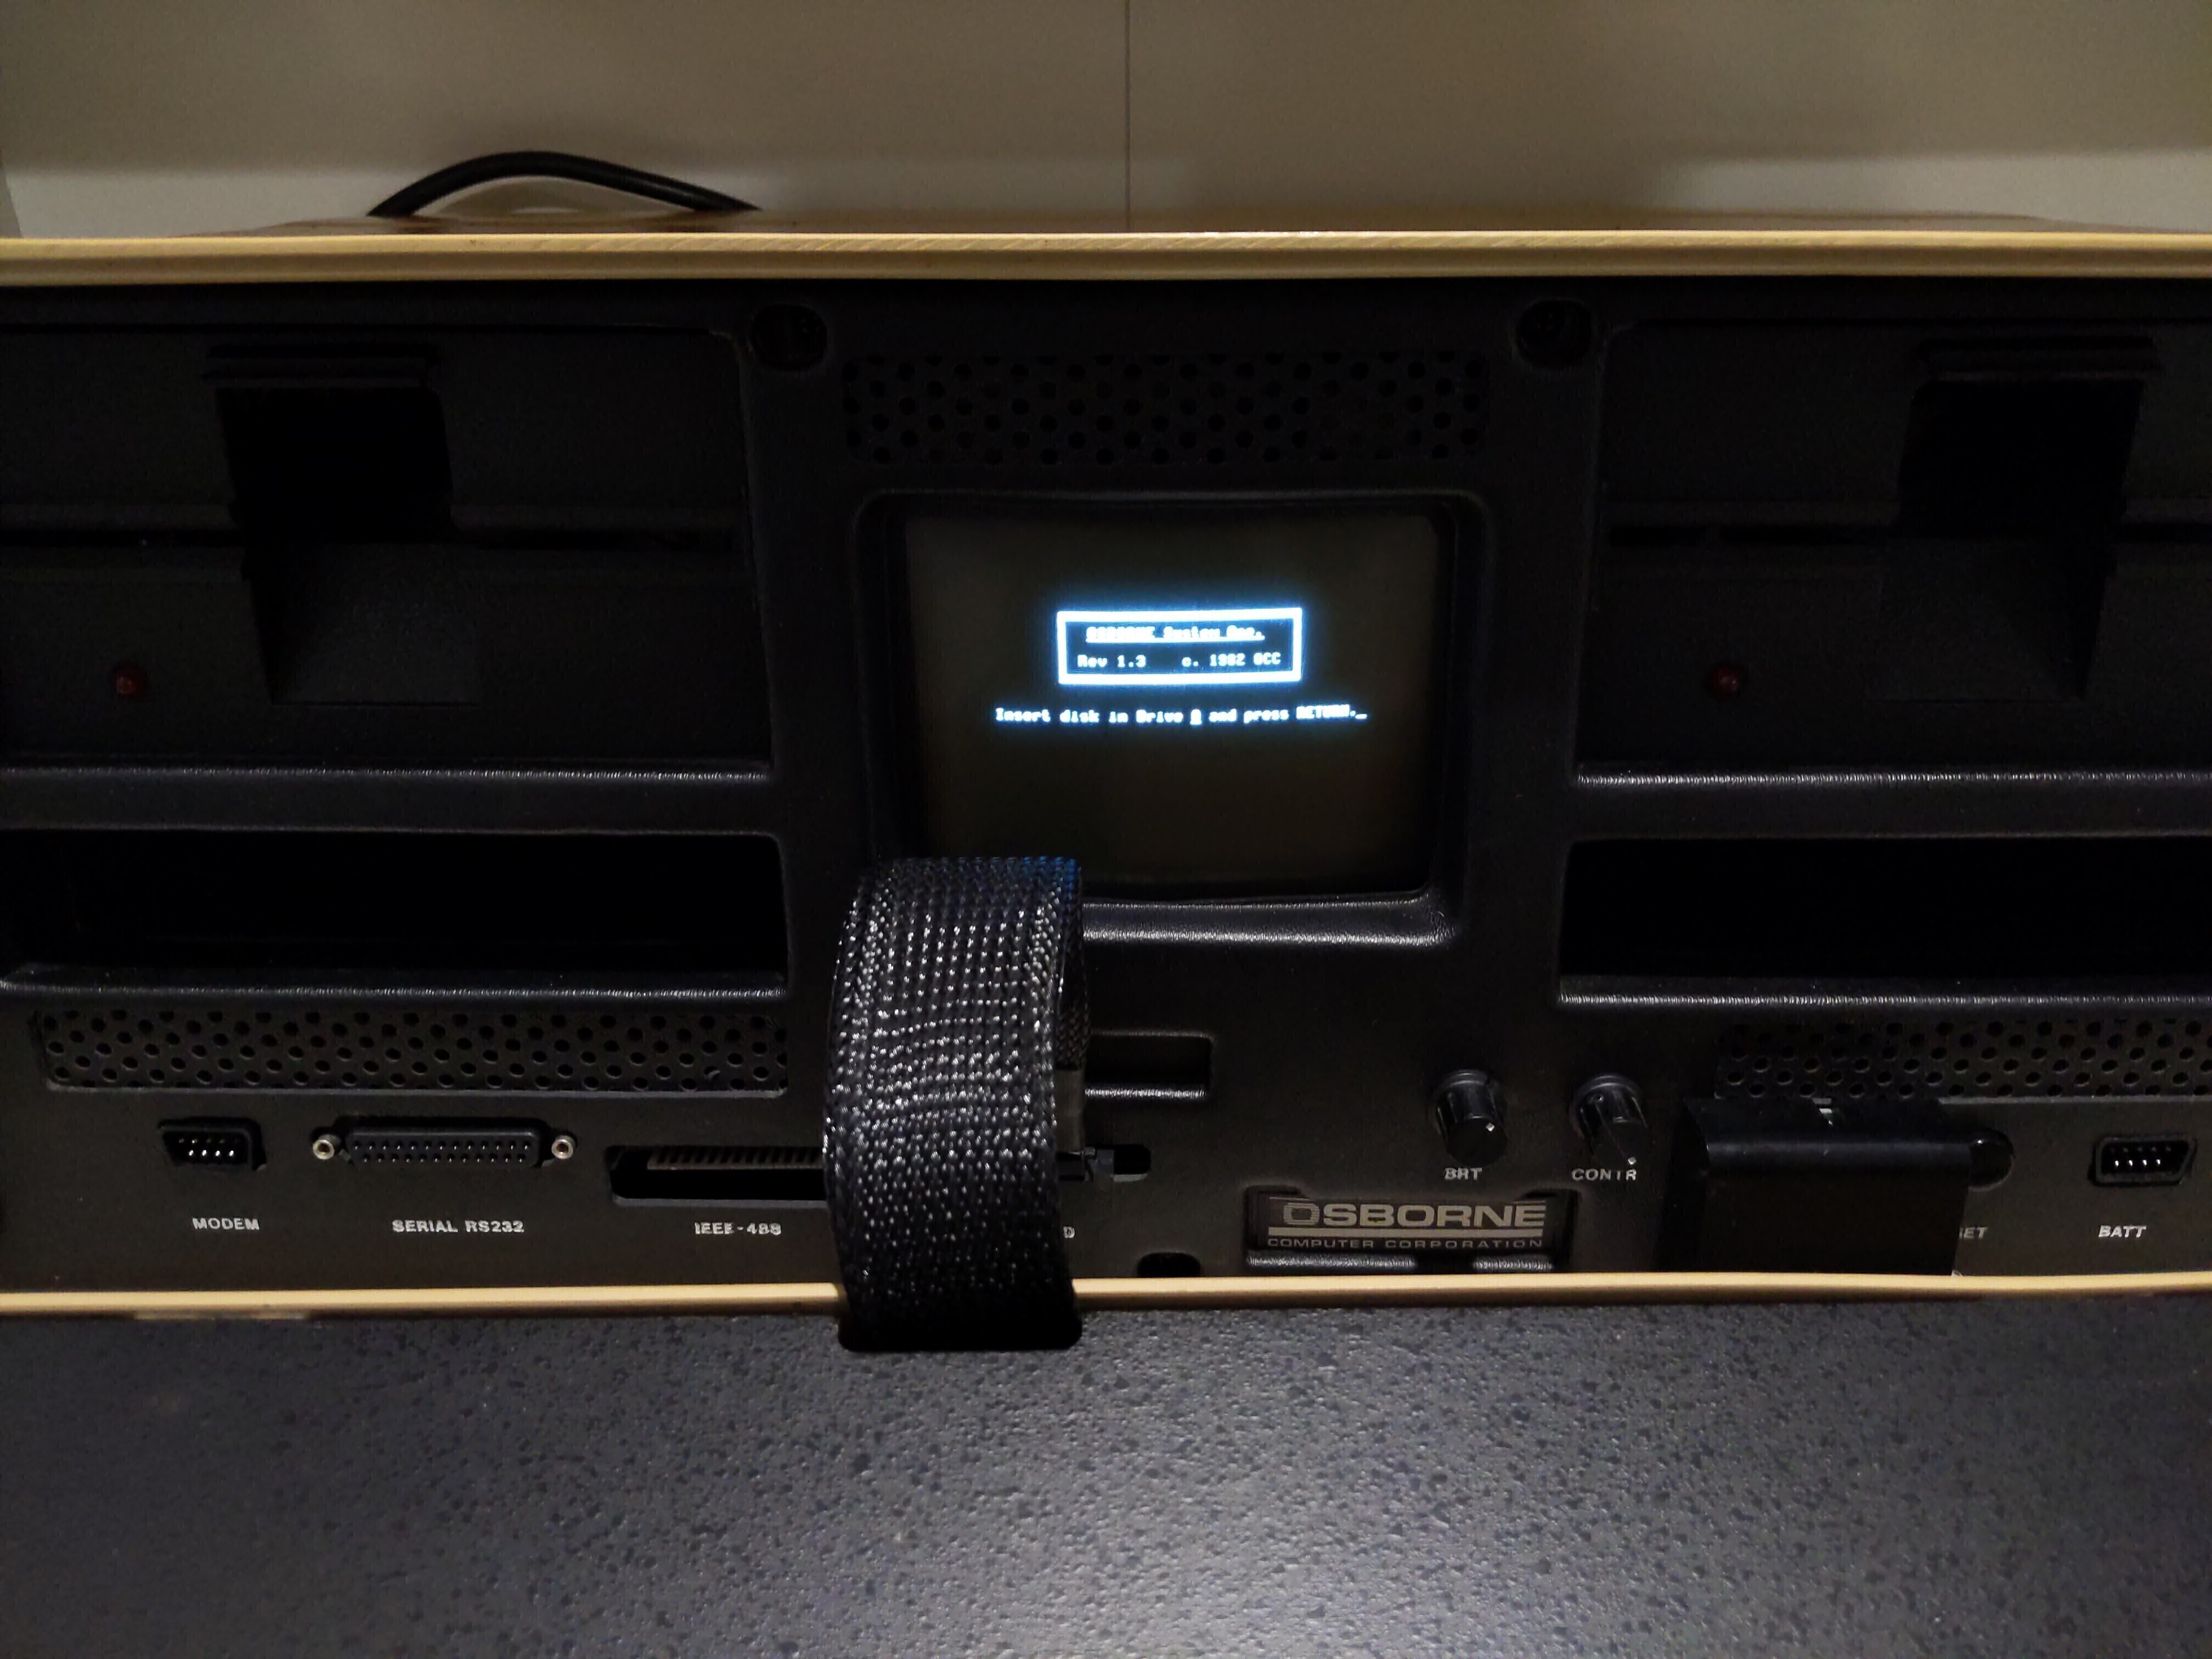
It looks to be limited running boot ROM 1.3 though, which suggests that it's not upgraded.
I don't have any bootable disks for it yet, so let's take it apart.
A handful of mis-matched screws on the front, suggesting that I'm not the first to open the machine, I can see the motherboard:
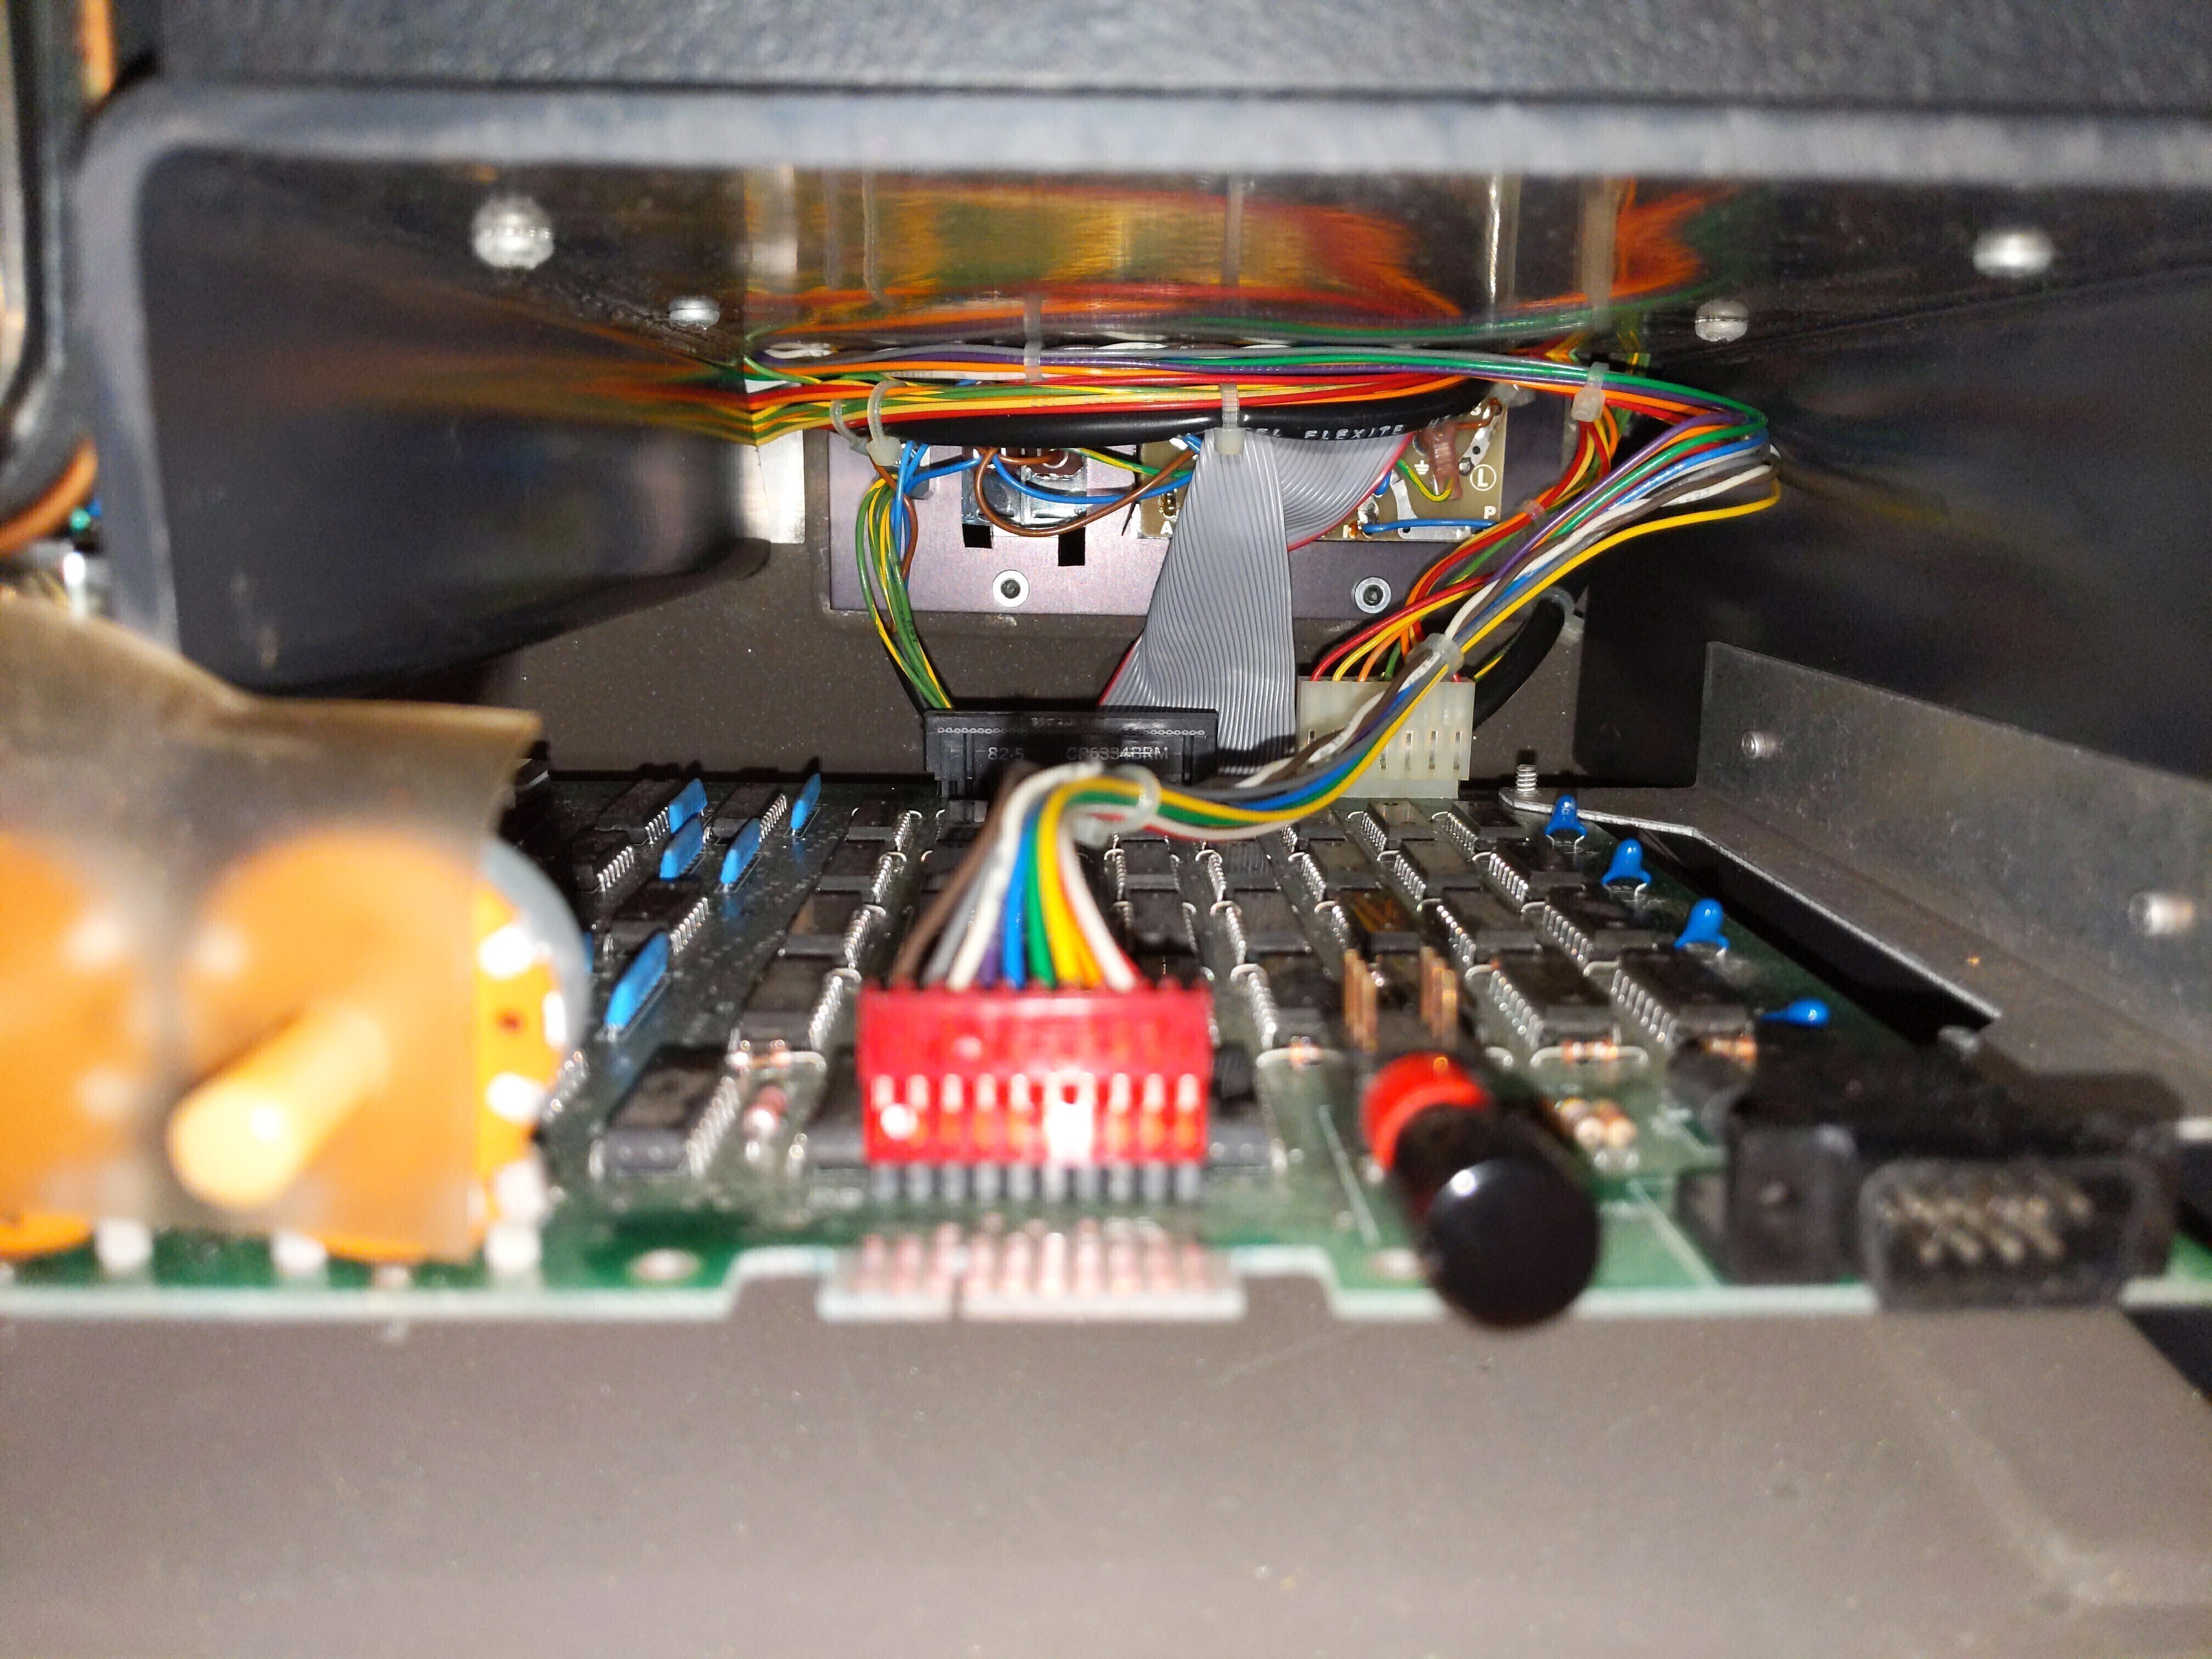
The right side of the board has the CRT adjustment knobs, the video header / connector, the reset switch and the external battery connector. Inside, we can see the video cable running all the way to the back, and both a power cable and a ribbon cable connecting right at the back of the board. This confirms that there's no upgrade boards, at all, which is a little disappointing.
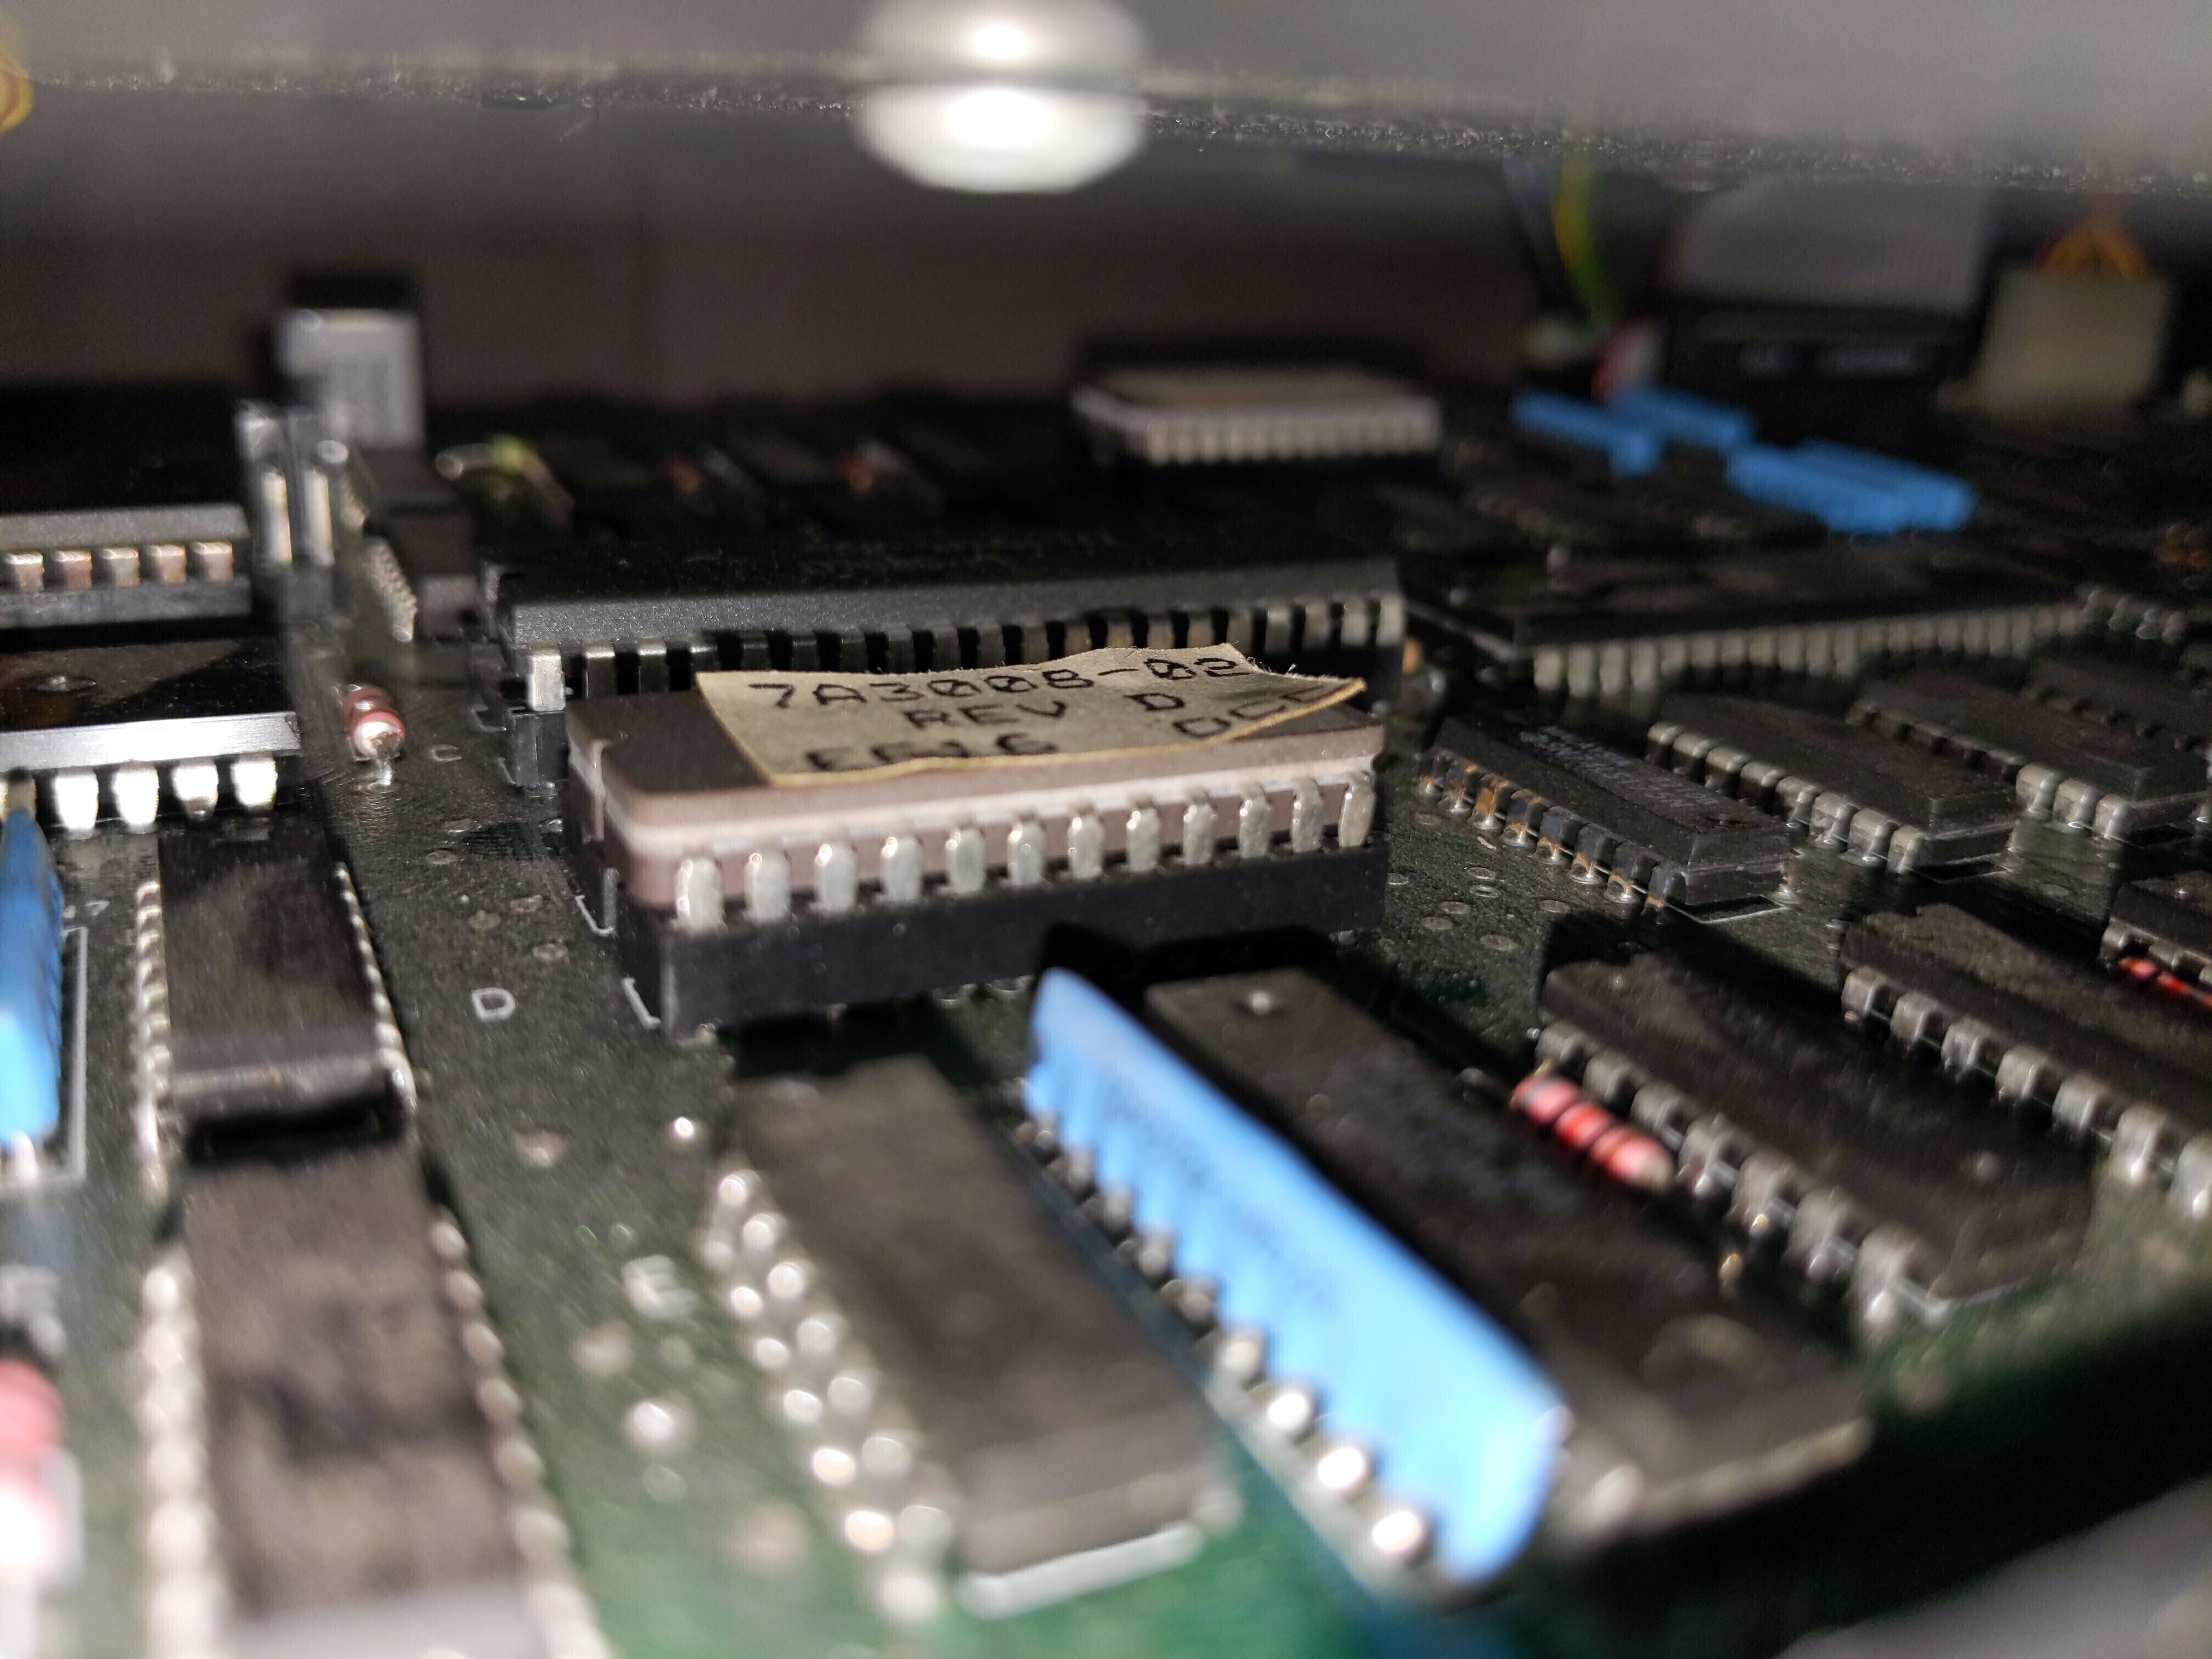
In the middle, we can see some socketed chips, and two with stickers. Also of note is the dust!

On the left of the board we can see more chips and dust.
From the front, I was able to zoom in and ID the closest ROM, and confirm that it's the 1.3 system ROM.
Before we get further, I unscrewed the two screws keeping the keyboard cover on the keyboard, and grabbed a picture of the sticker inside:

OAK SWITCH SYSTEMS INC. FTM
OAK SERIAL  # 39478
OAK PART    # 5-64951-011 FM
DATE CODE   # 249-8222
>>>>>>>>>   # 7A2005-00
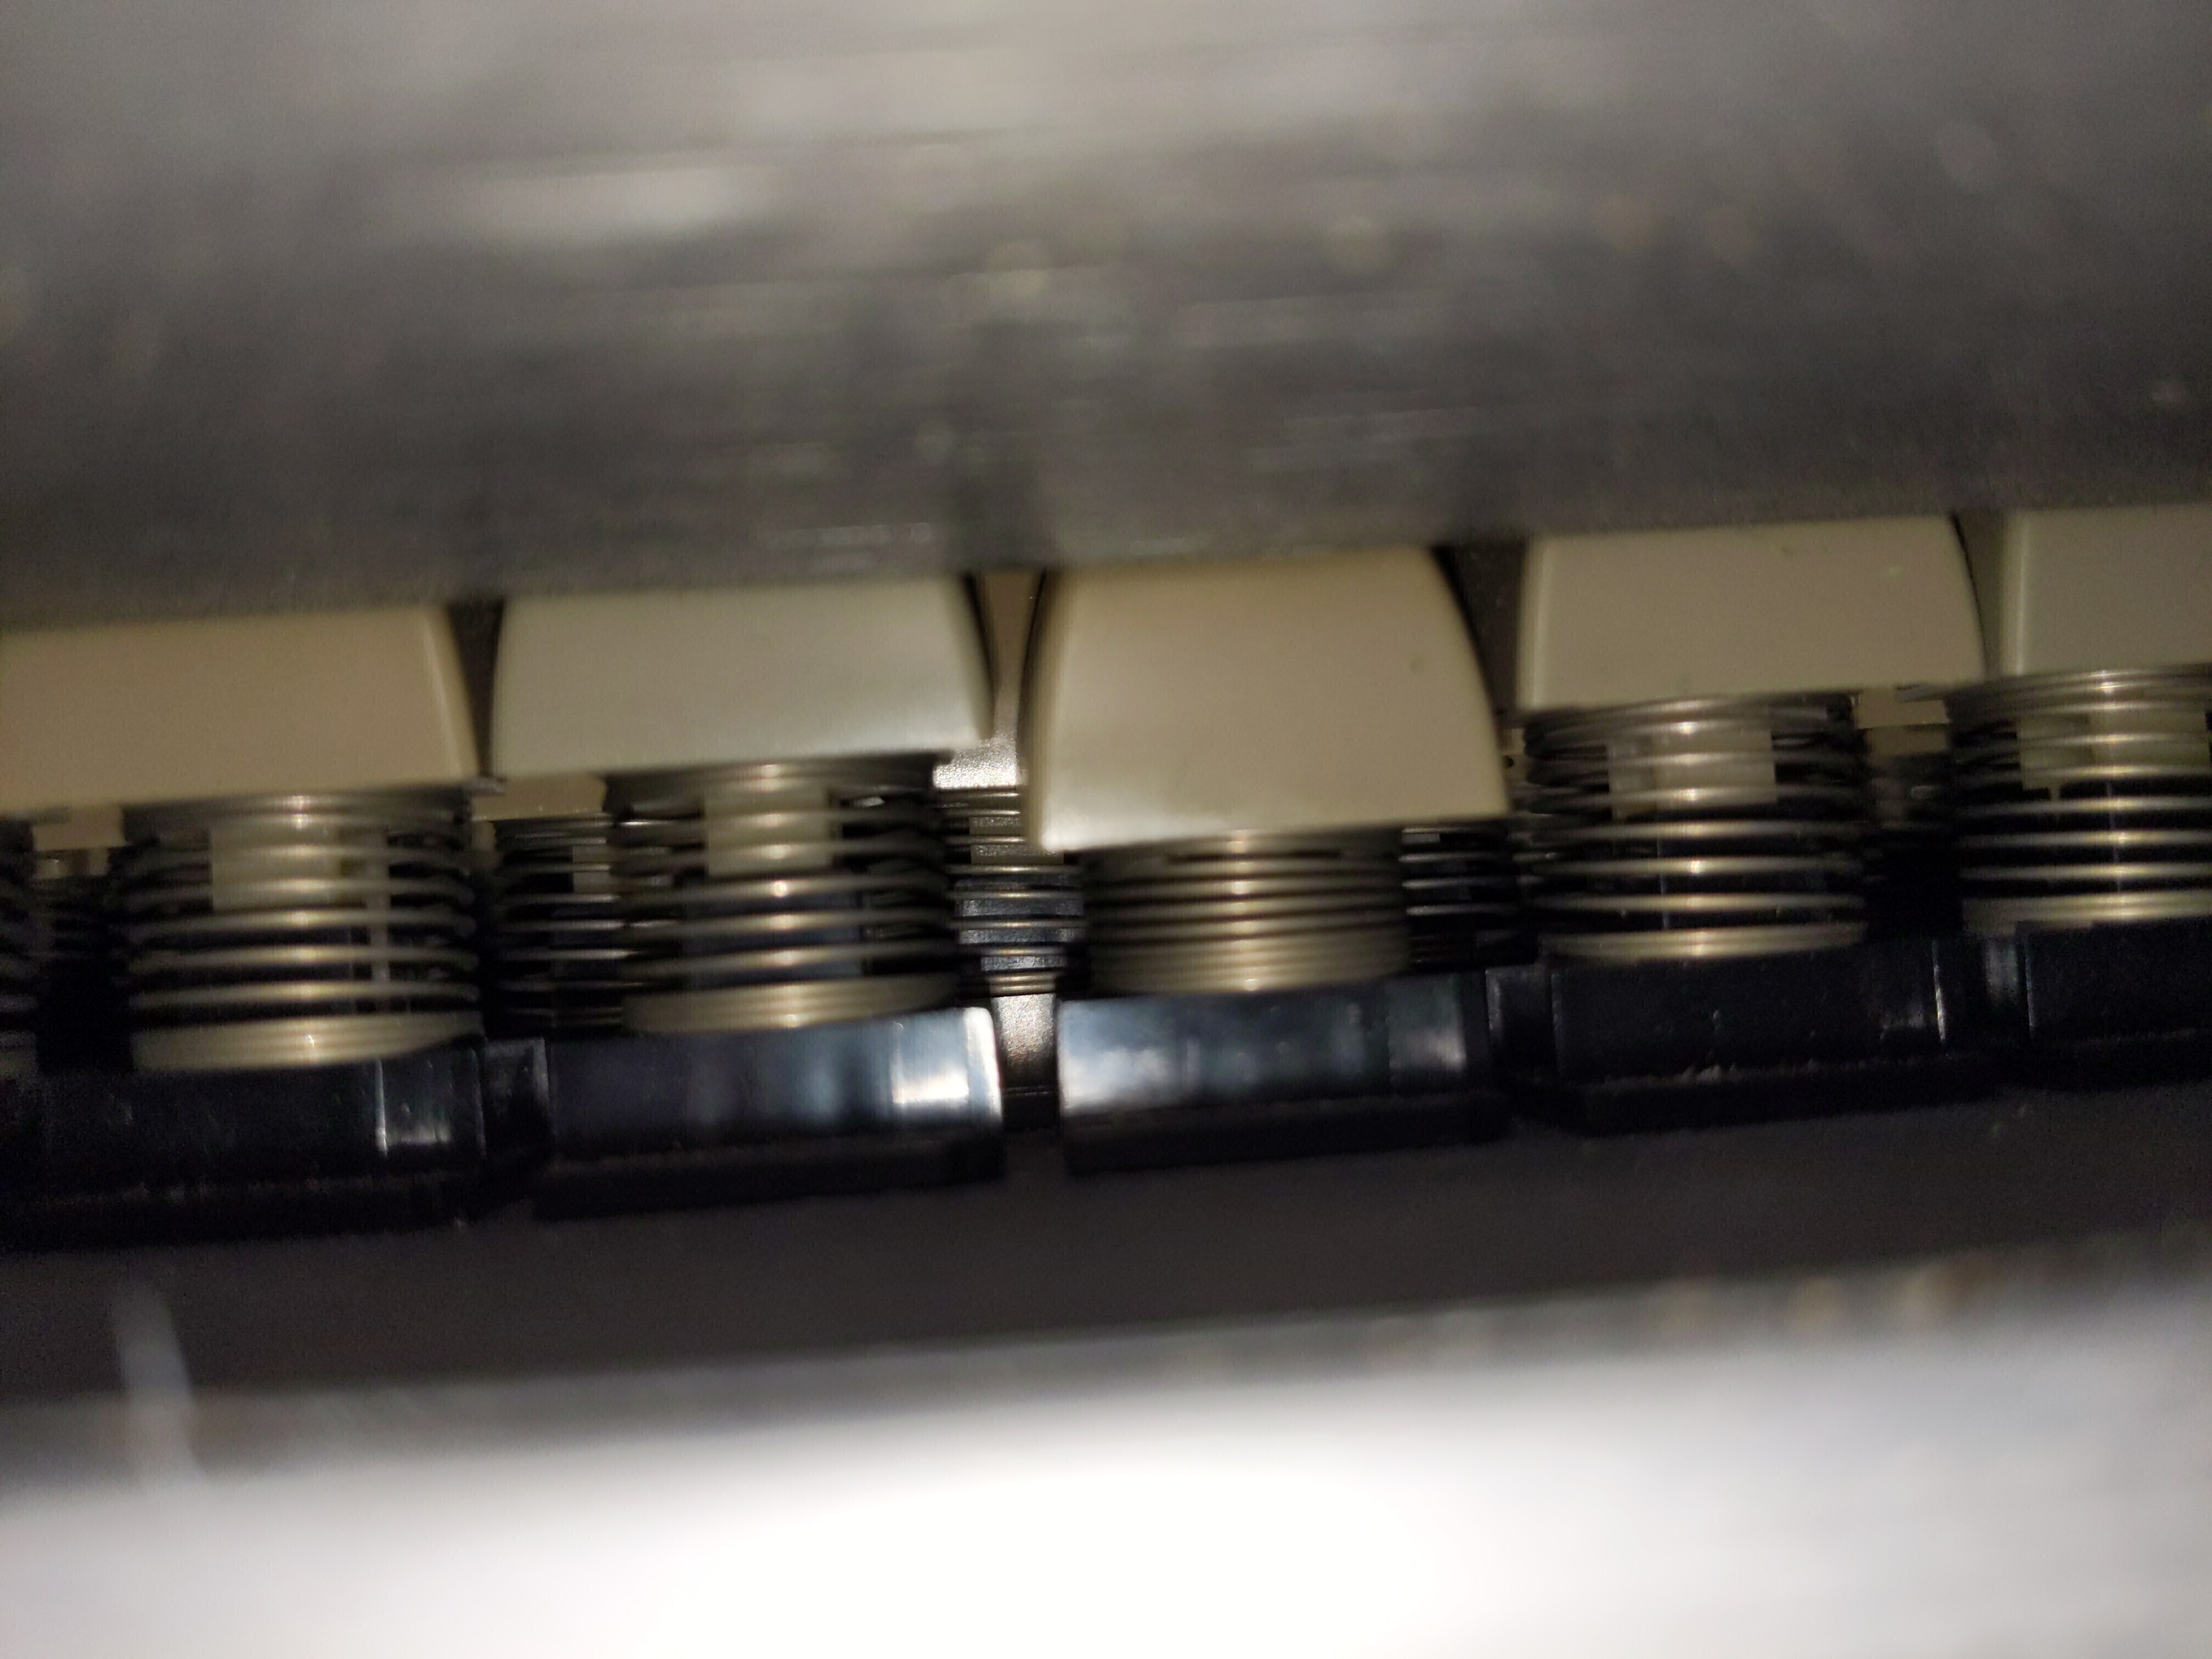
Also a profile pic of the switches (with one pressed down).
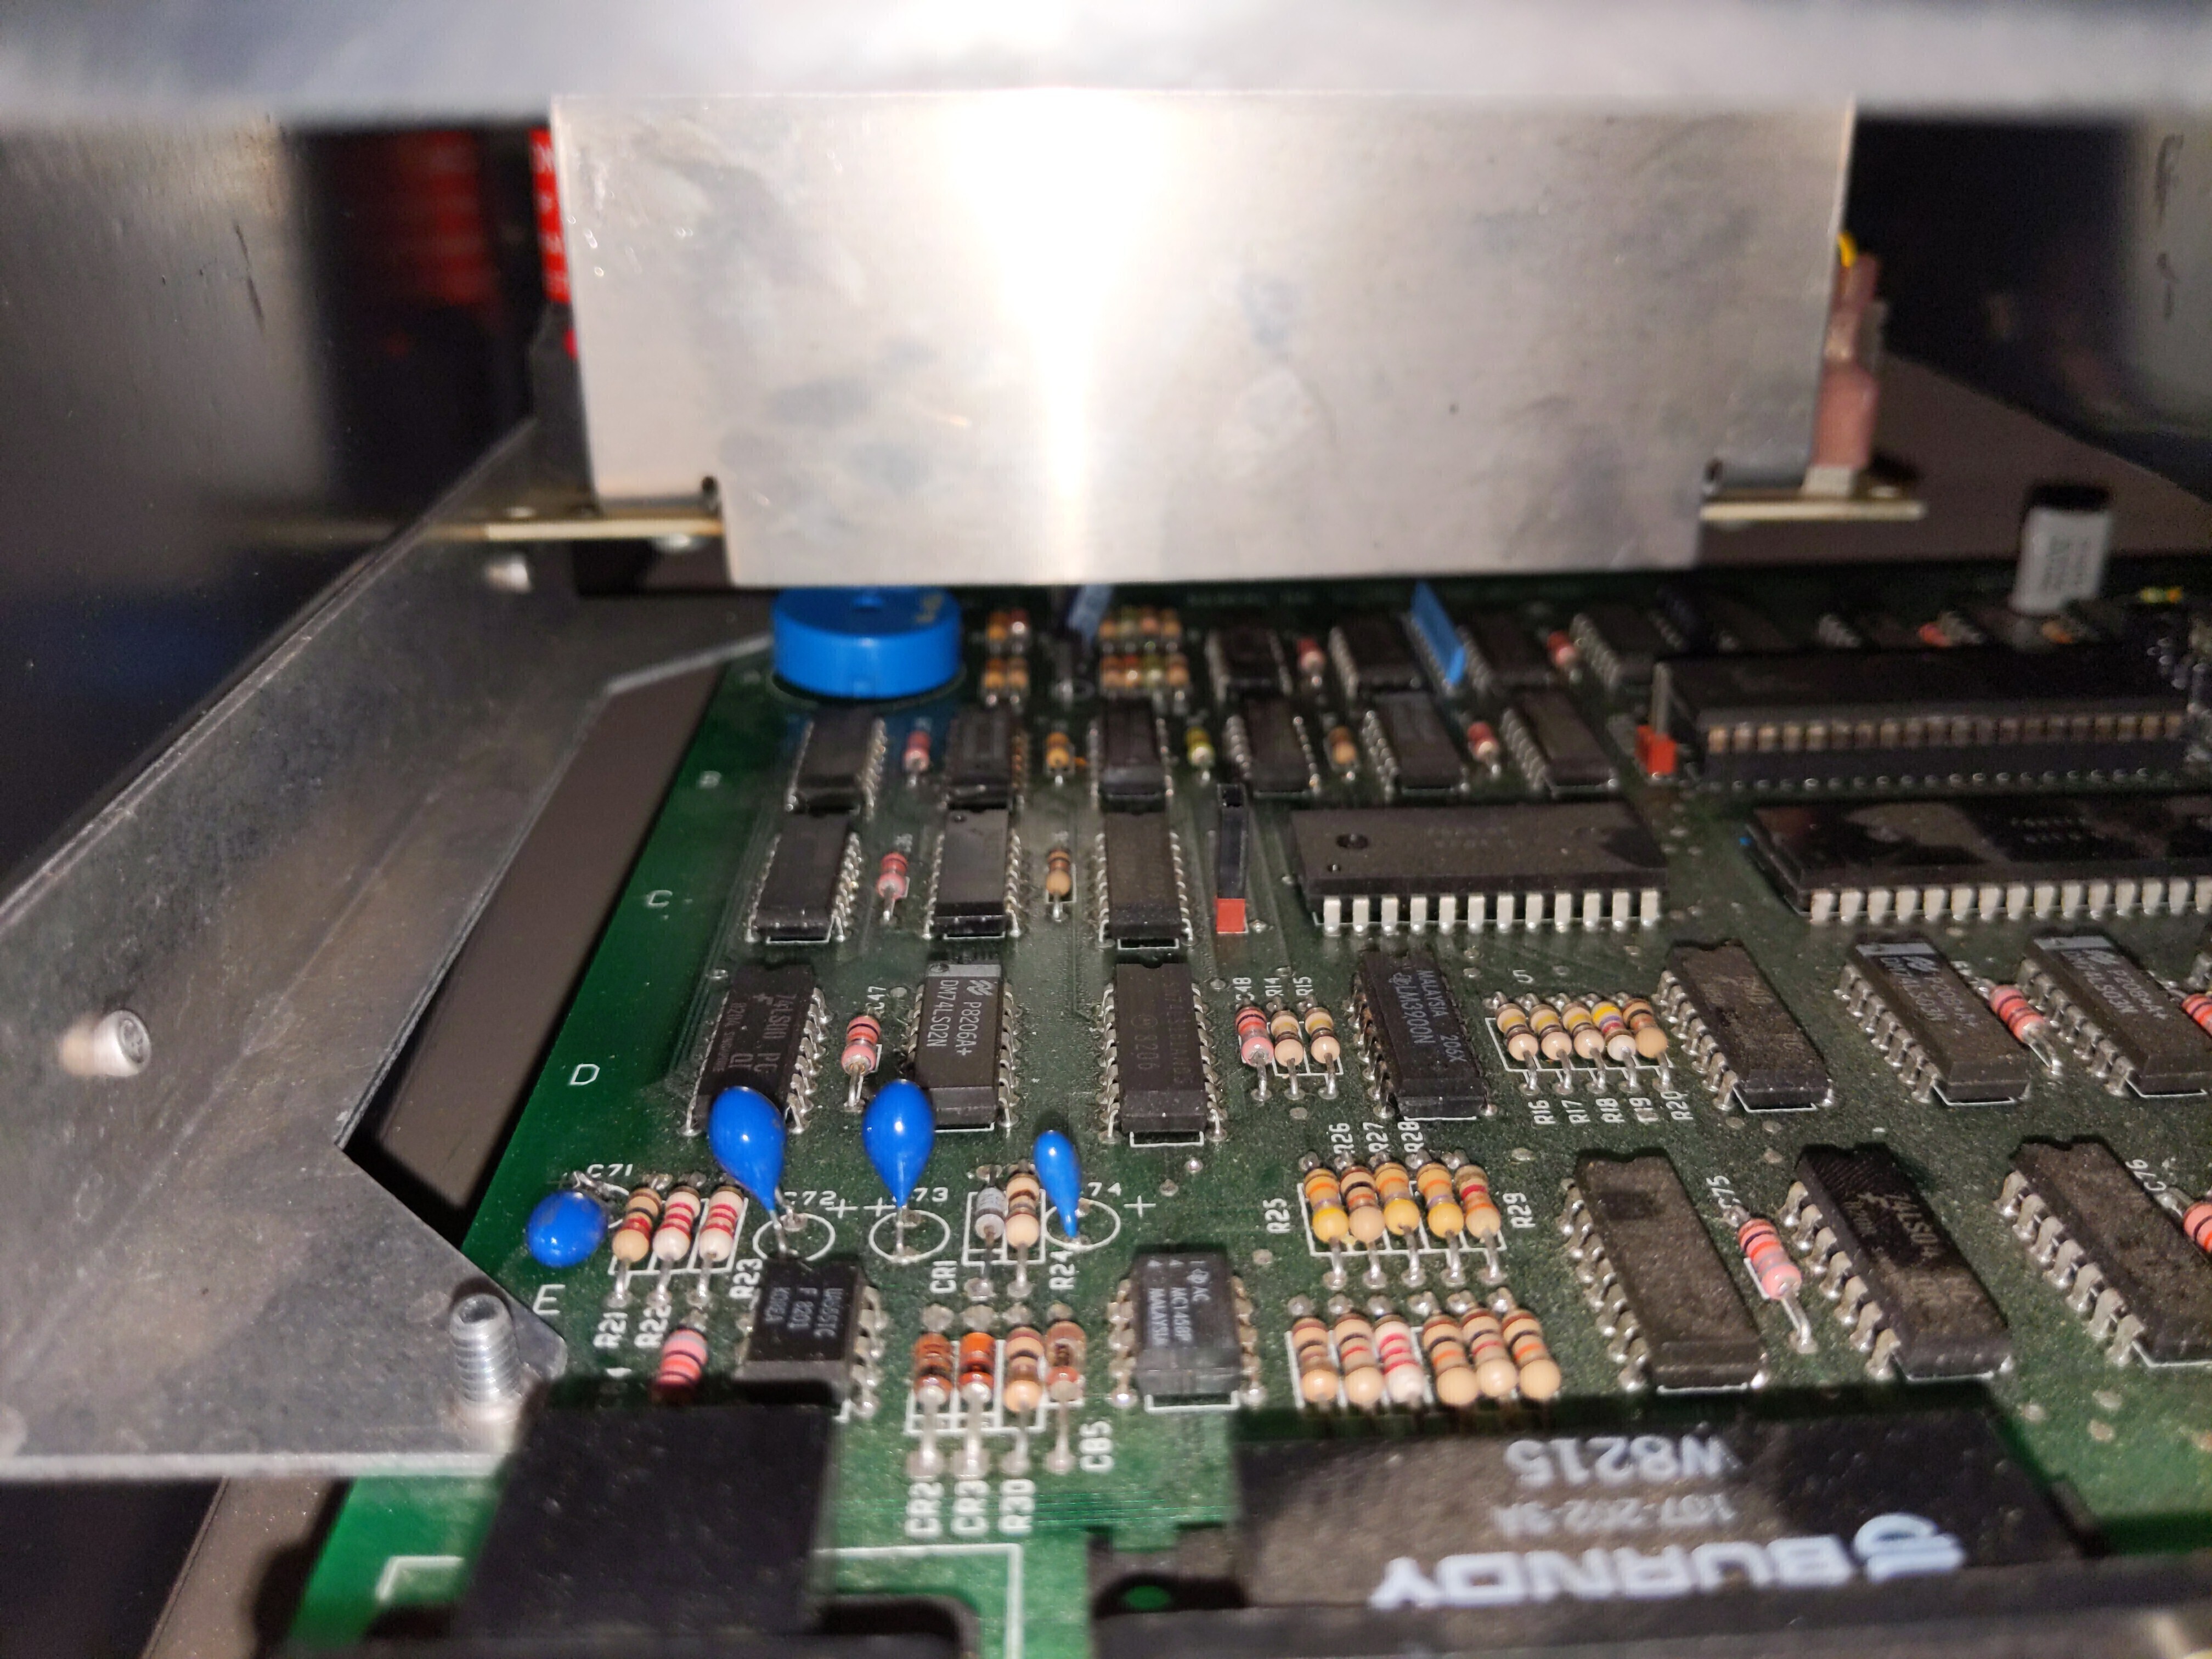
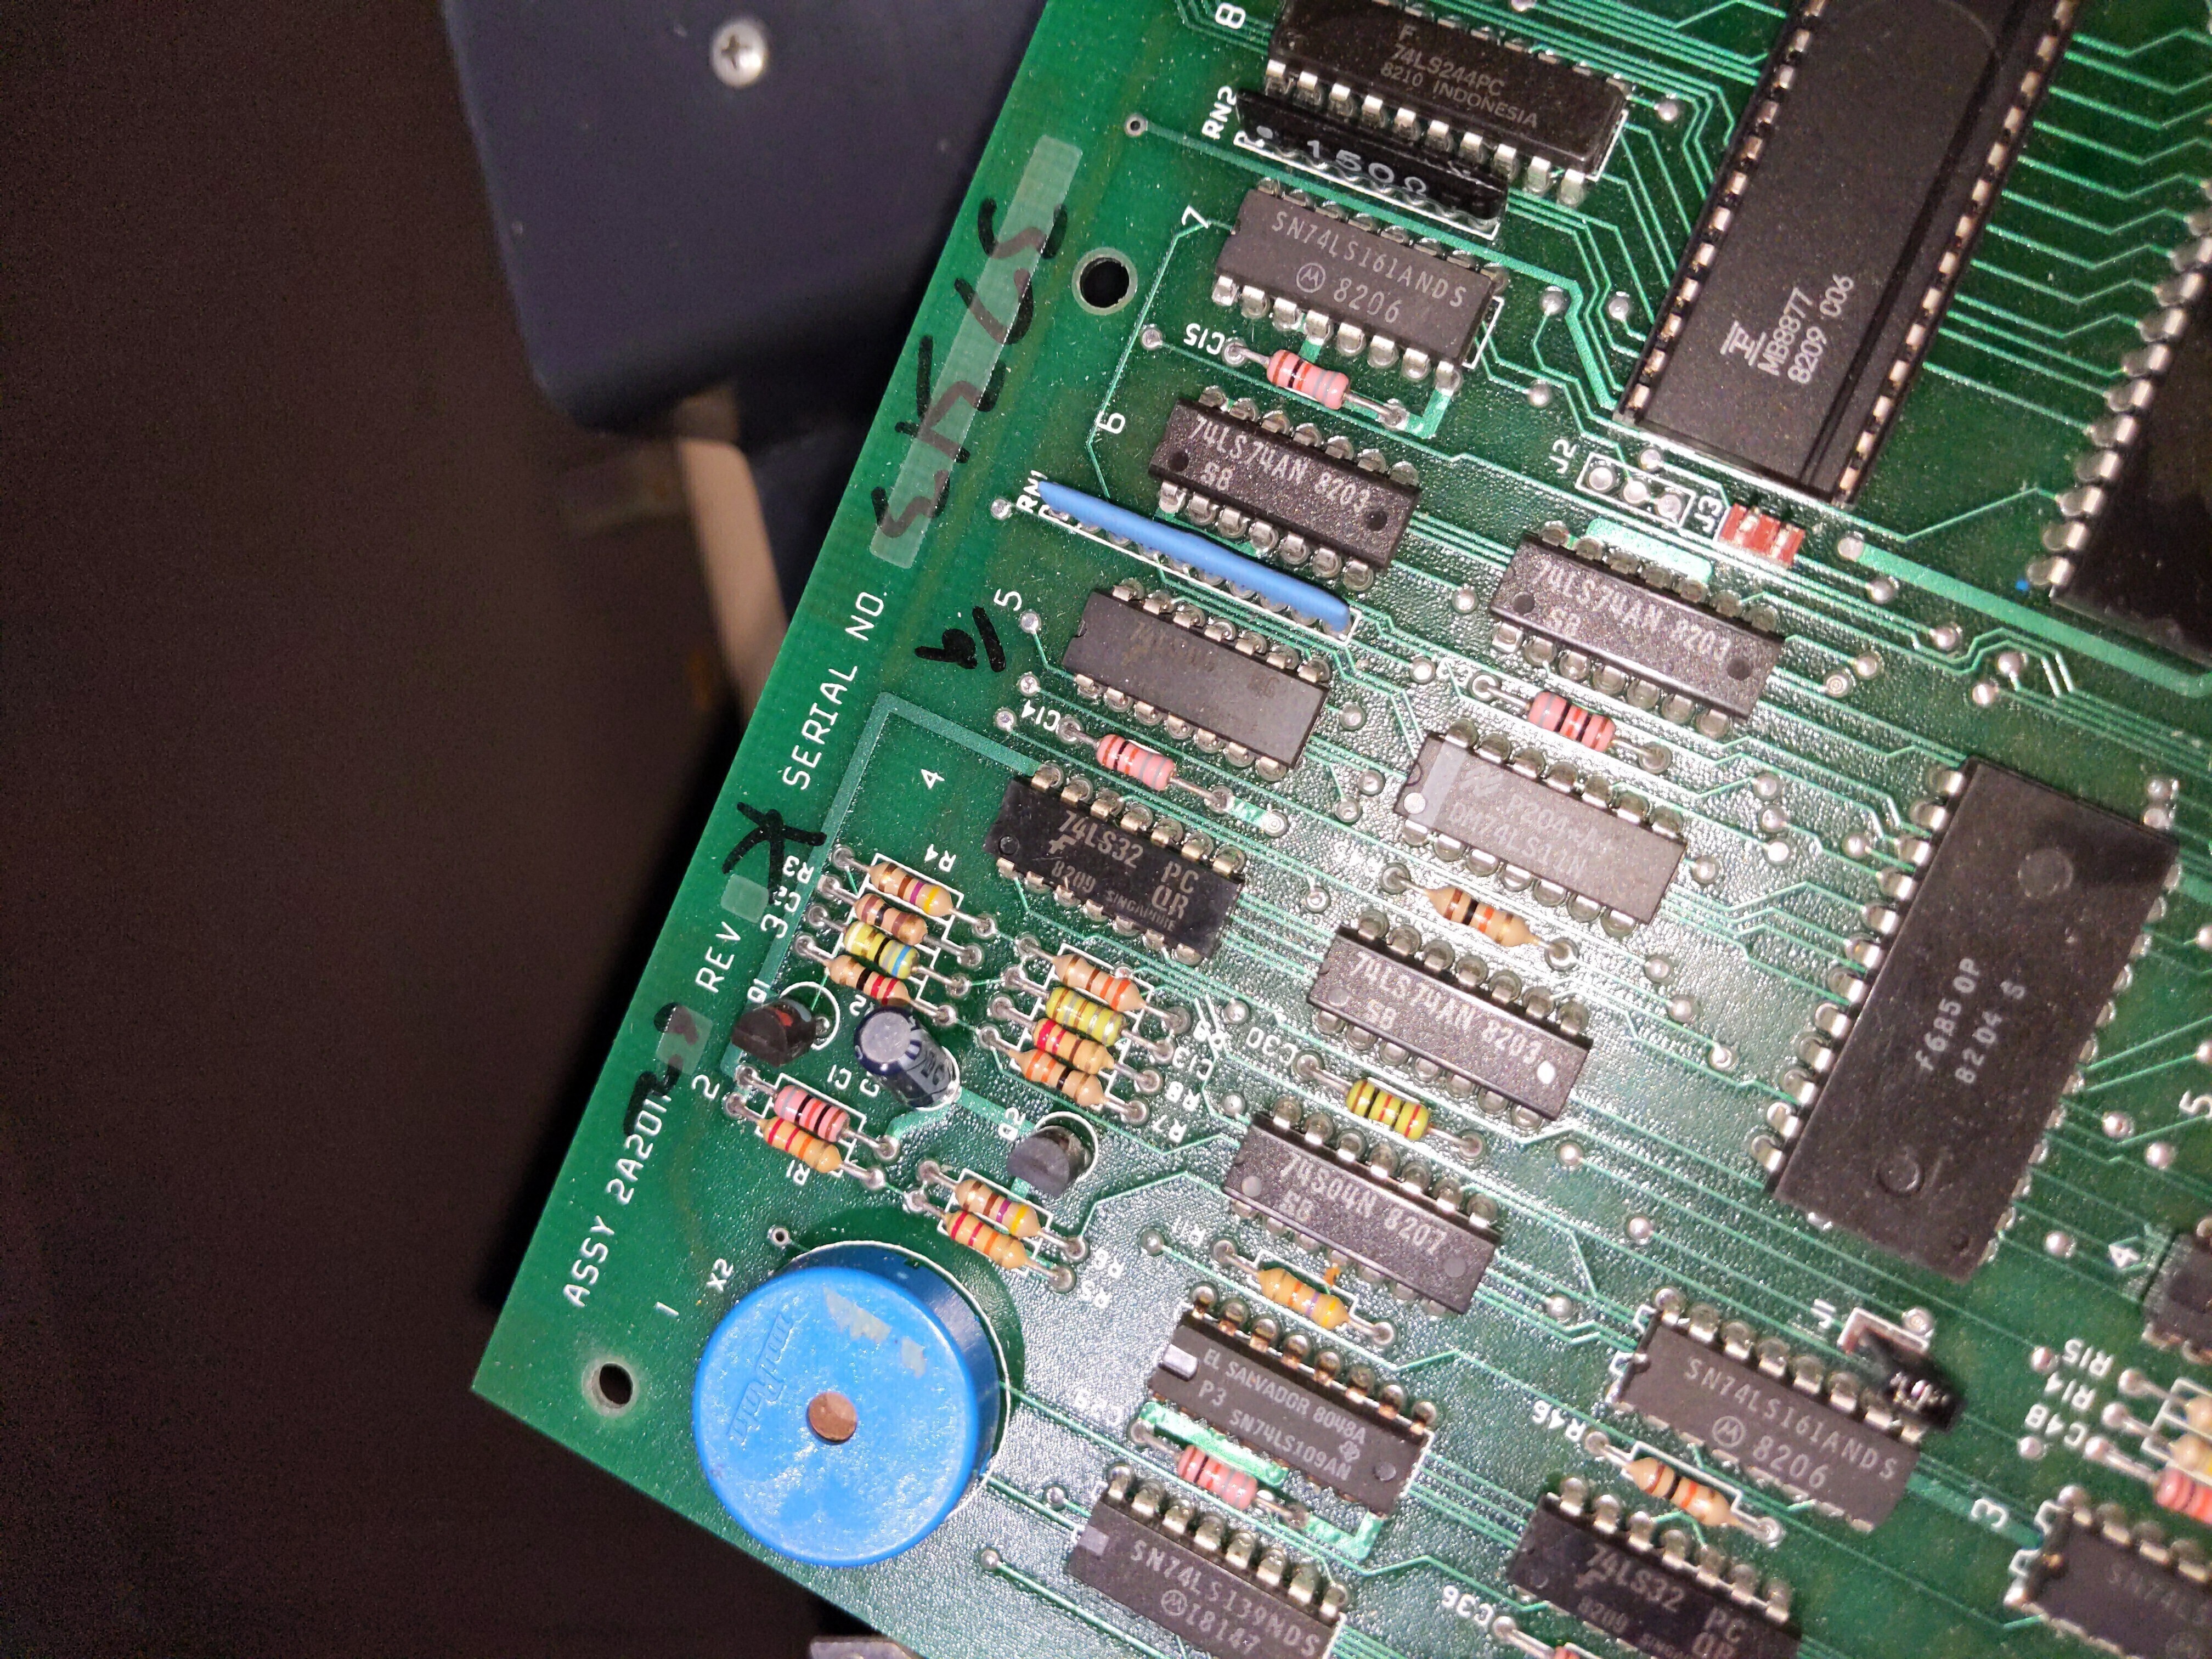
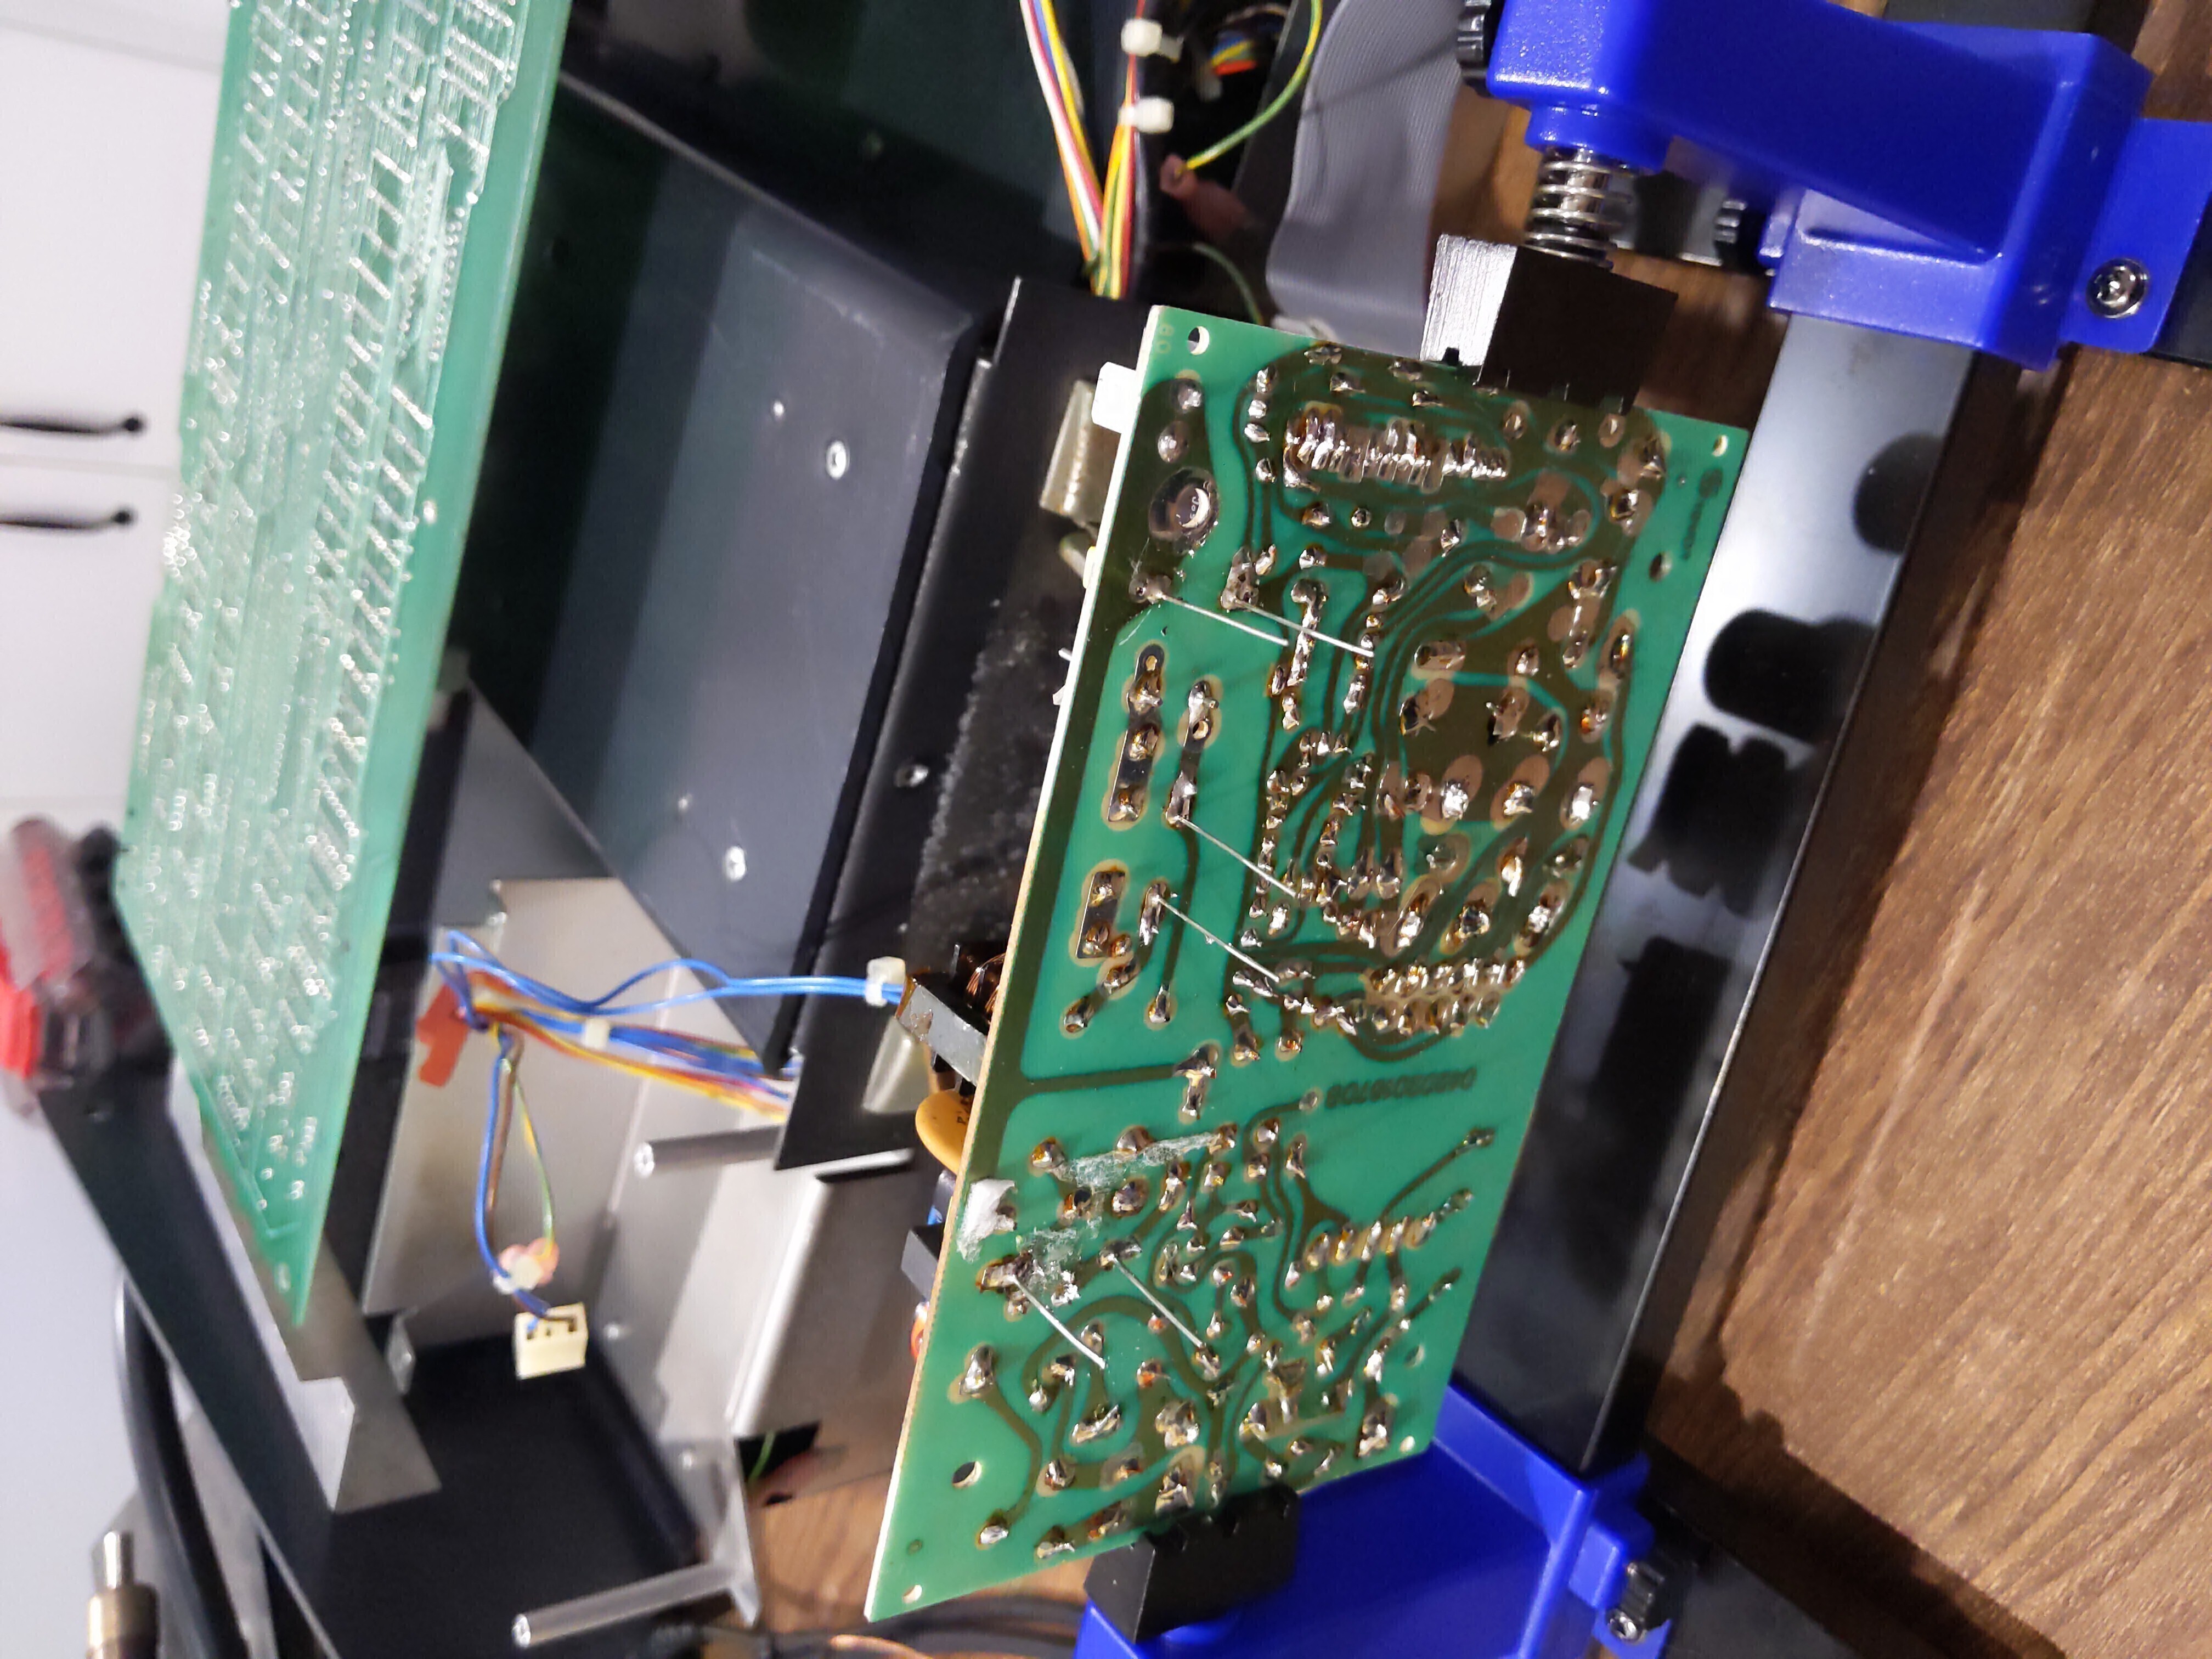
After carefully extracting the system from the case, flipping the system over, and unscrewing the four screws keeping the board on, we can get a better pic of the chips.
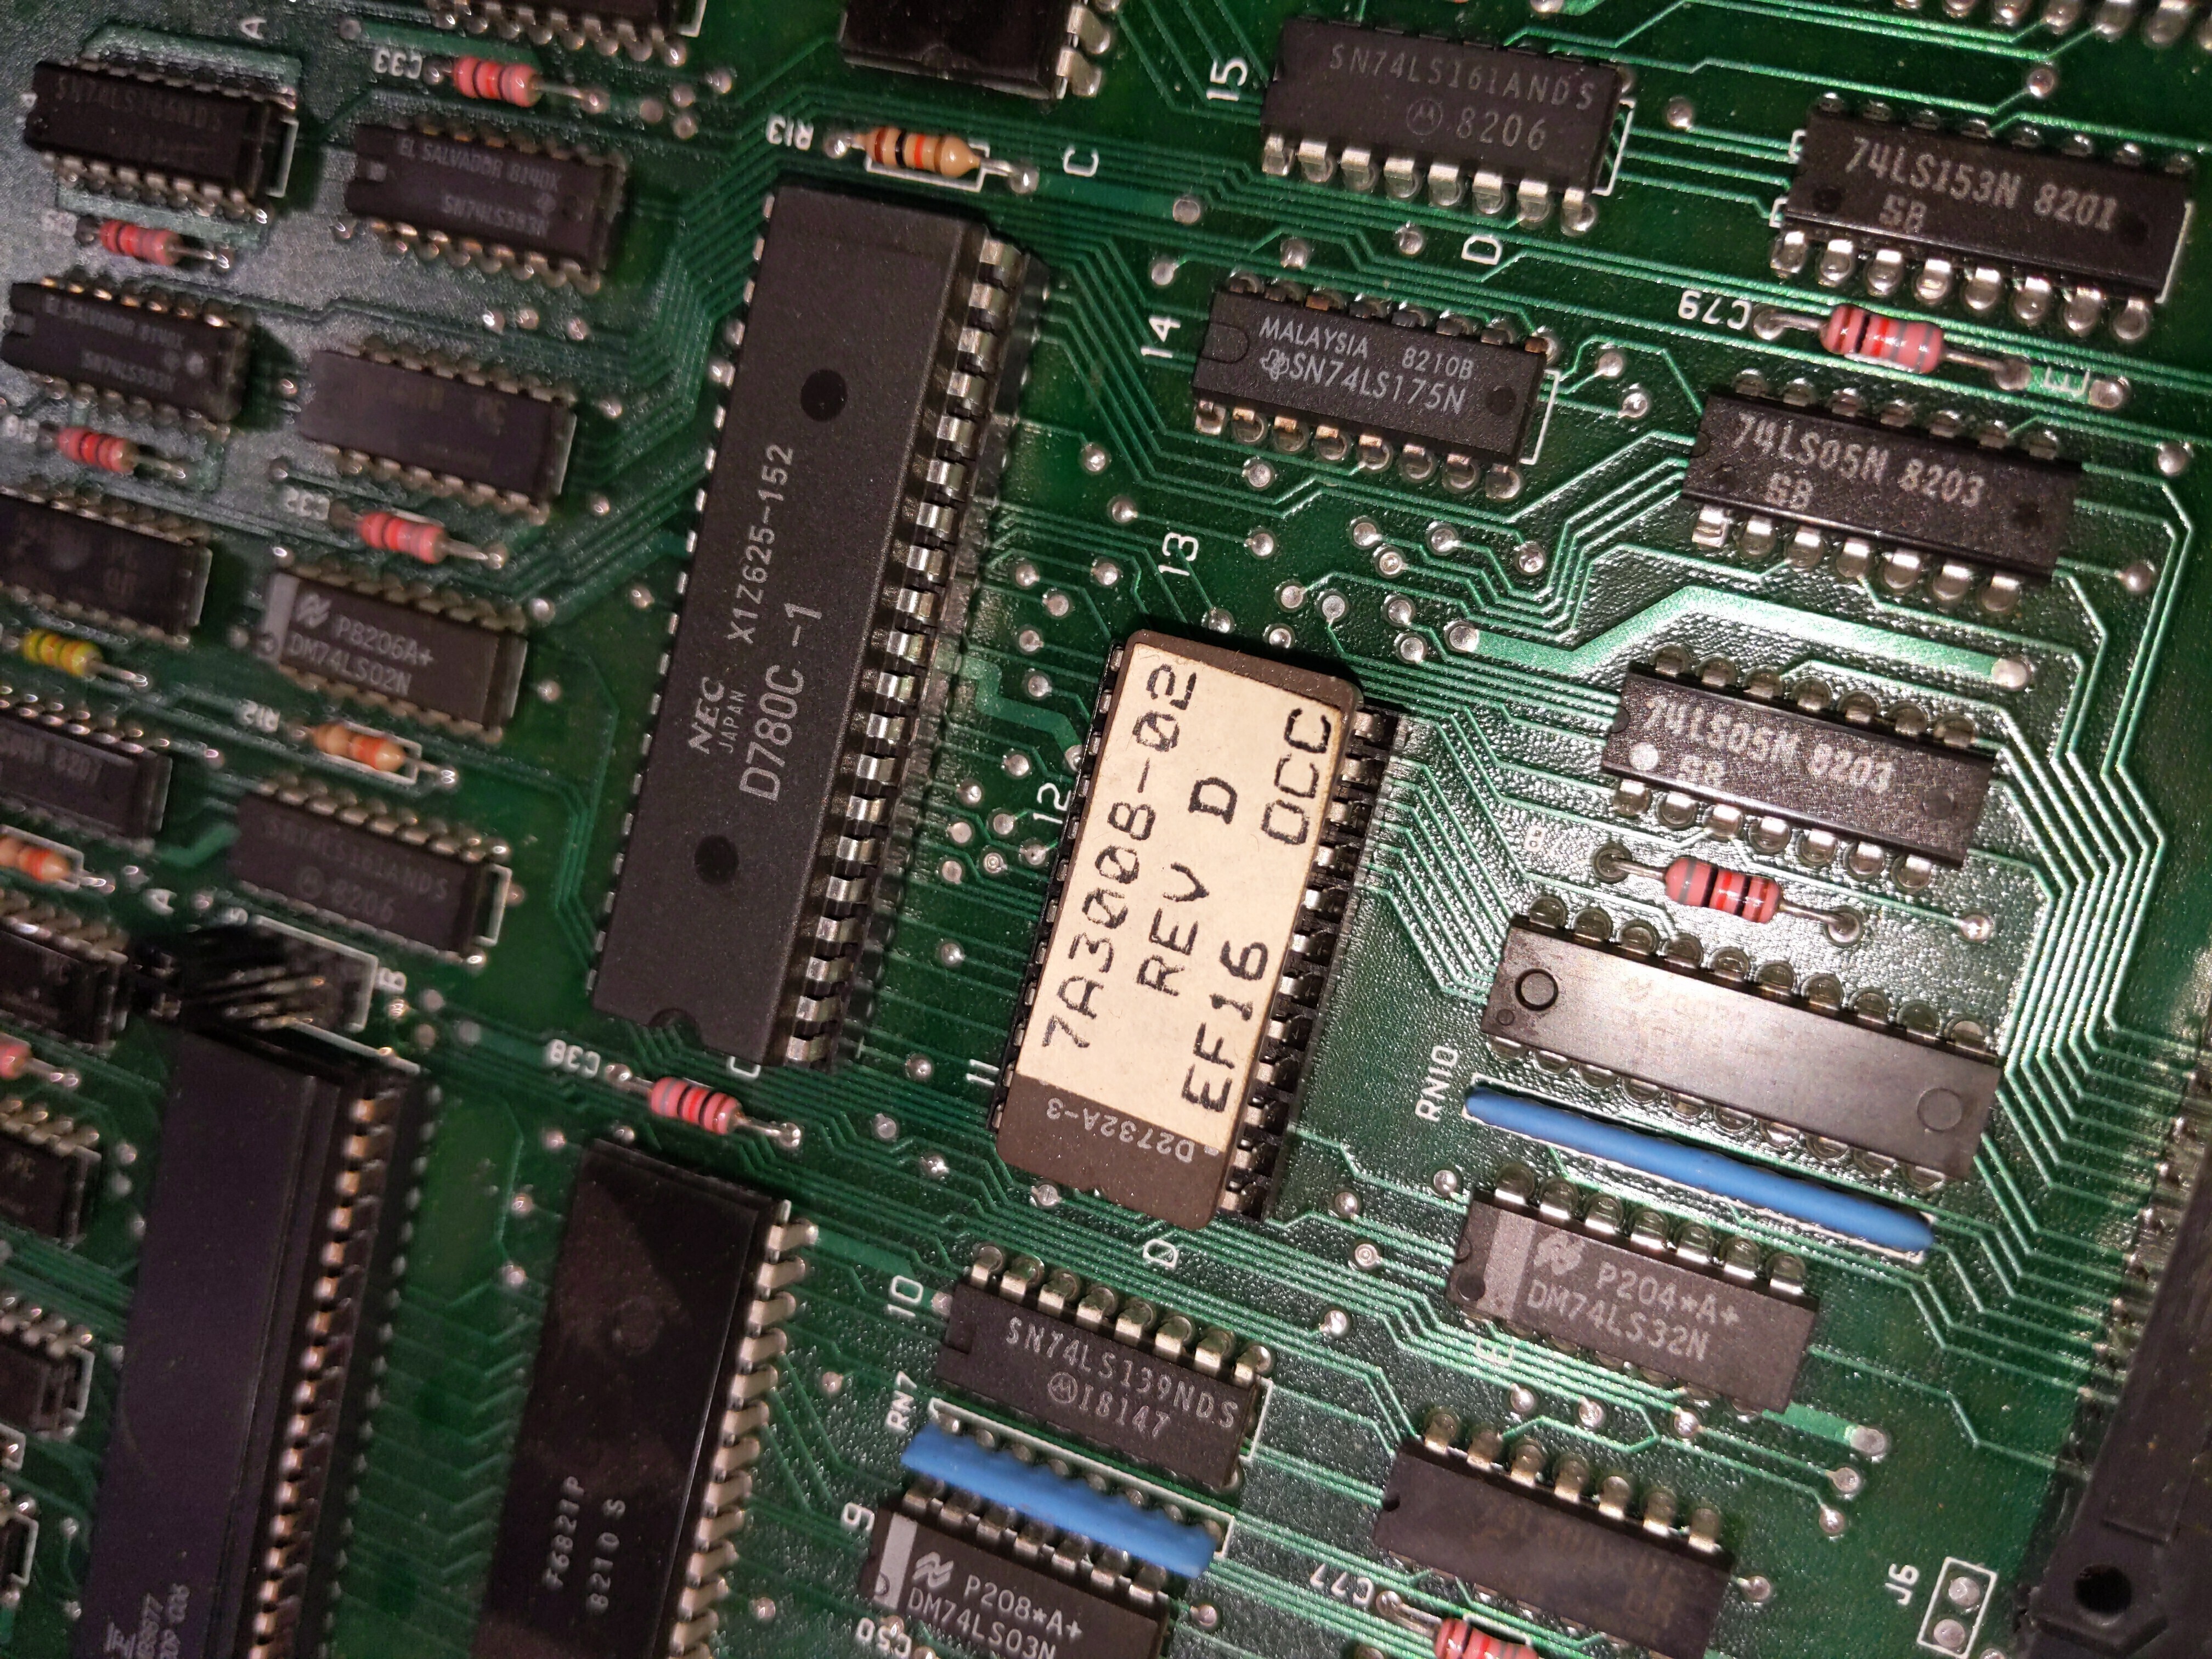
7A3008-02
  REV D
EF16 OCC
We can now make out the markings on the character generator / ROM.
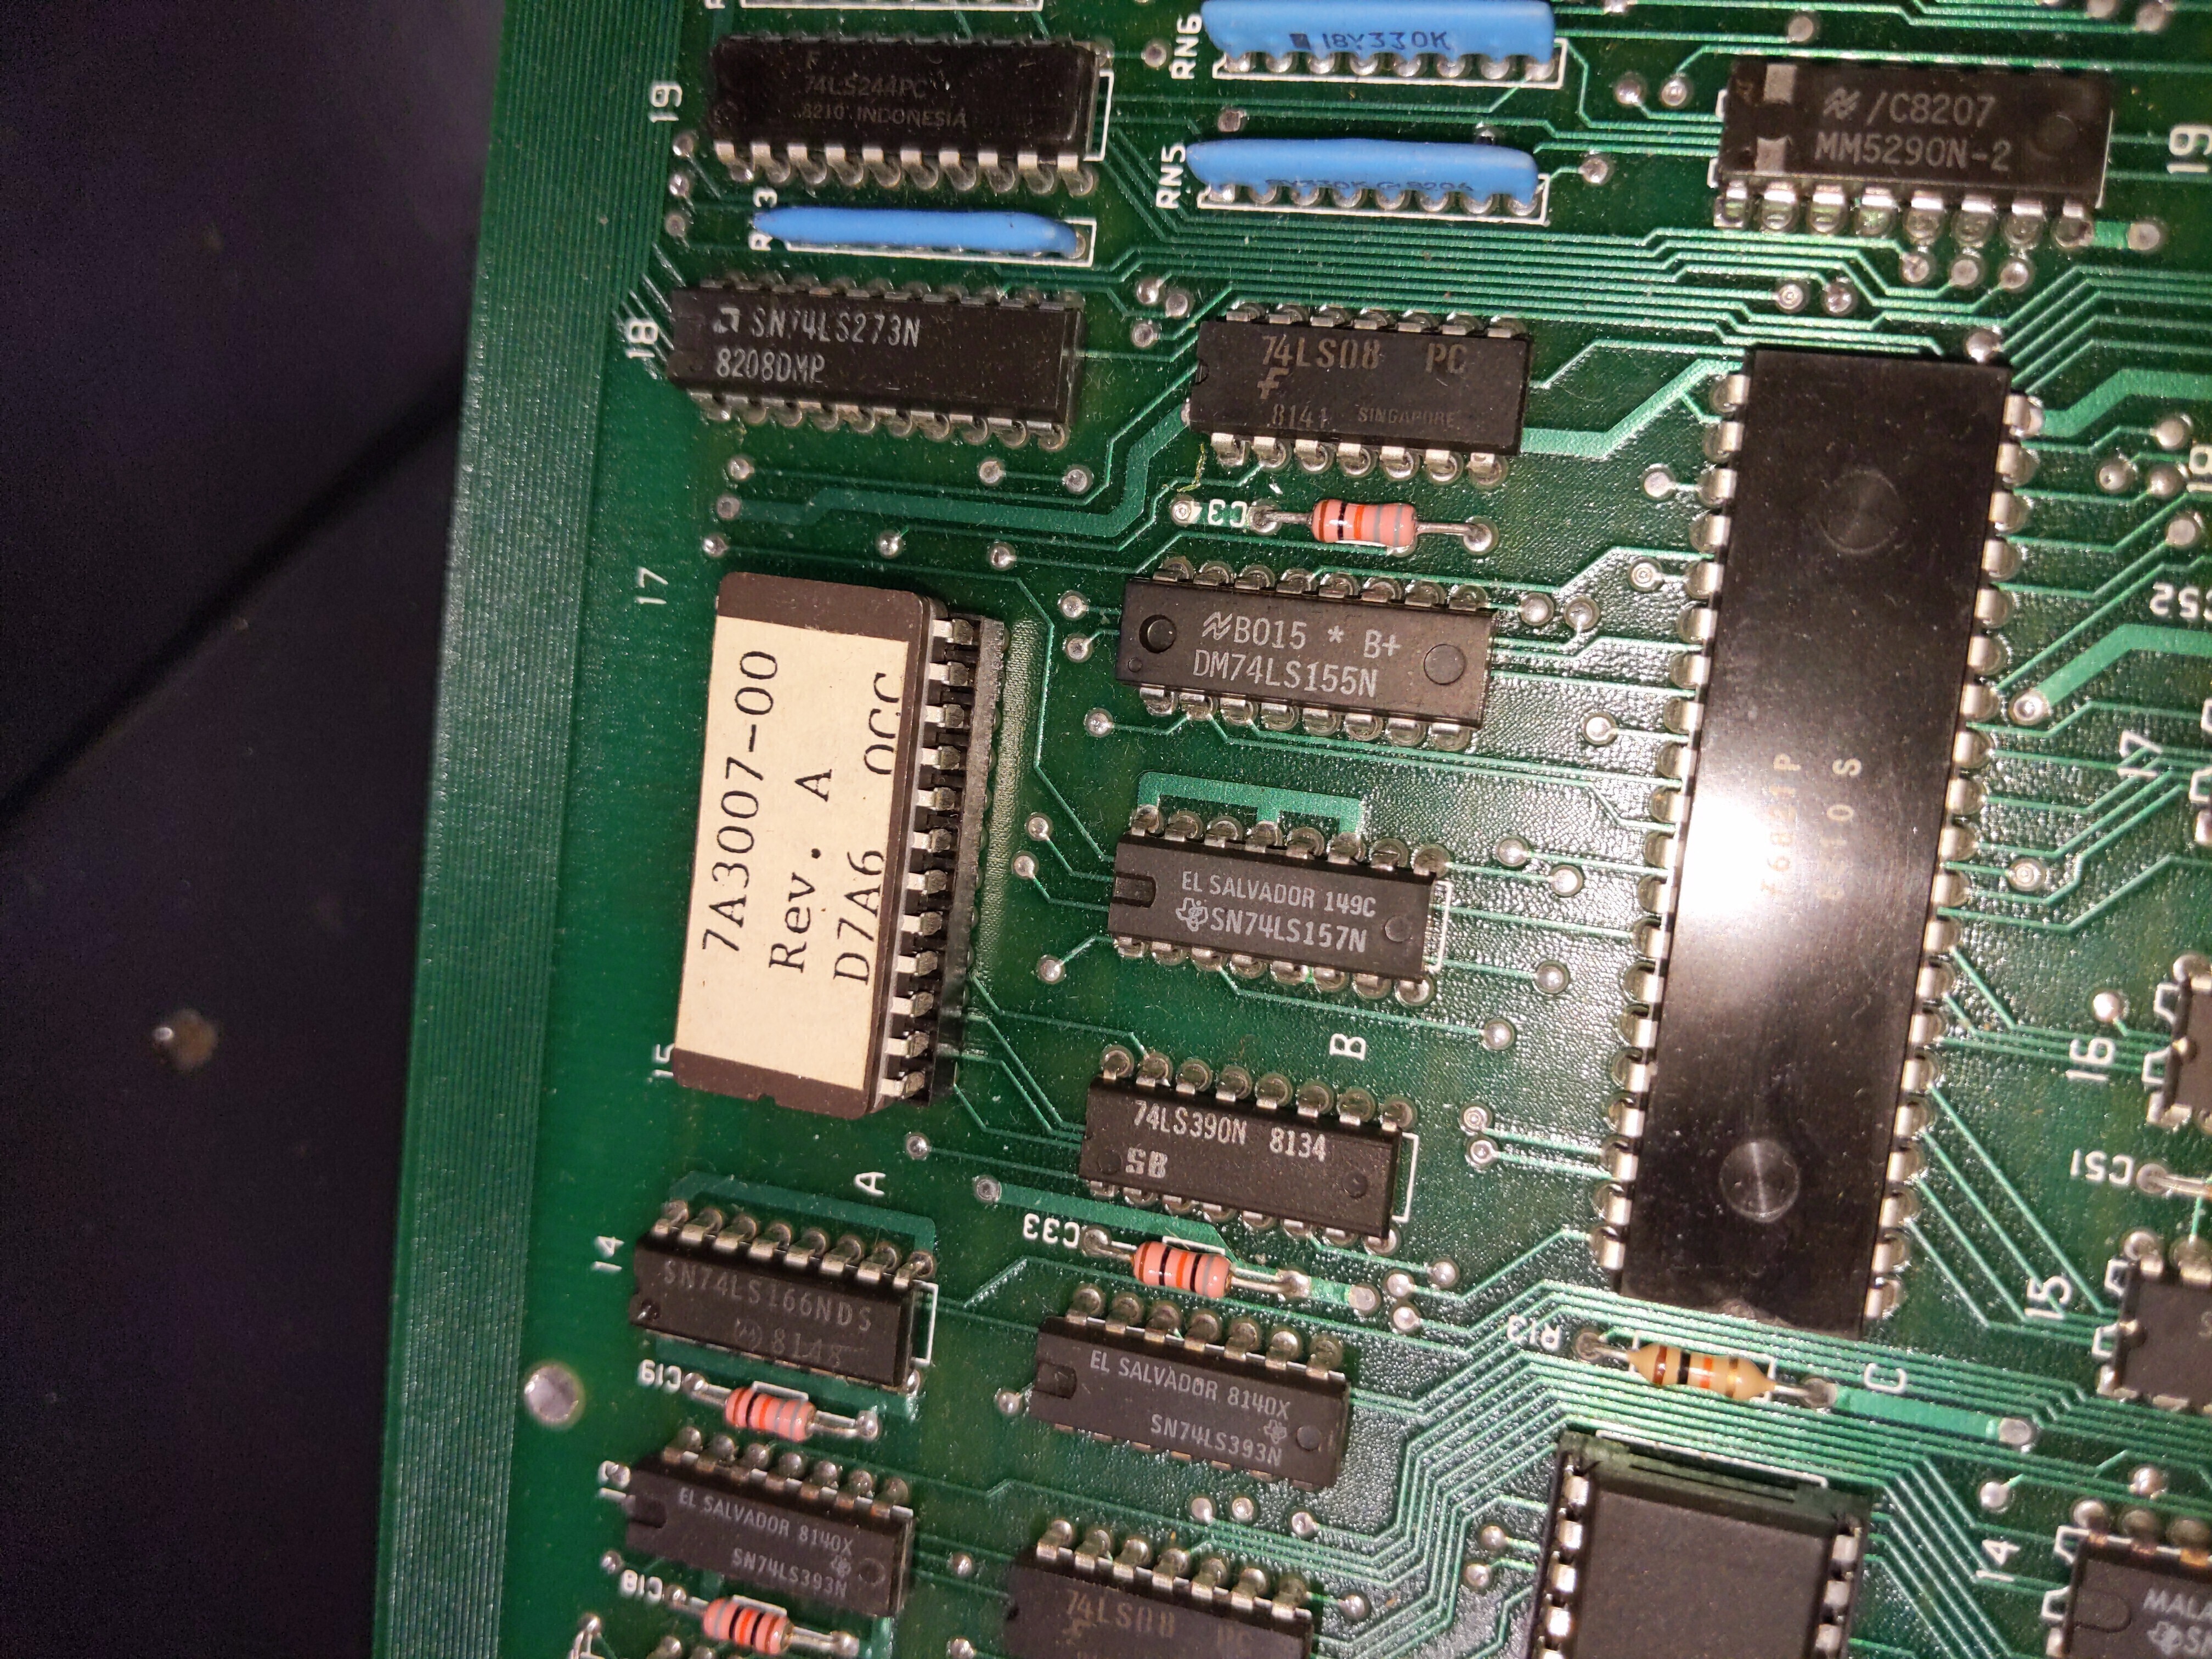
7A3007-00
Rev. A
D7A6 OCC
We can also see that this is a Revision (inverted) K board, which apparently means it is eligible for the floppy upgrade.
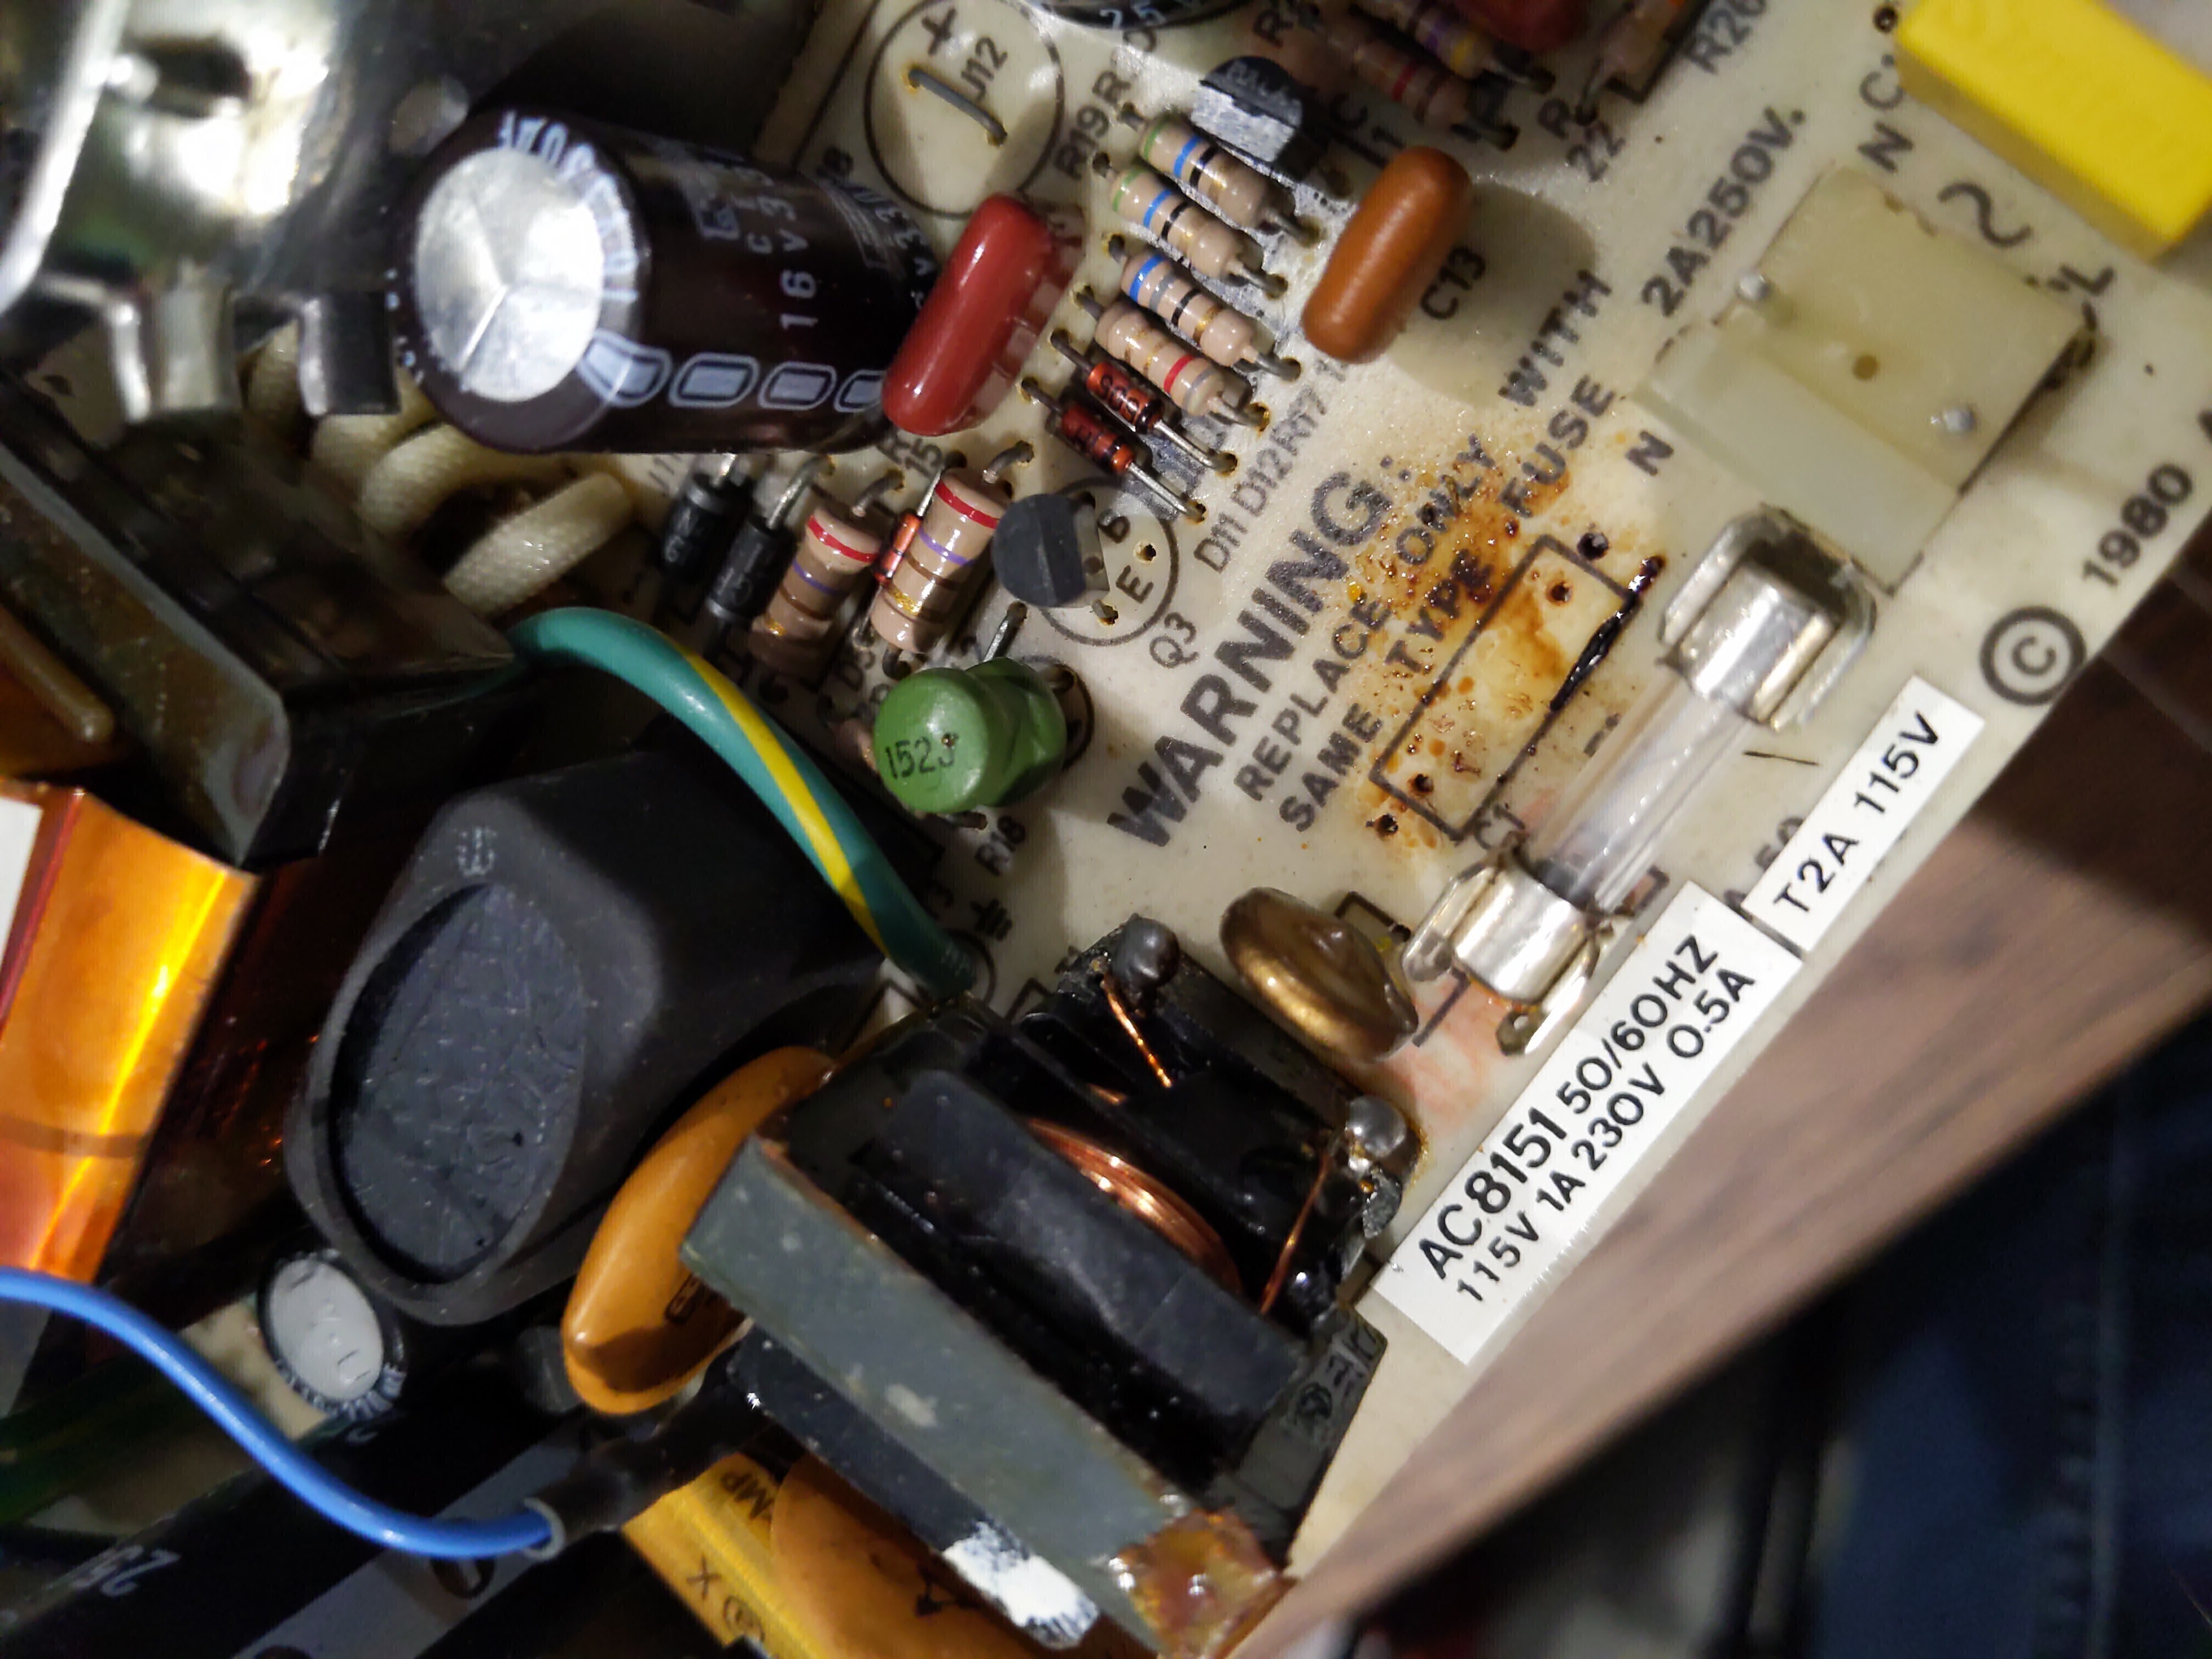
Looking on the flipped "skeleton" of the system, we can see the power supply board, with some weird foam sticker residue.

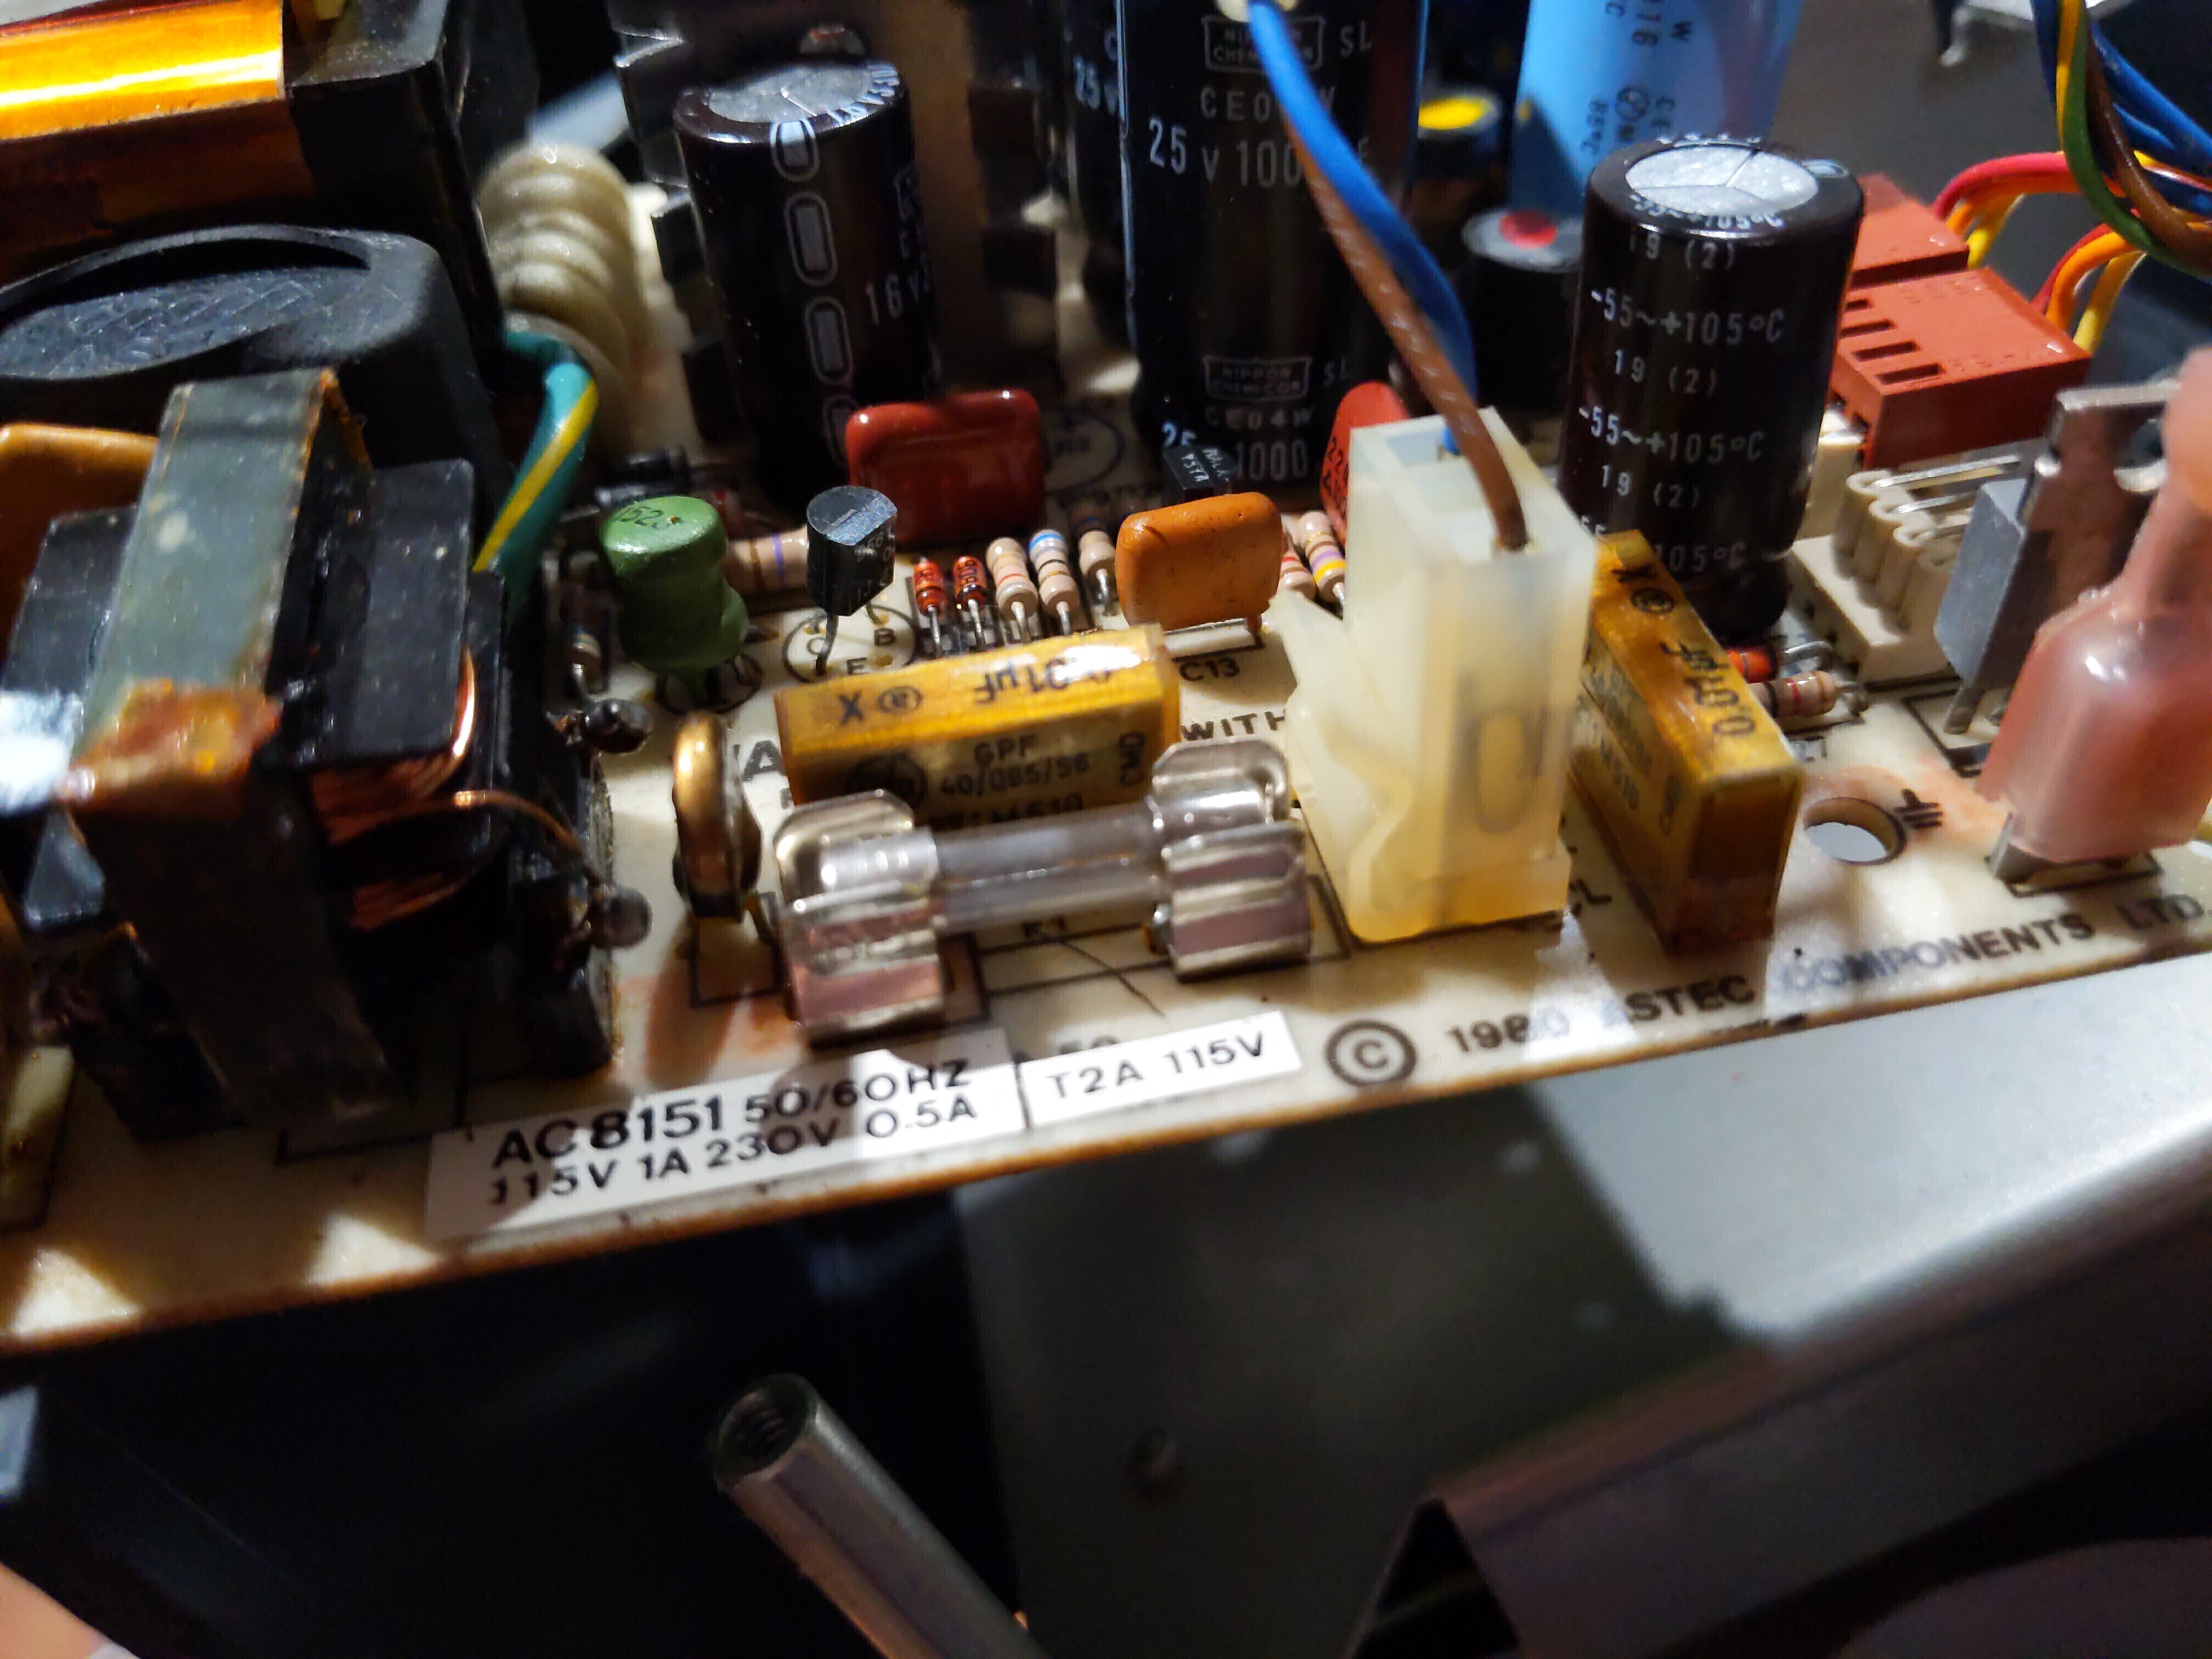
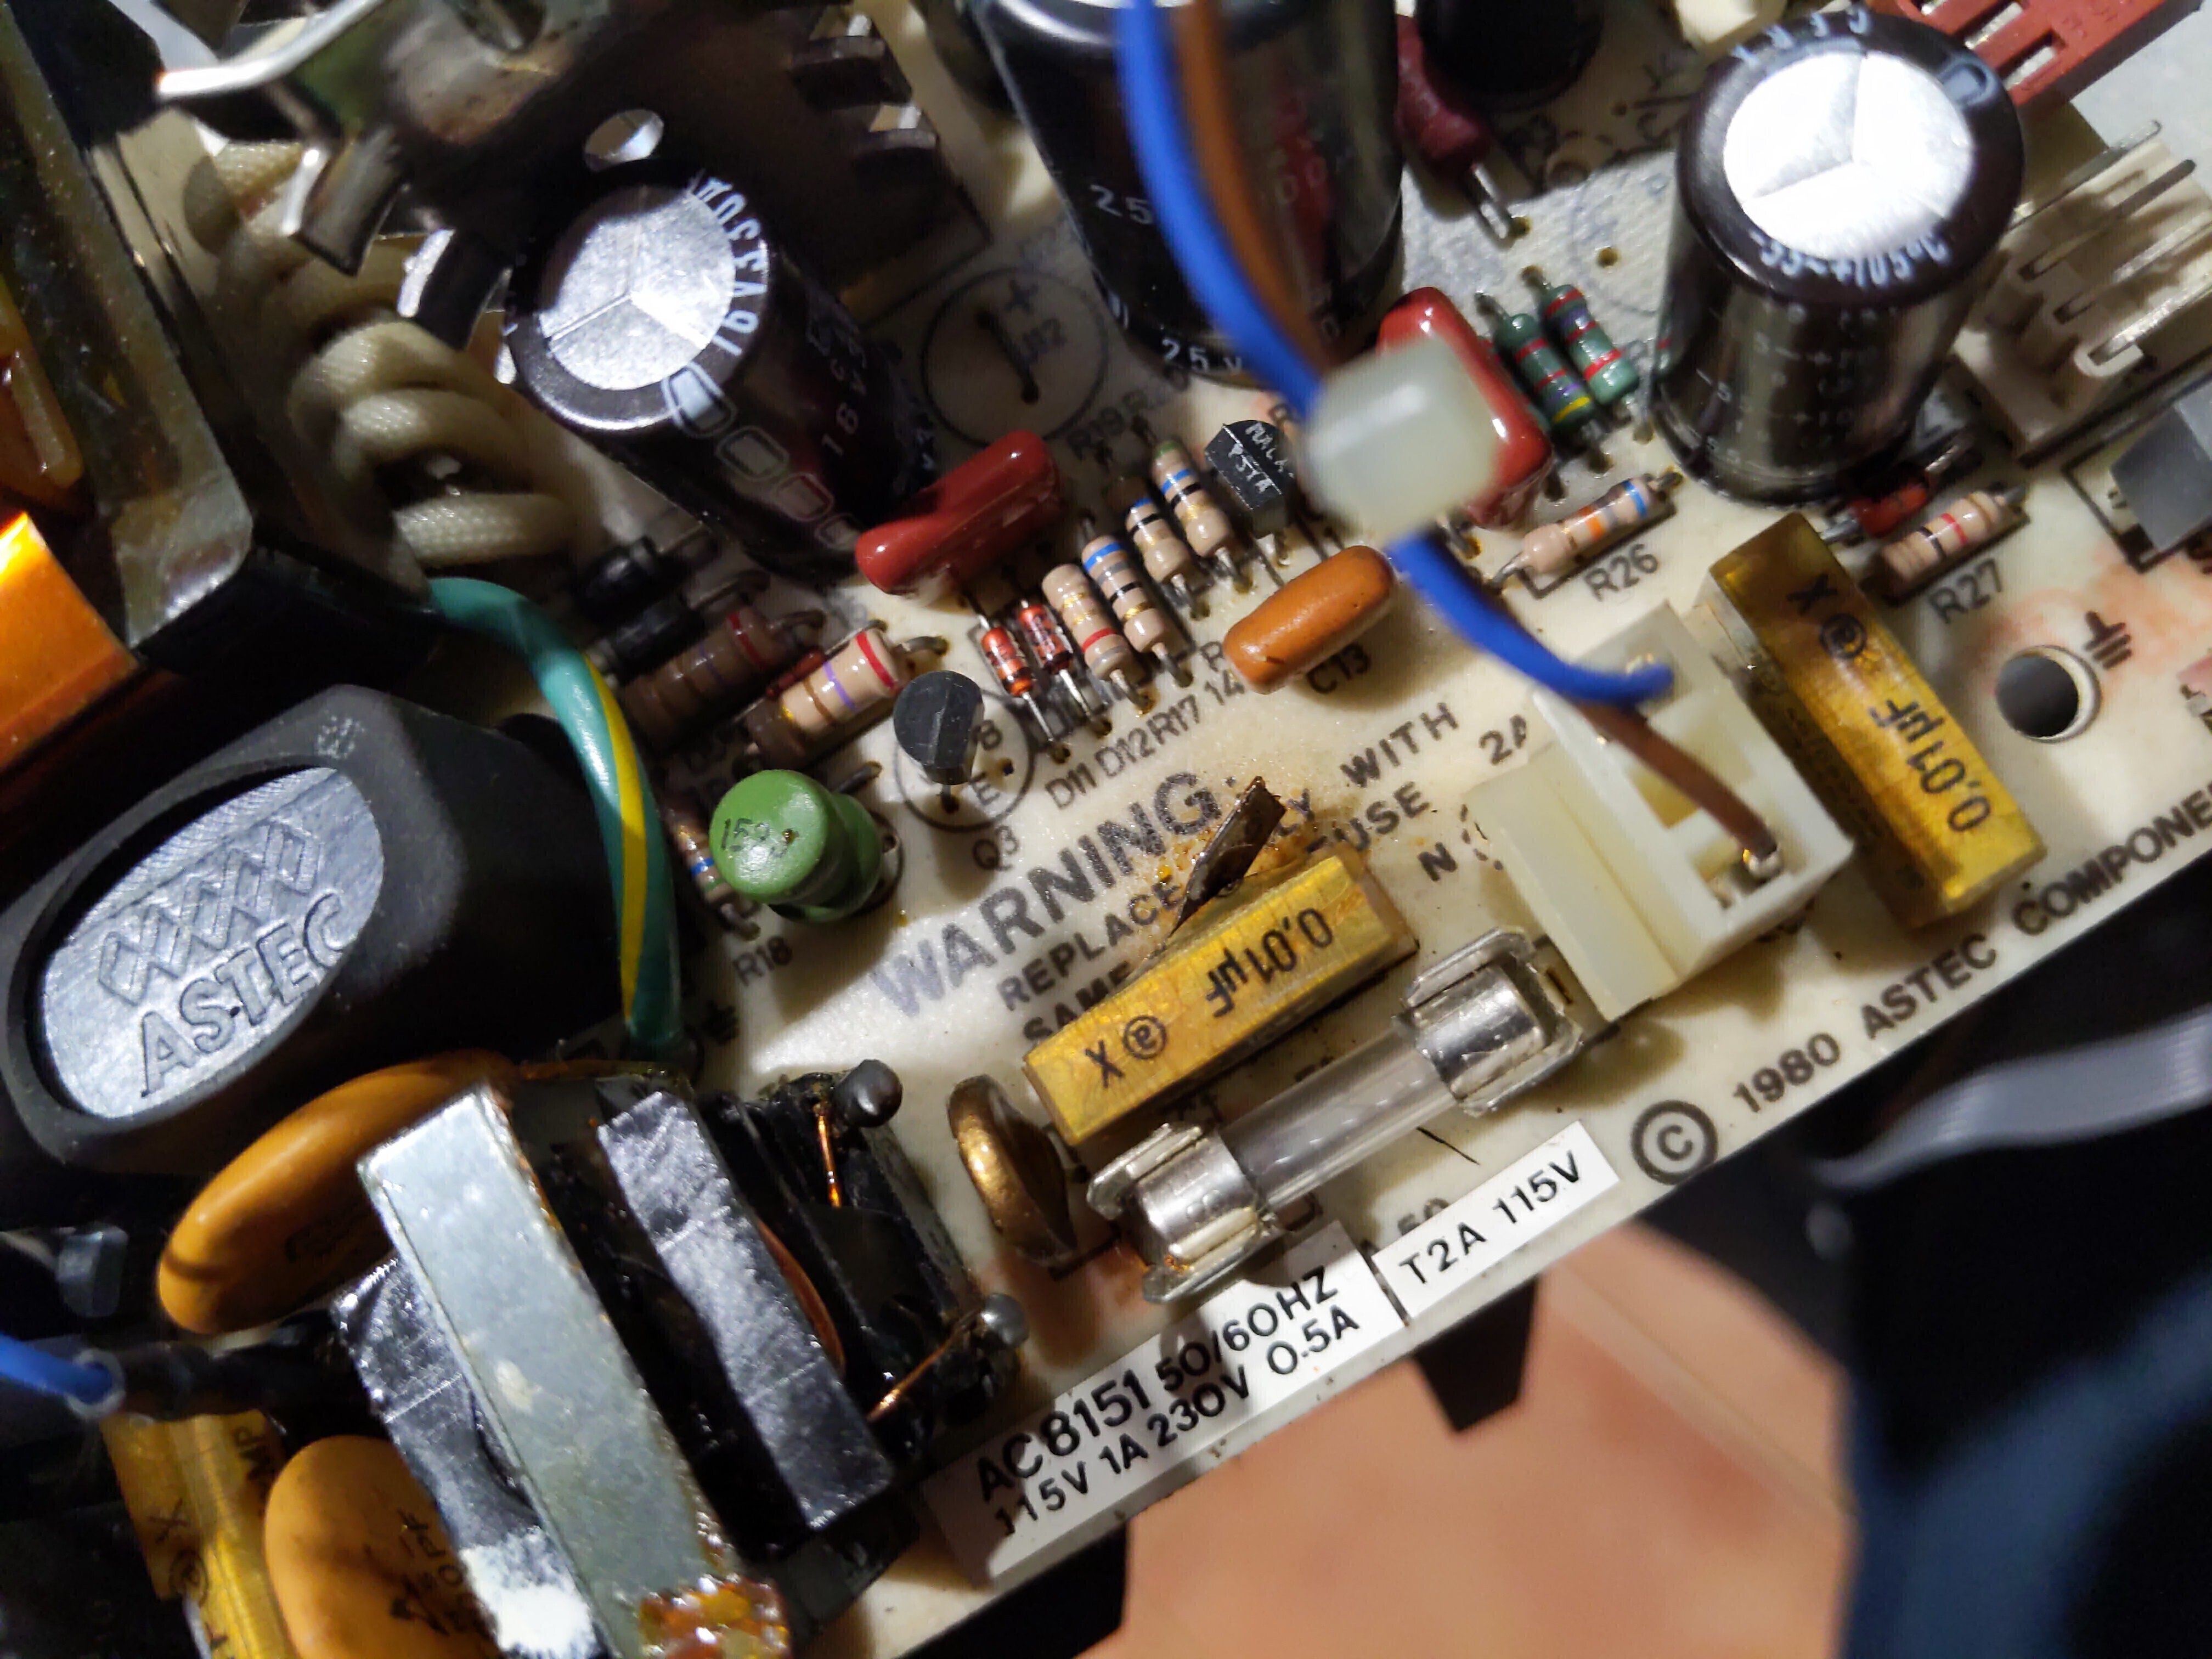
Unscrewing those four screws, we can remove the power supply and find it's an Astec AC8151, which seems to be a pretty common PSU from that age [1]
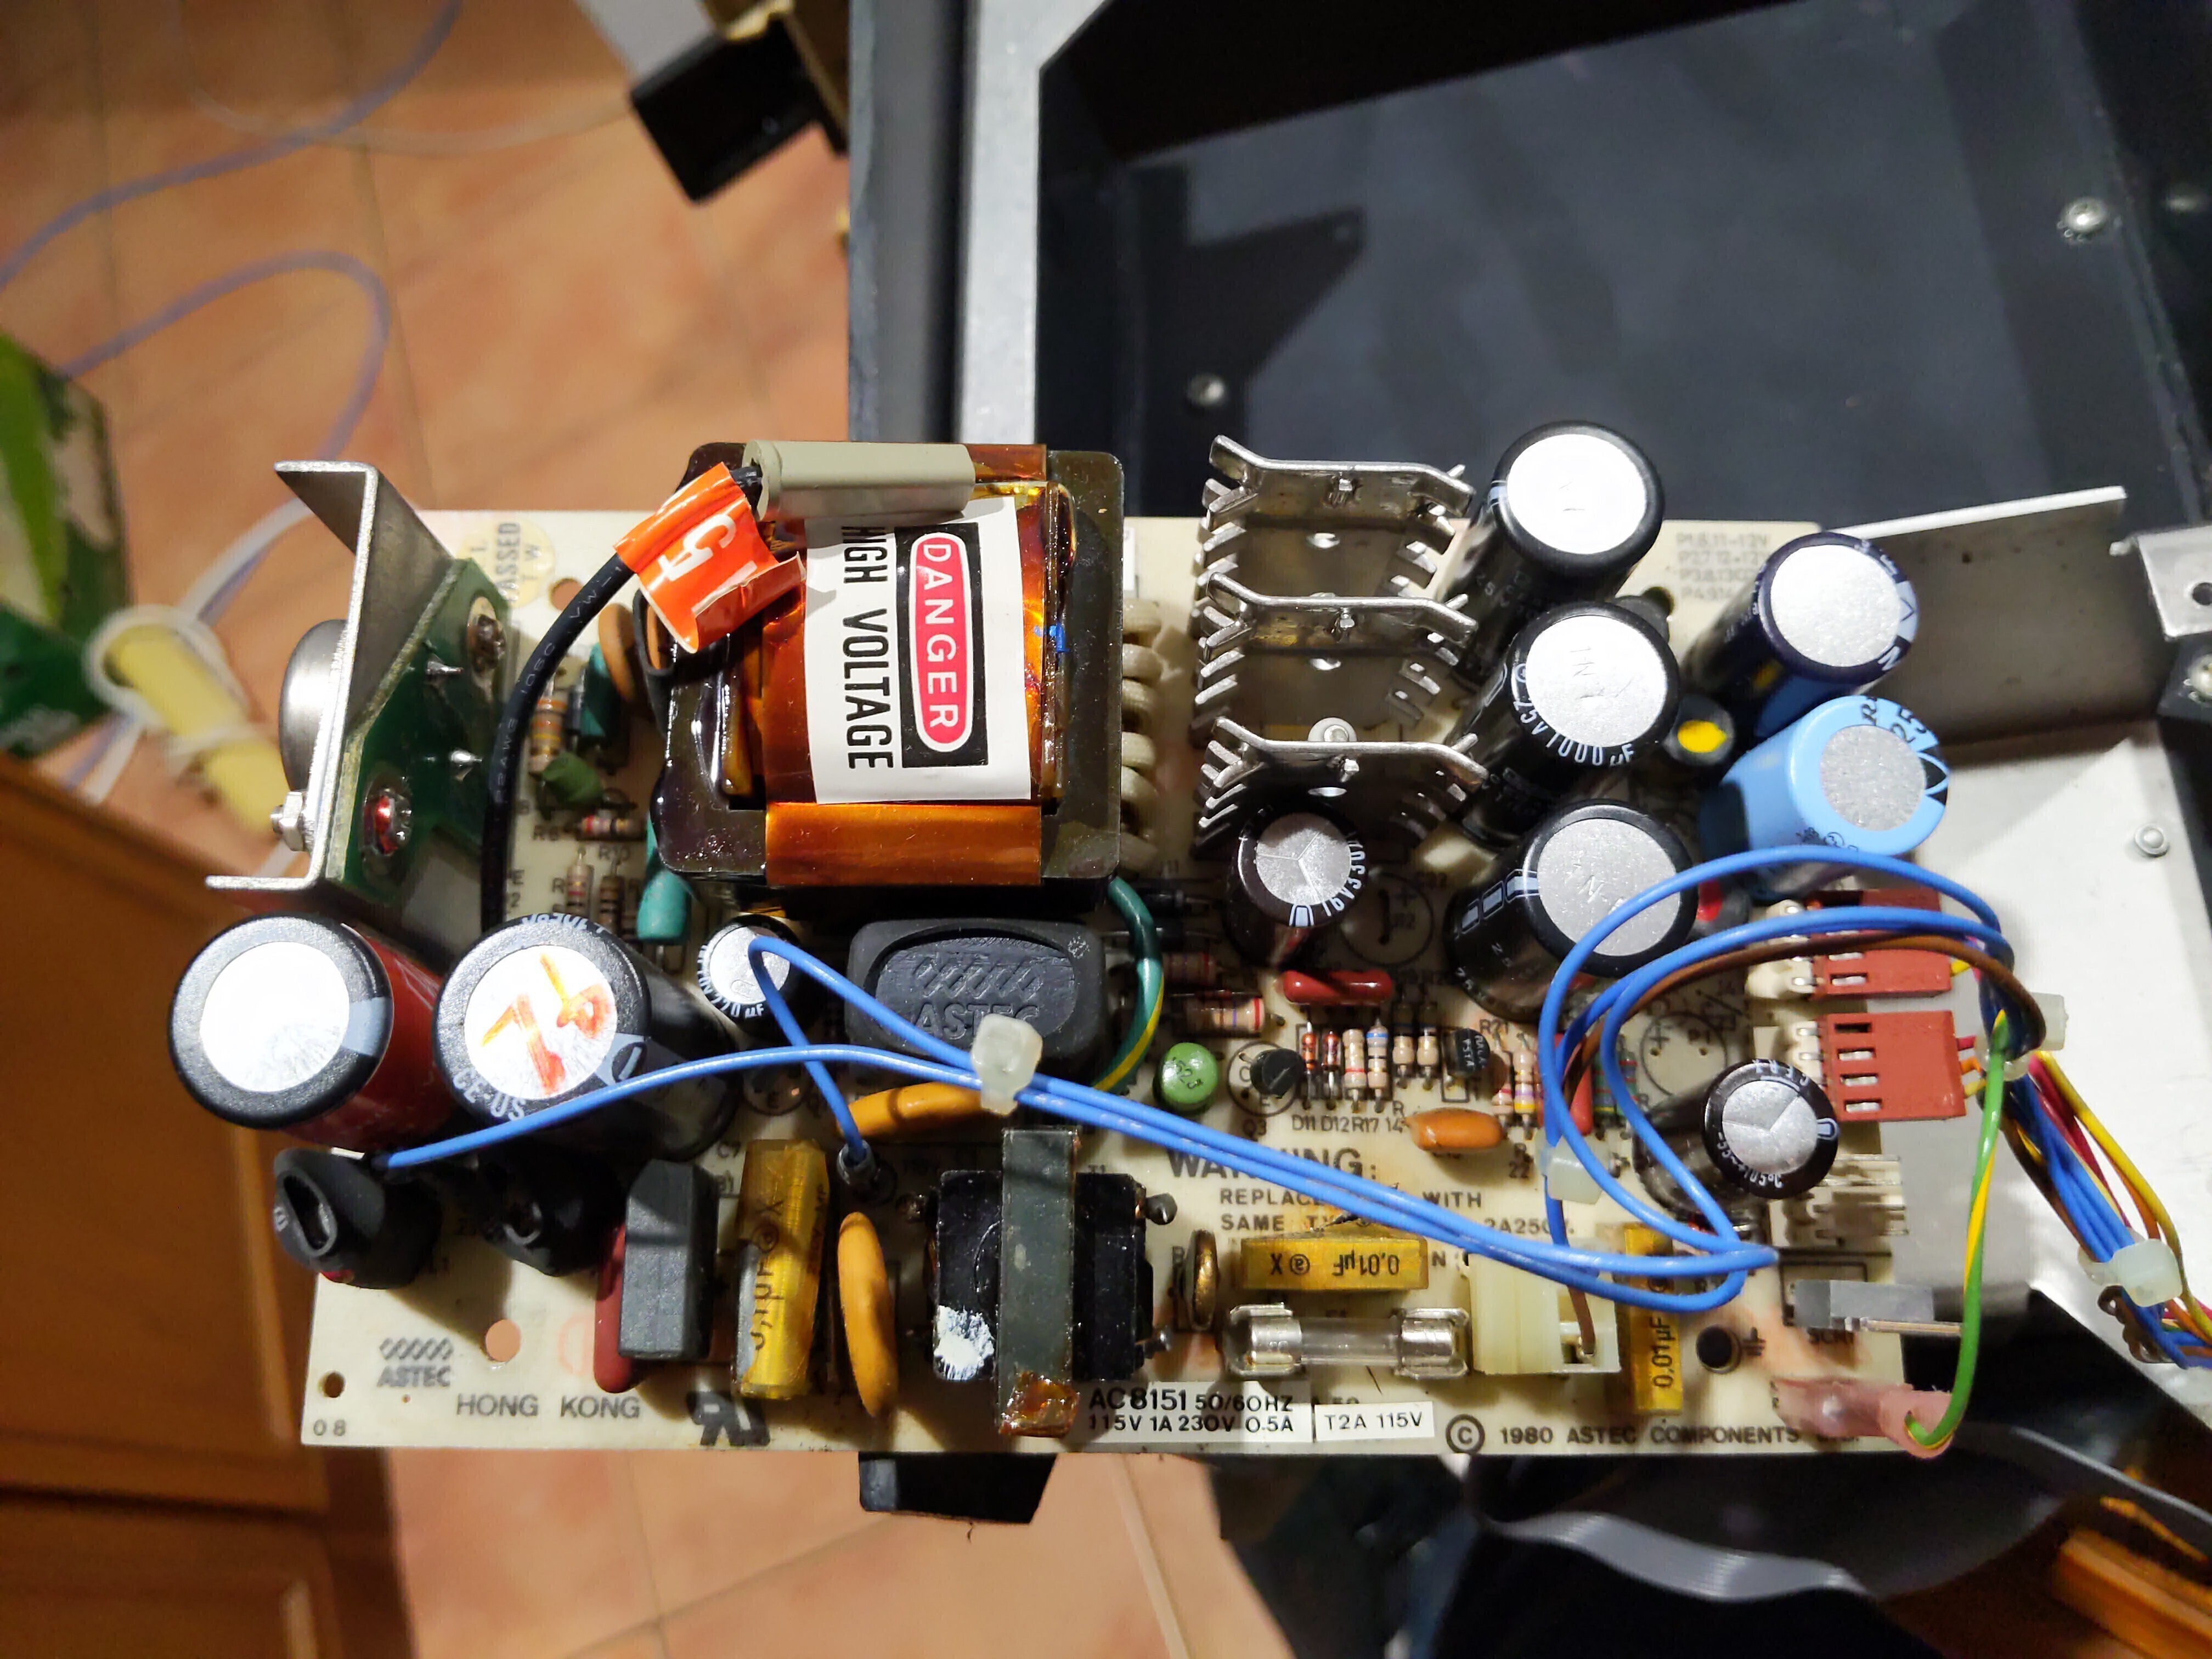
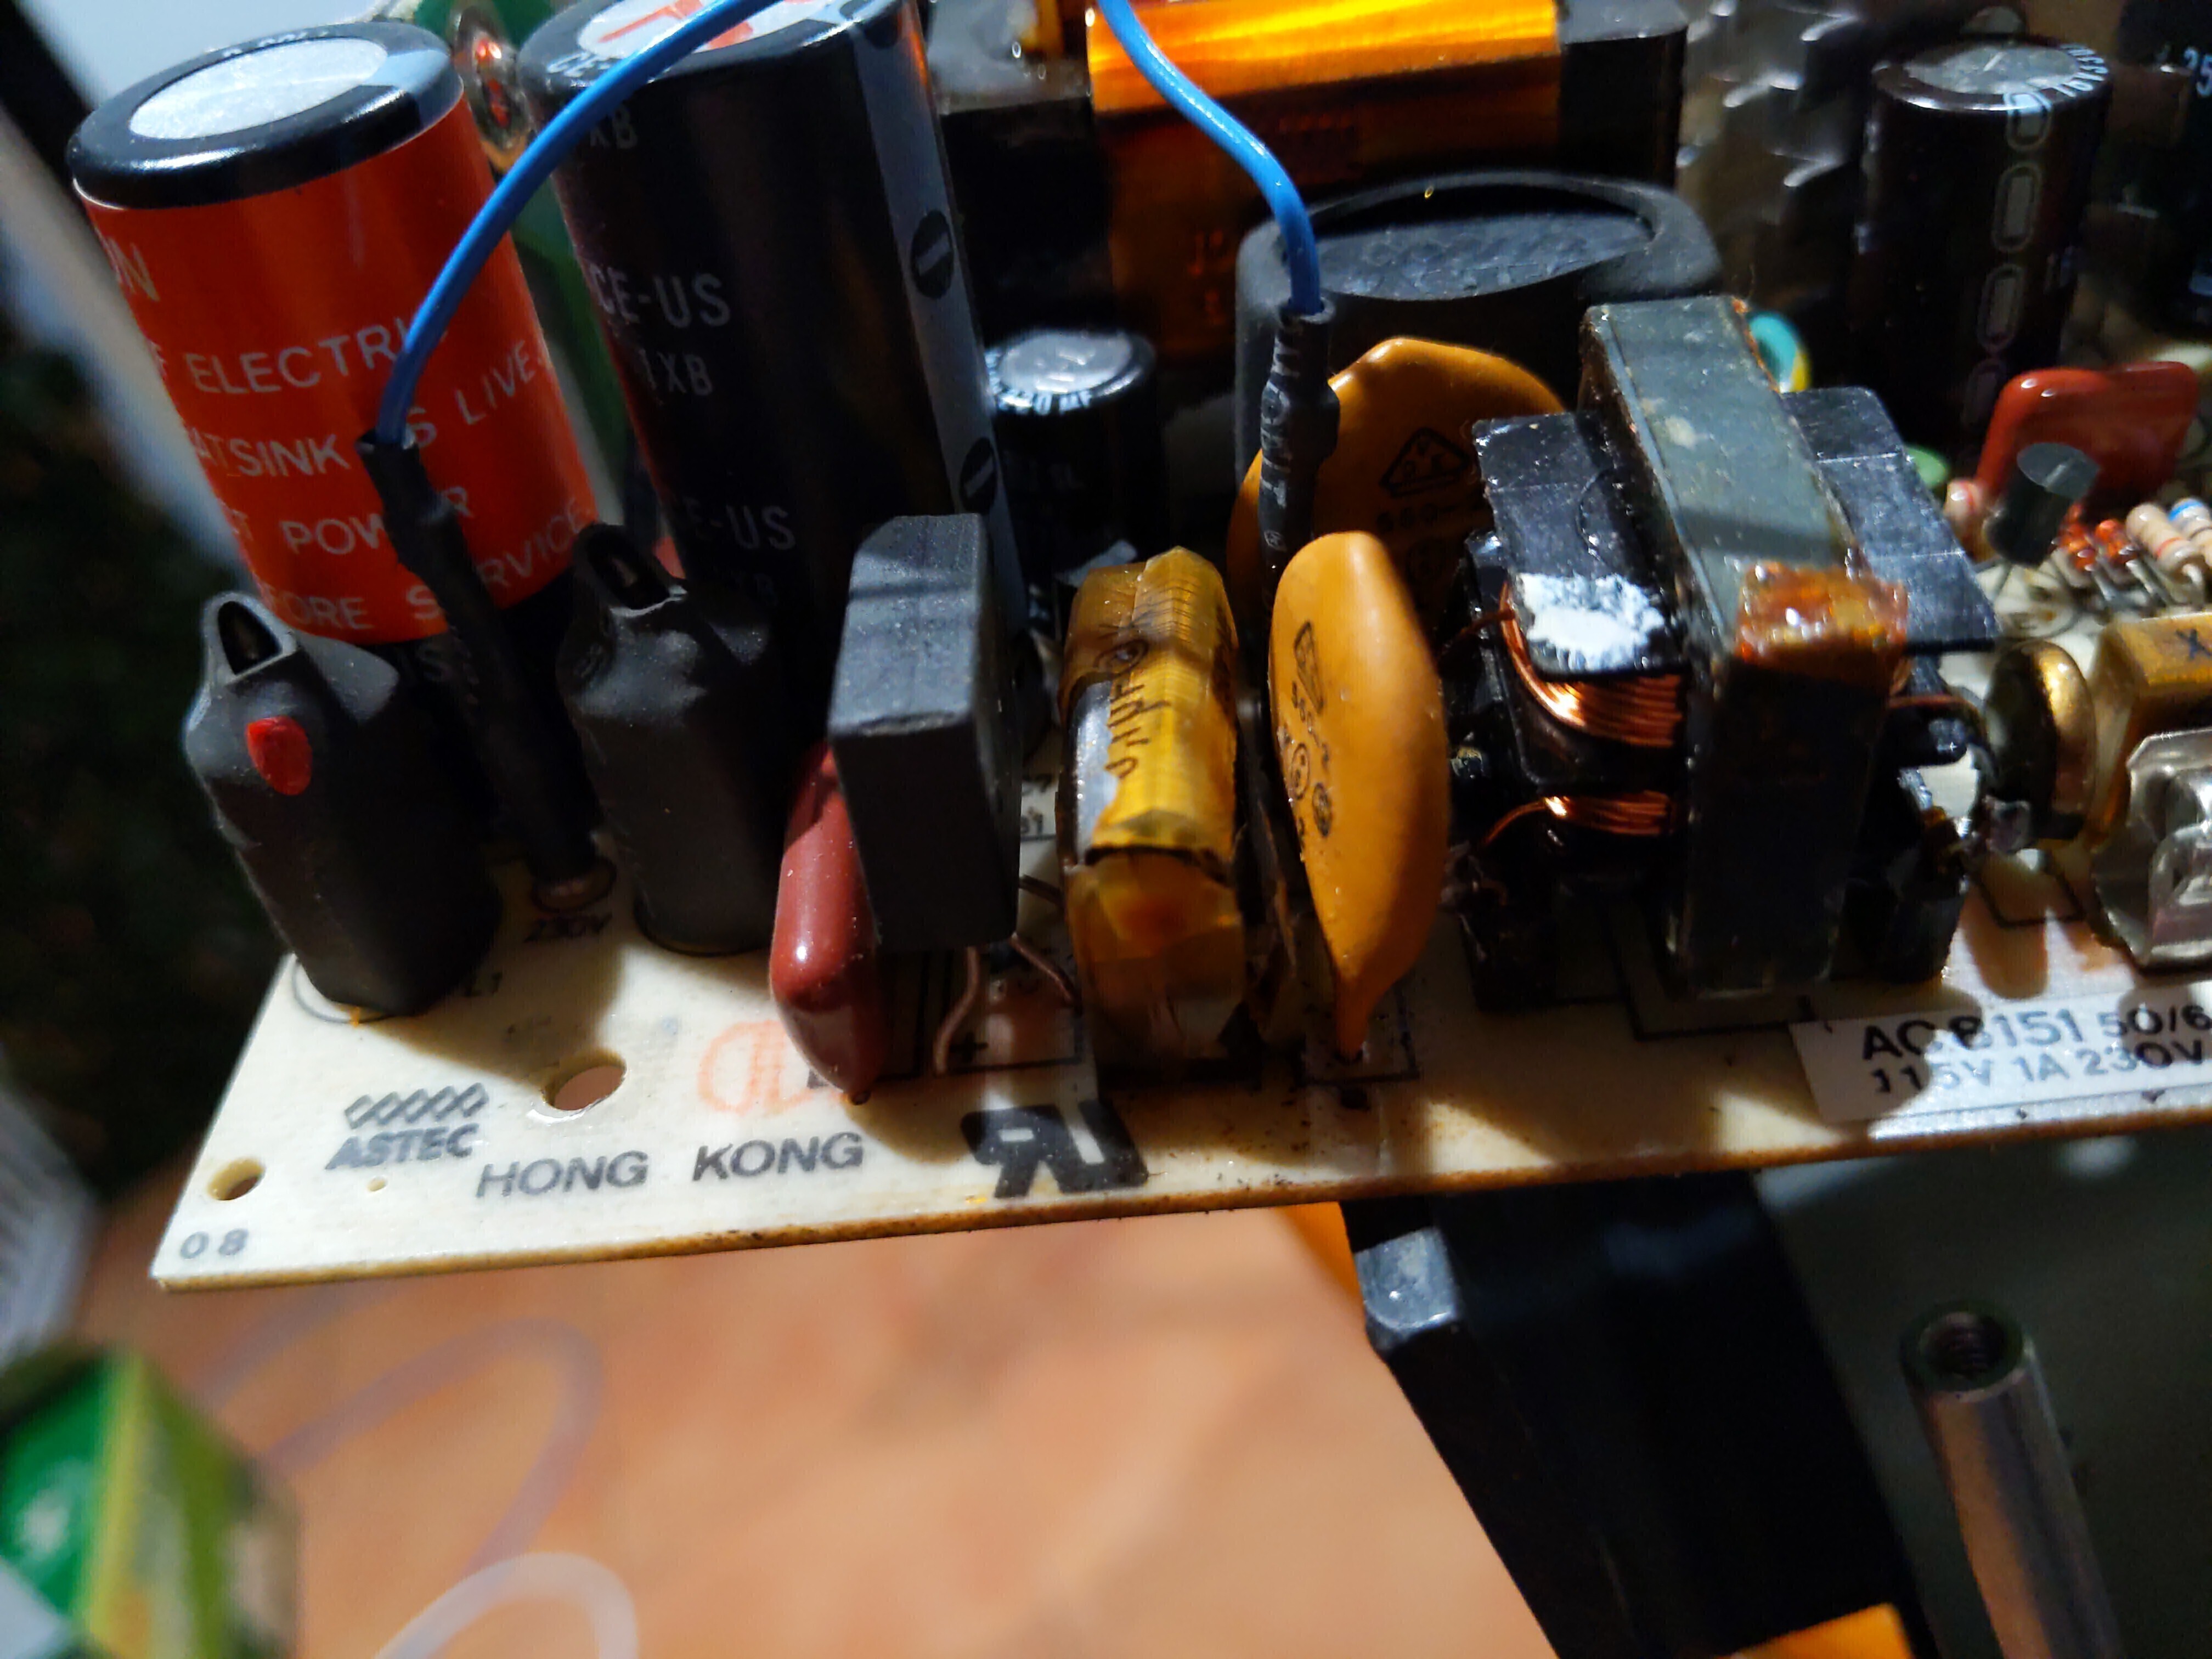
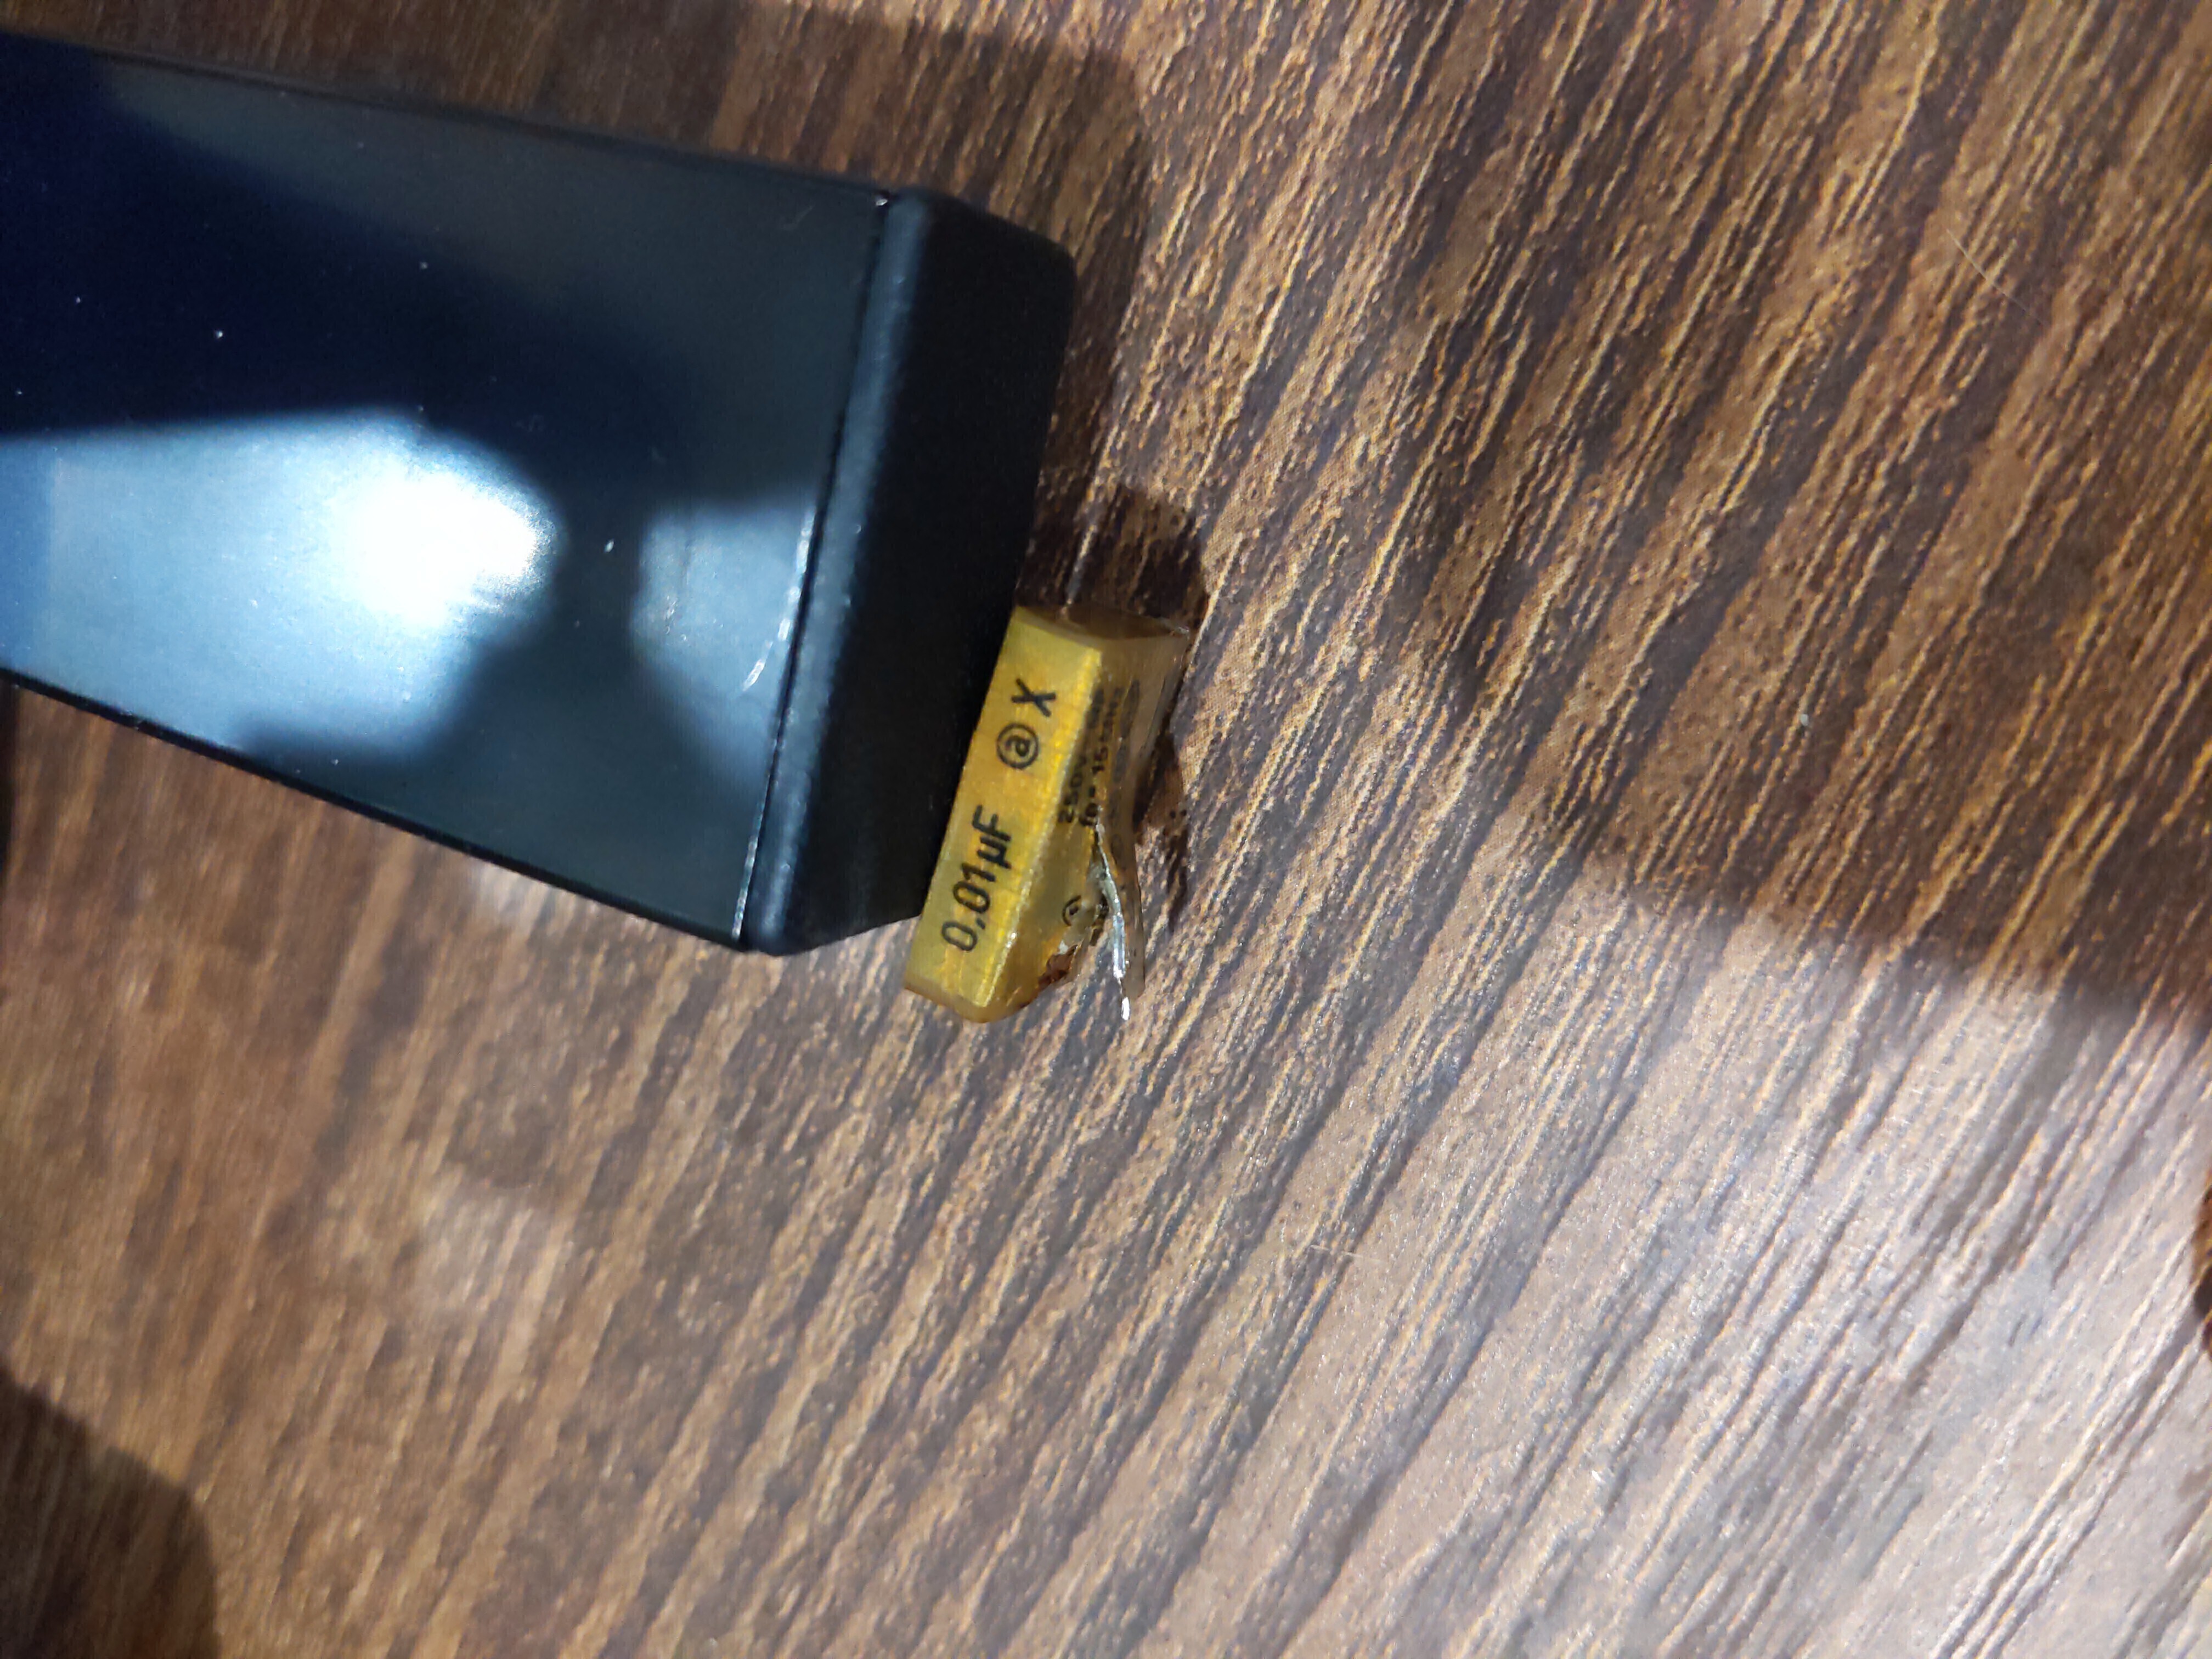
If we look closer, we can see several RIFA filter / line capacitors that need replacement.
Moving on to the floppy drives, both of them are MPIO model 51s, with rotation speed calibration markings on their spindles (that use the fluorescent lights that flicker at AC mains frequency to help you tune them).

Looking at the FDD electronics board, we can see that it's Revision J, which was the other hardware requirement for the Floppy upgrade board!

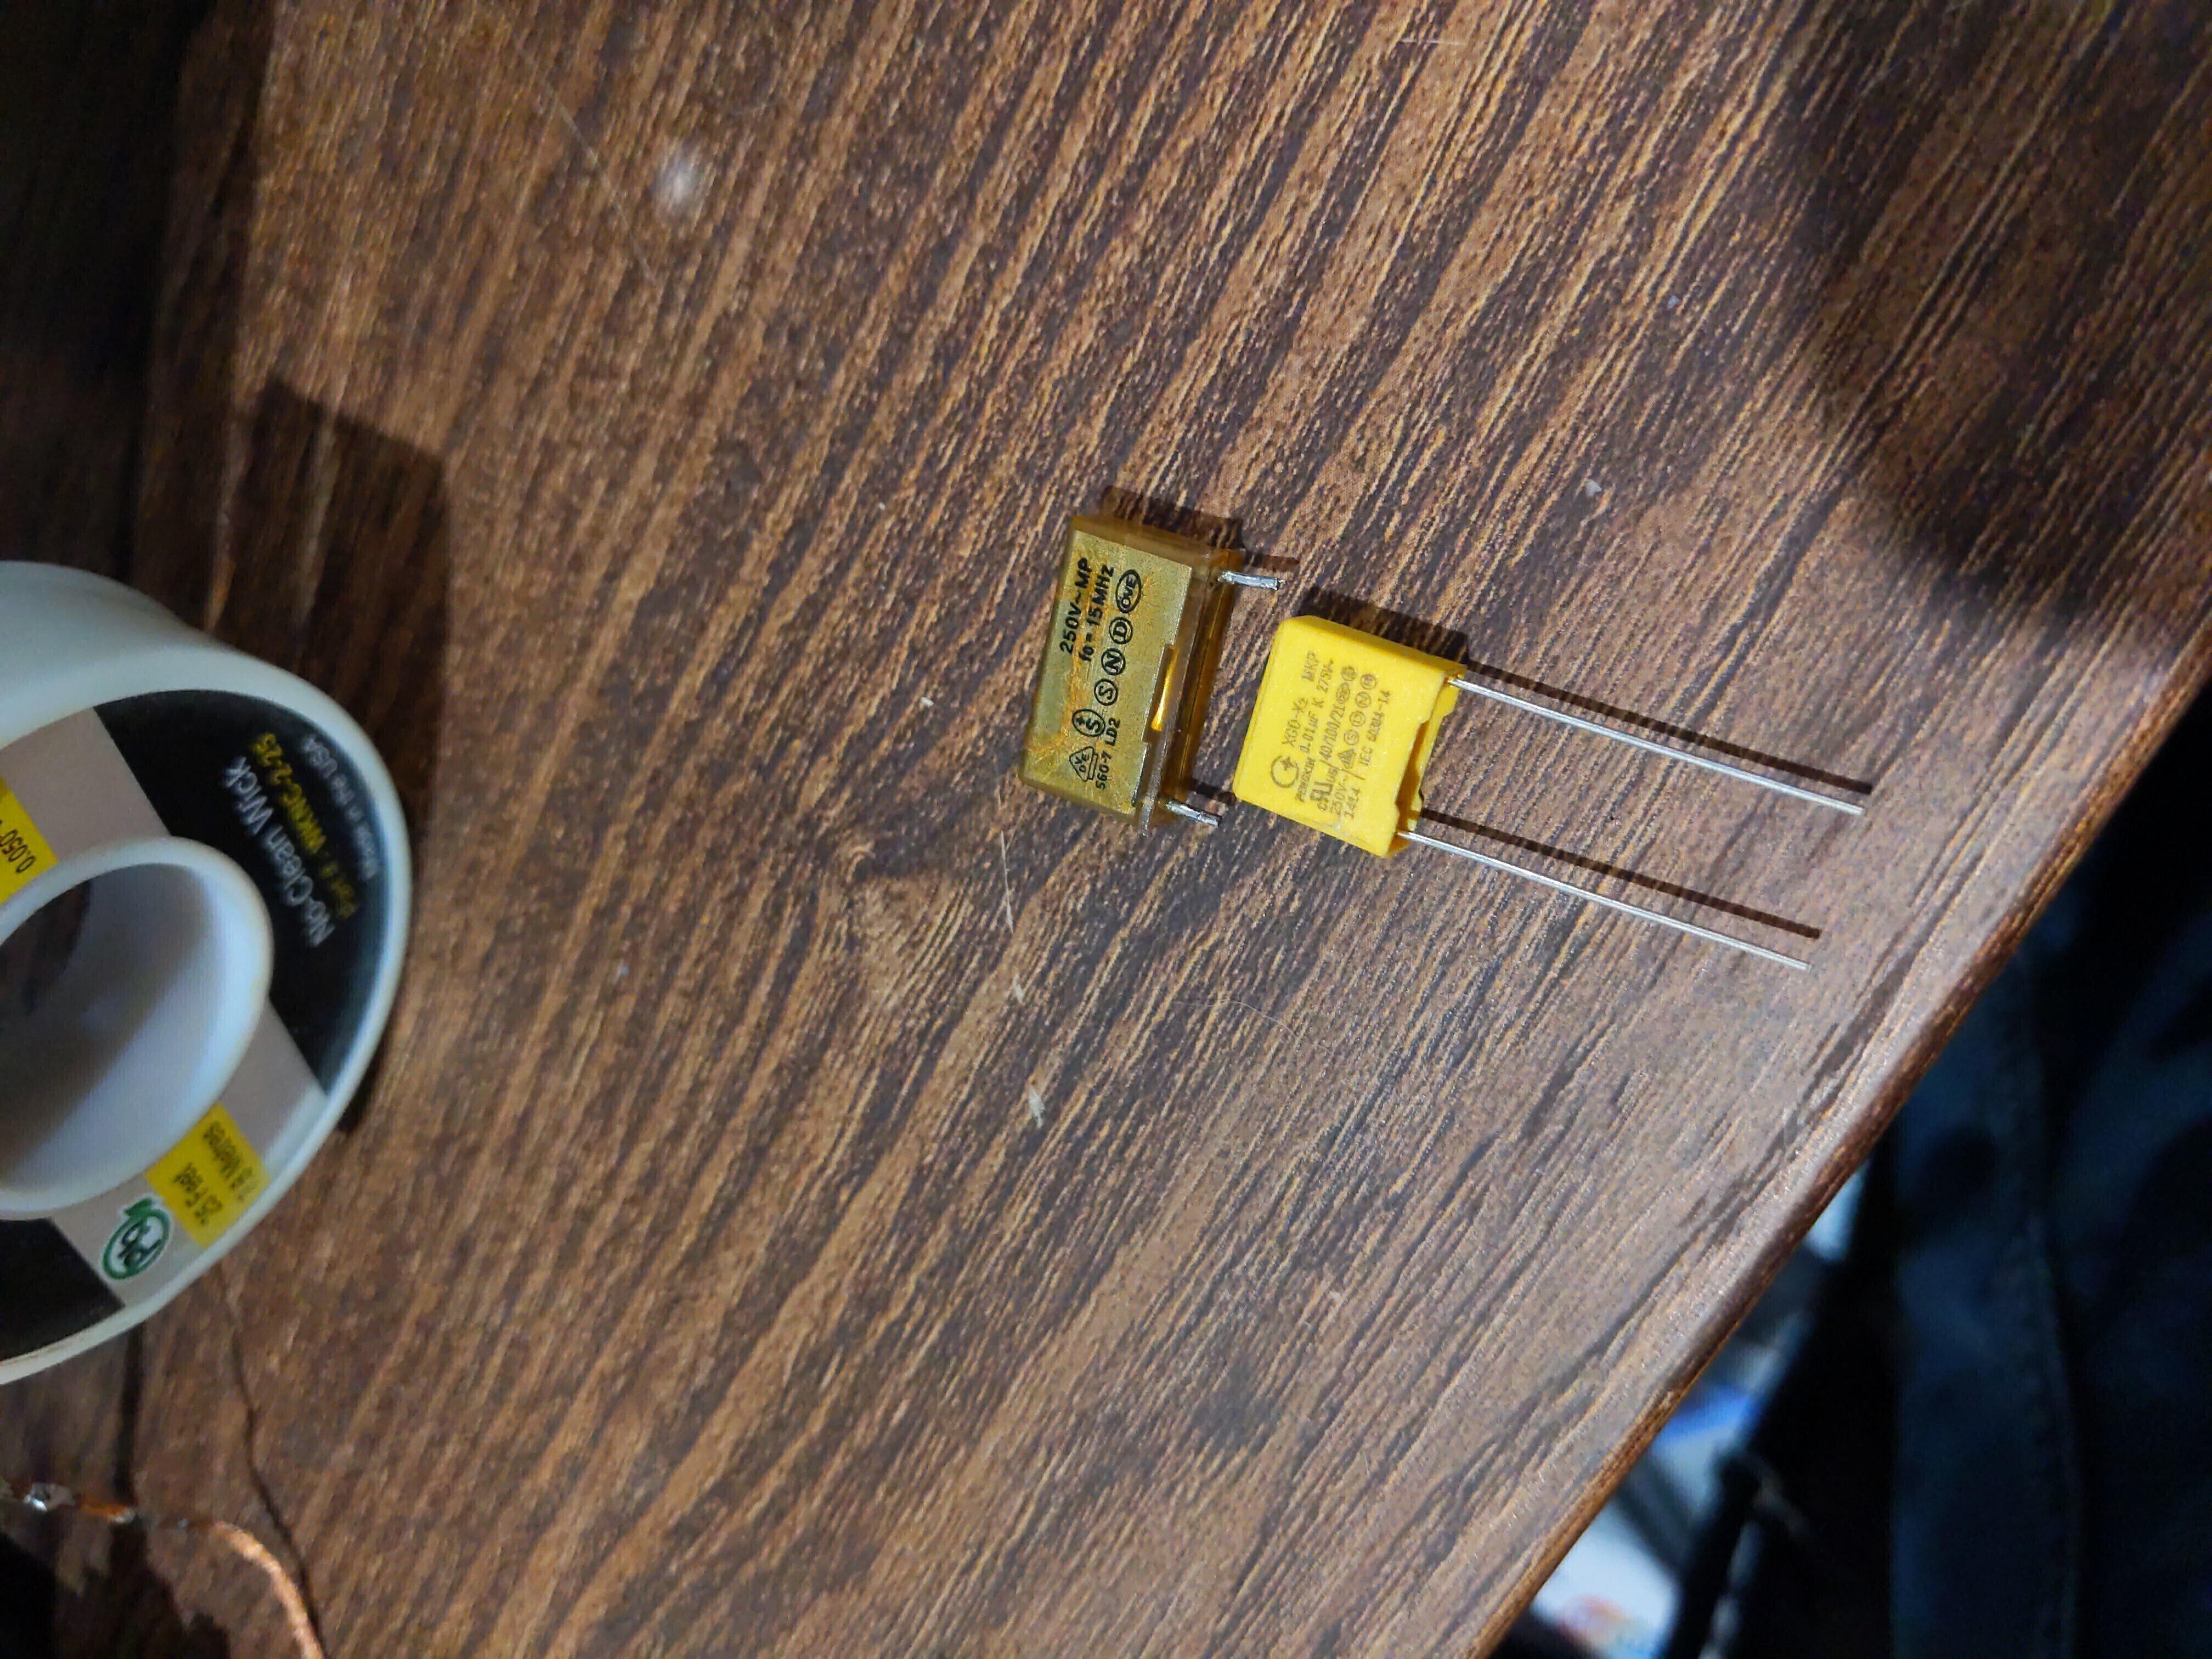
At this point, I took a break of a few days, and sourced some replacement capacitors. I desoldered the first one and found that the size was different:
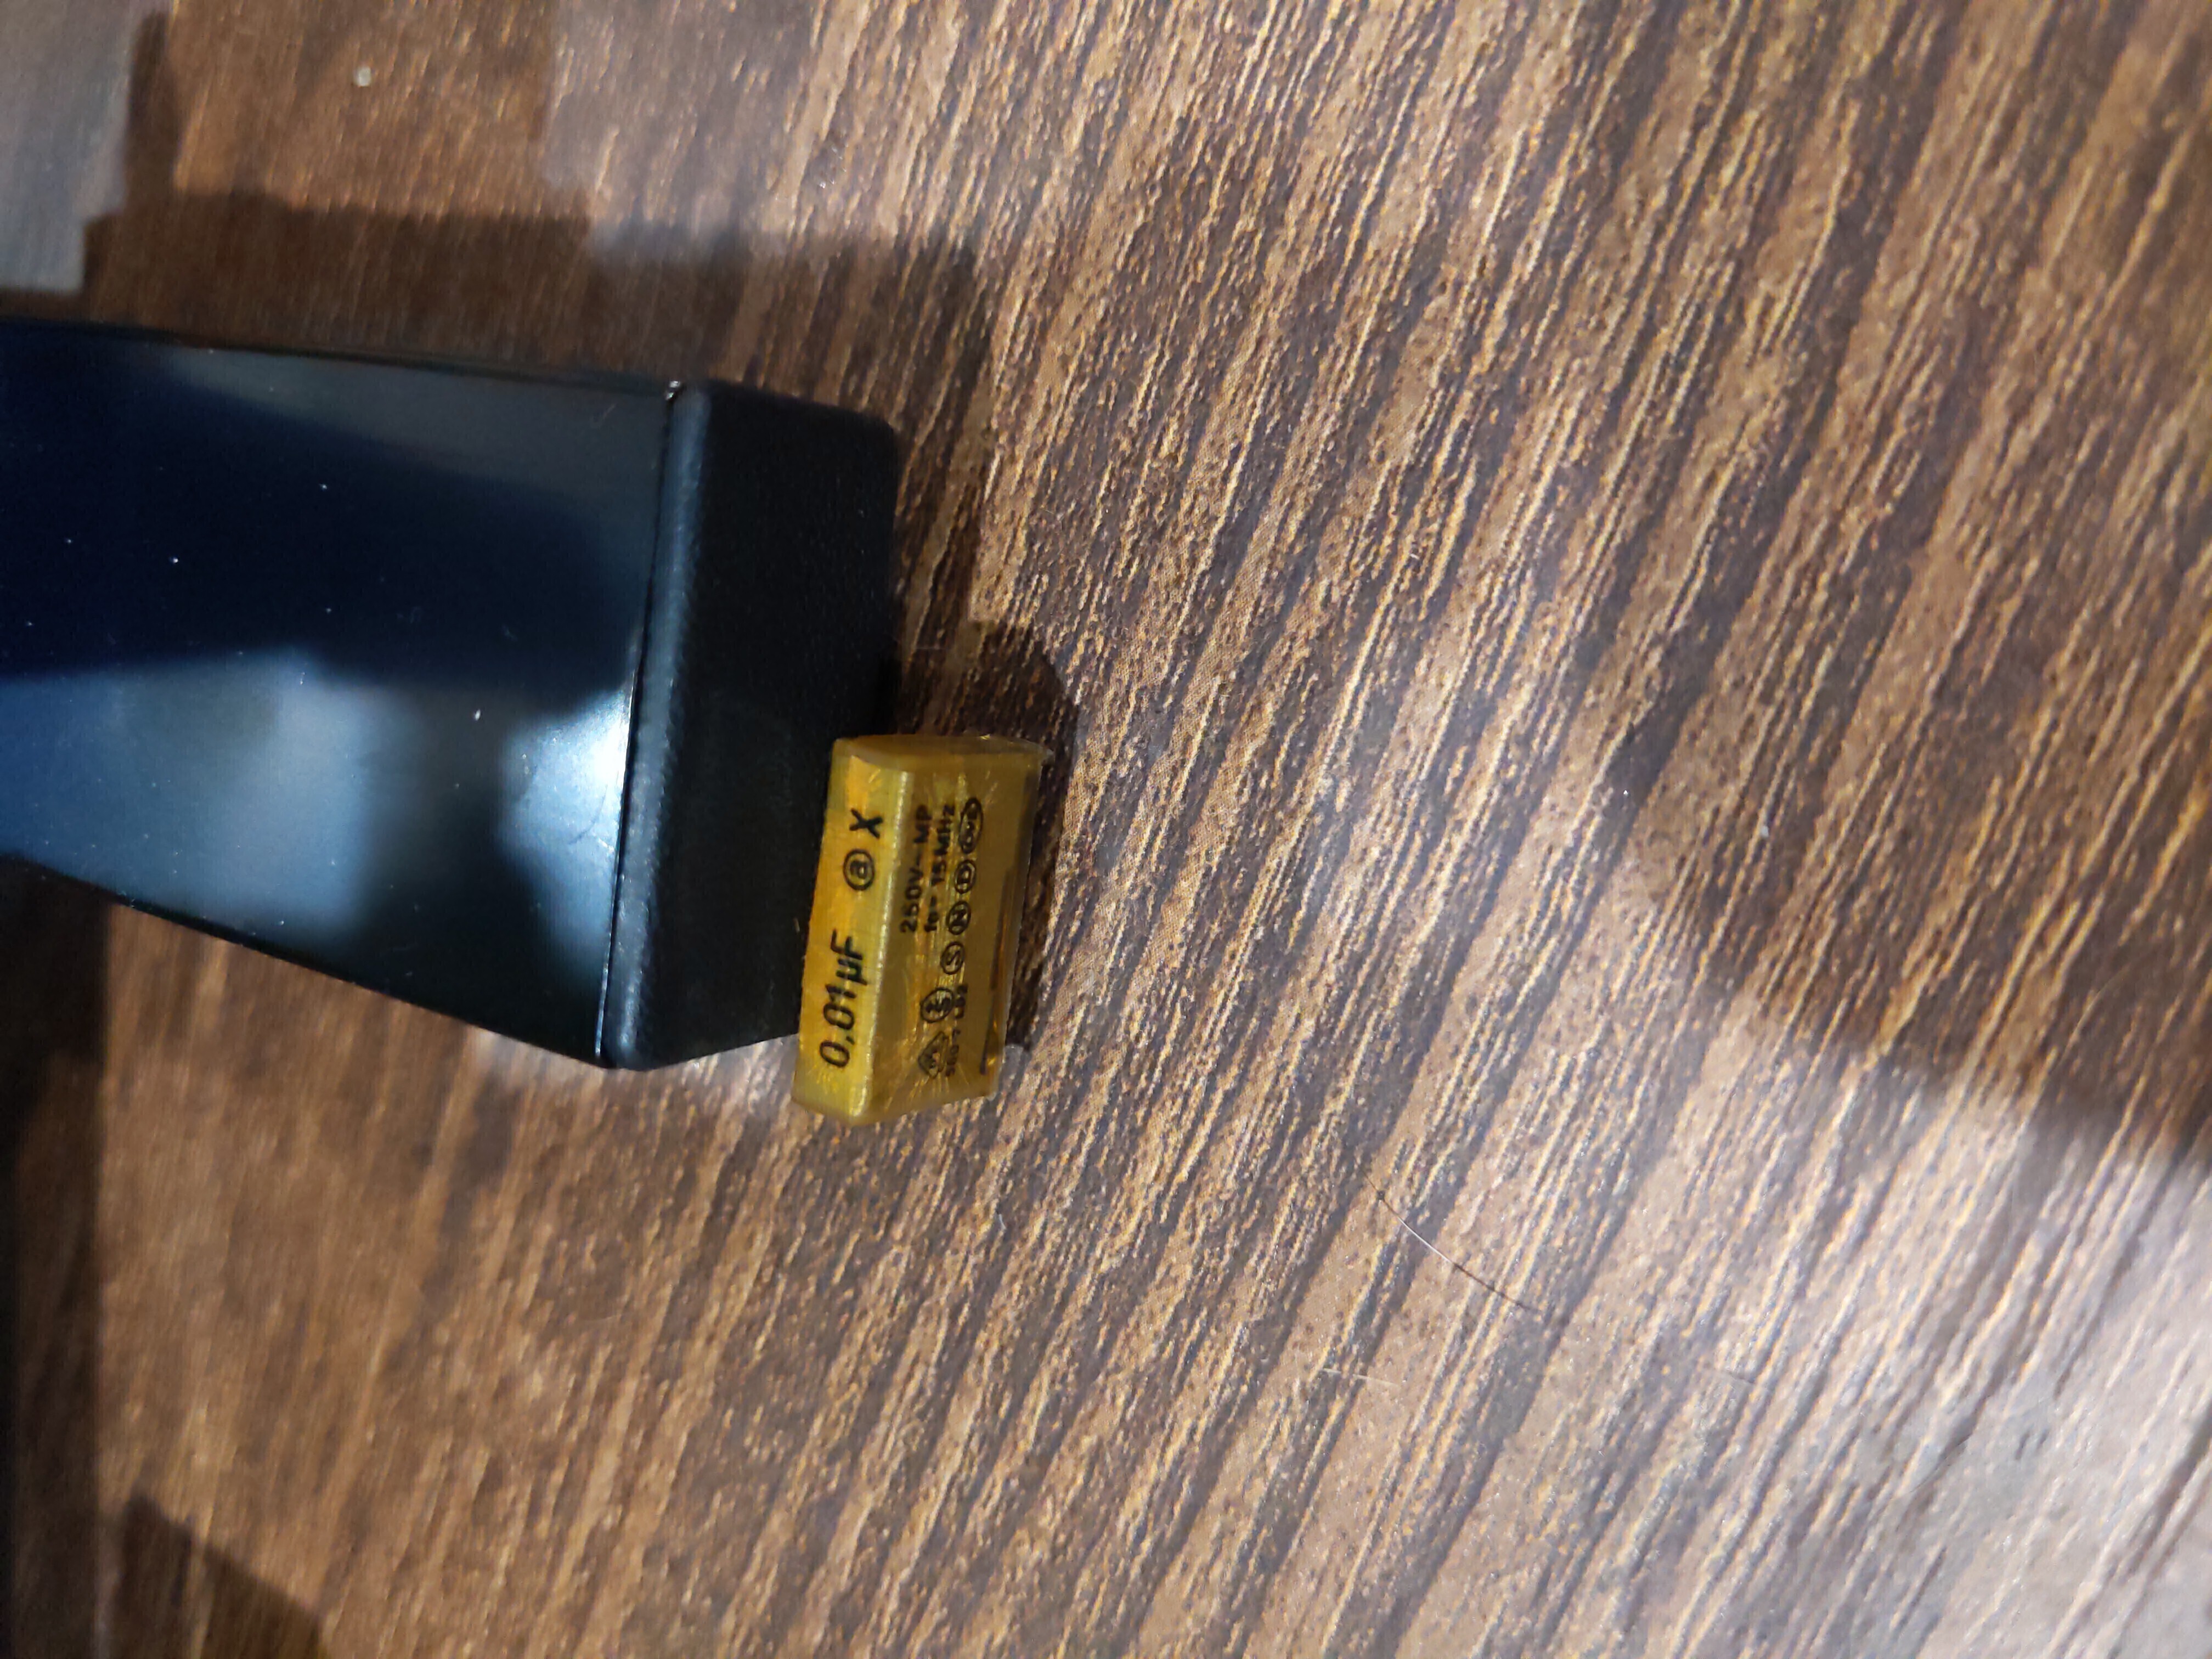
This was probably the least bad RIFA, but if we view it from a different angle we can see that it's definitely on it's way out.
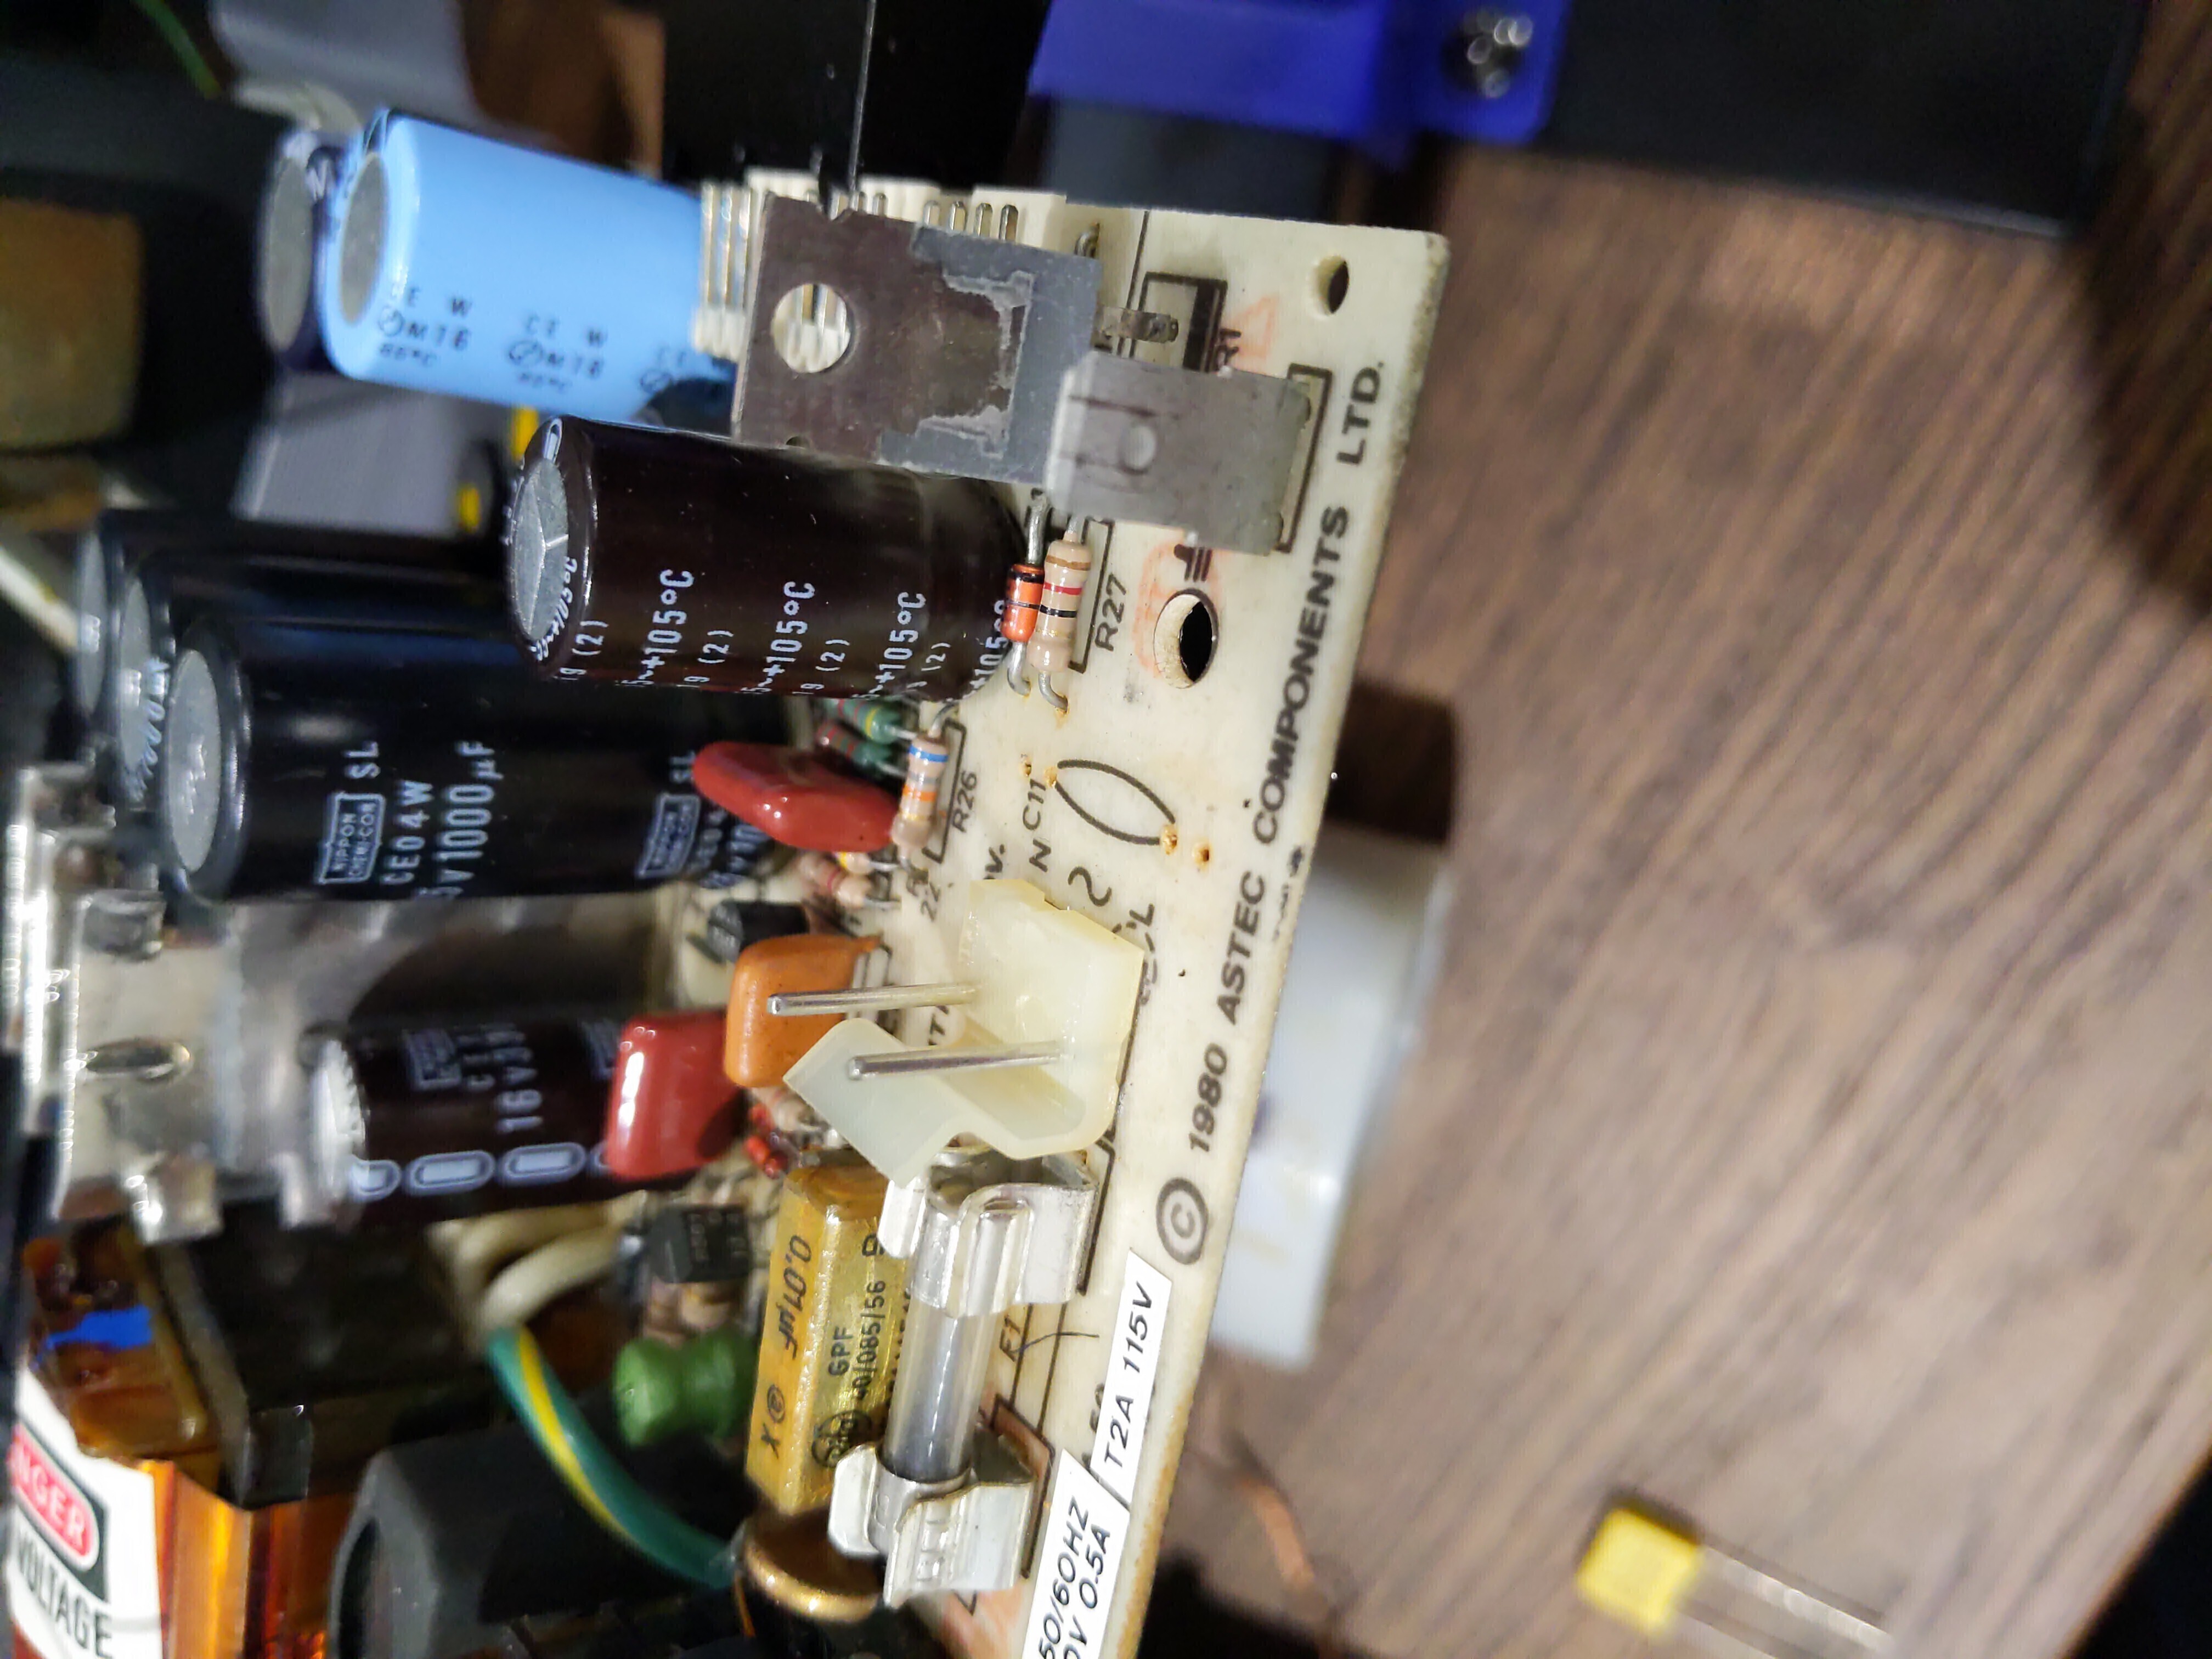
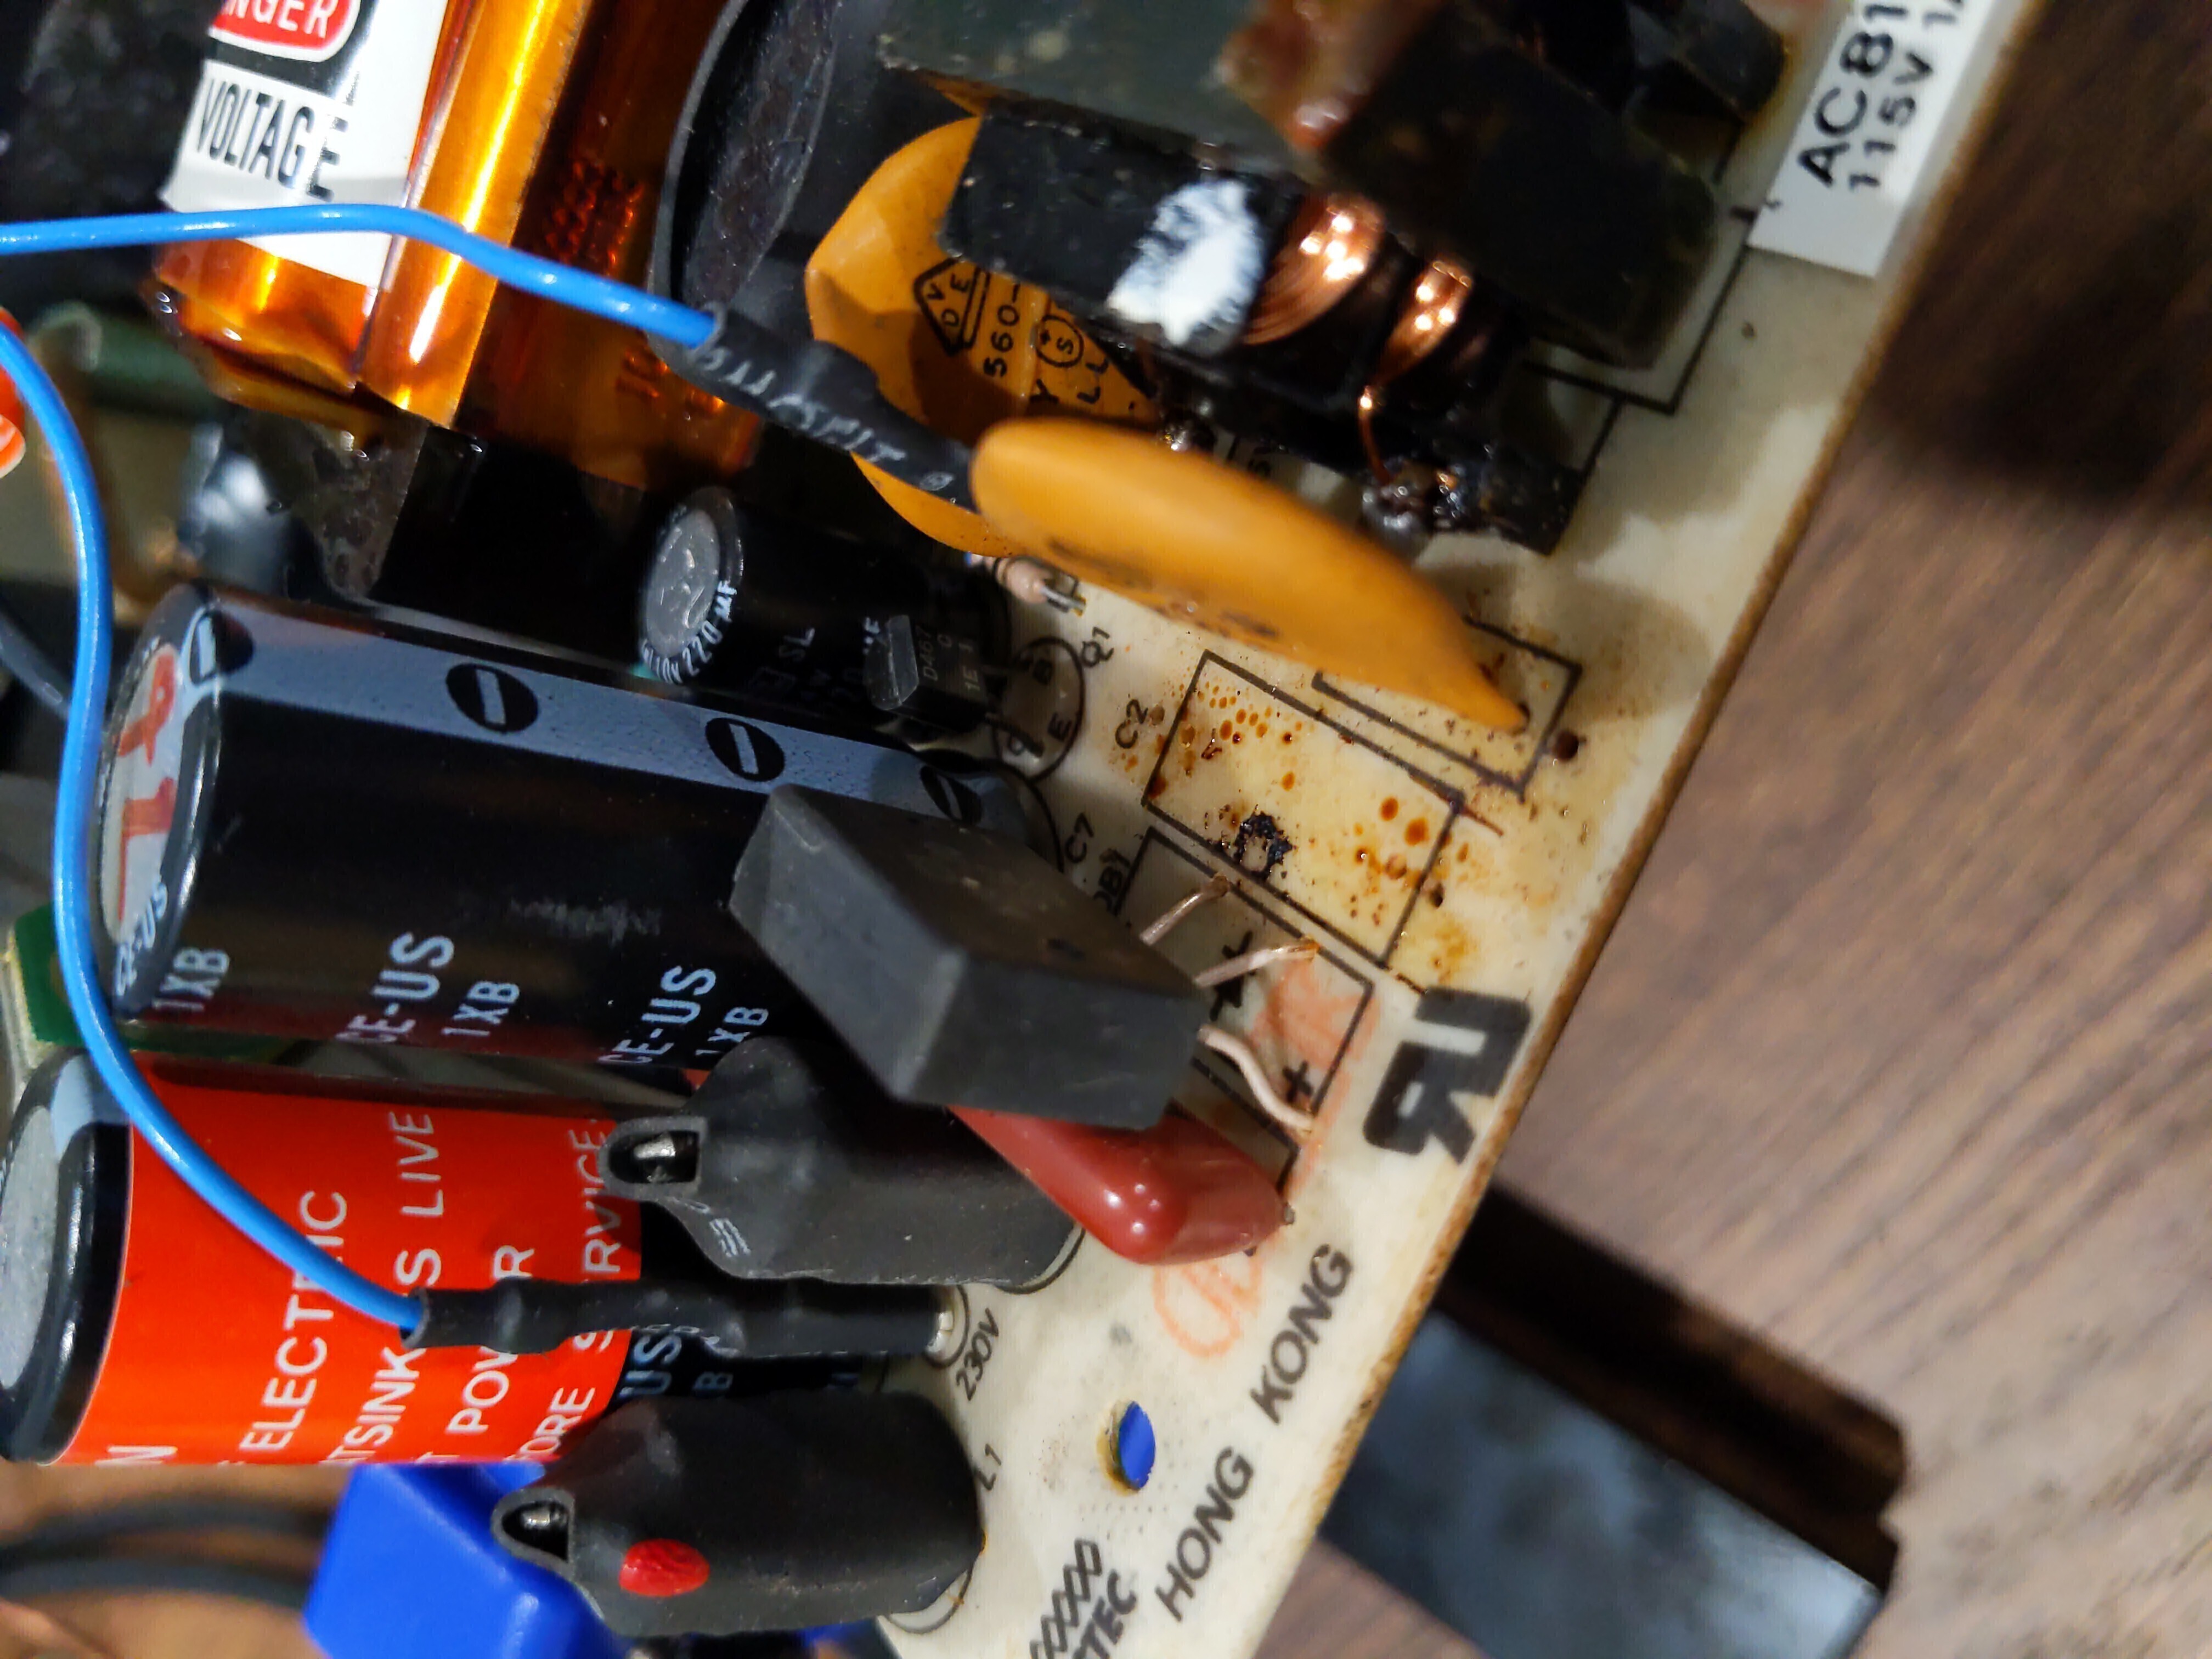
This one hasn't leaked any residue on the board, which is good, but even better is that the board contains two sets of holes for this capacitor:
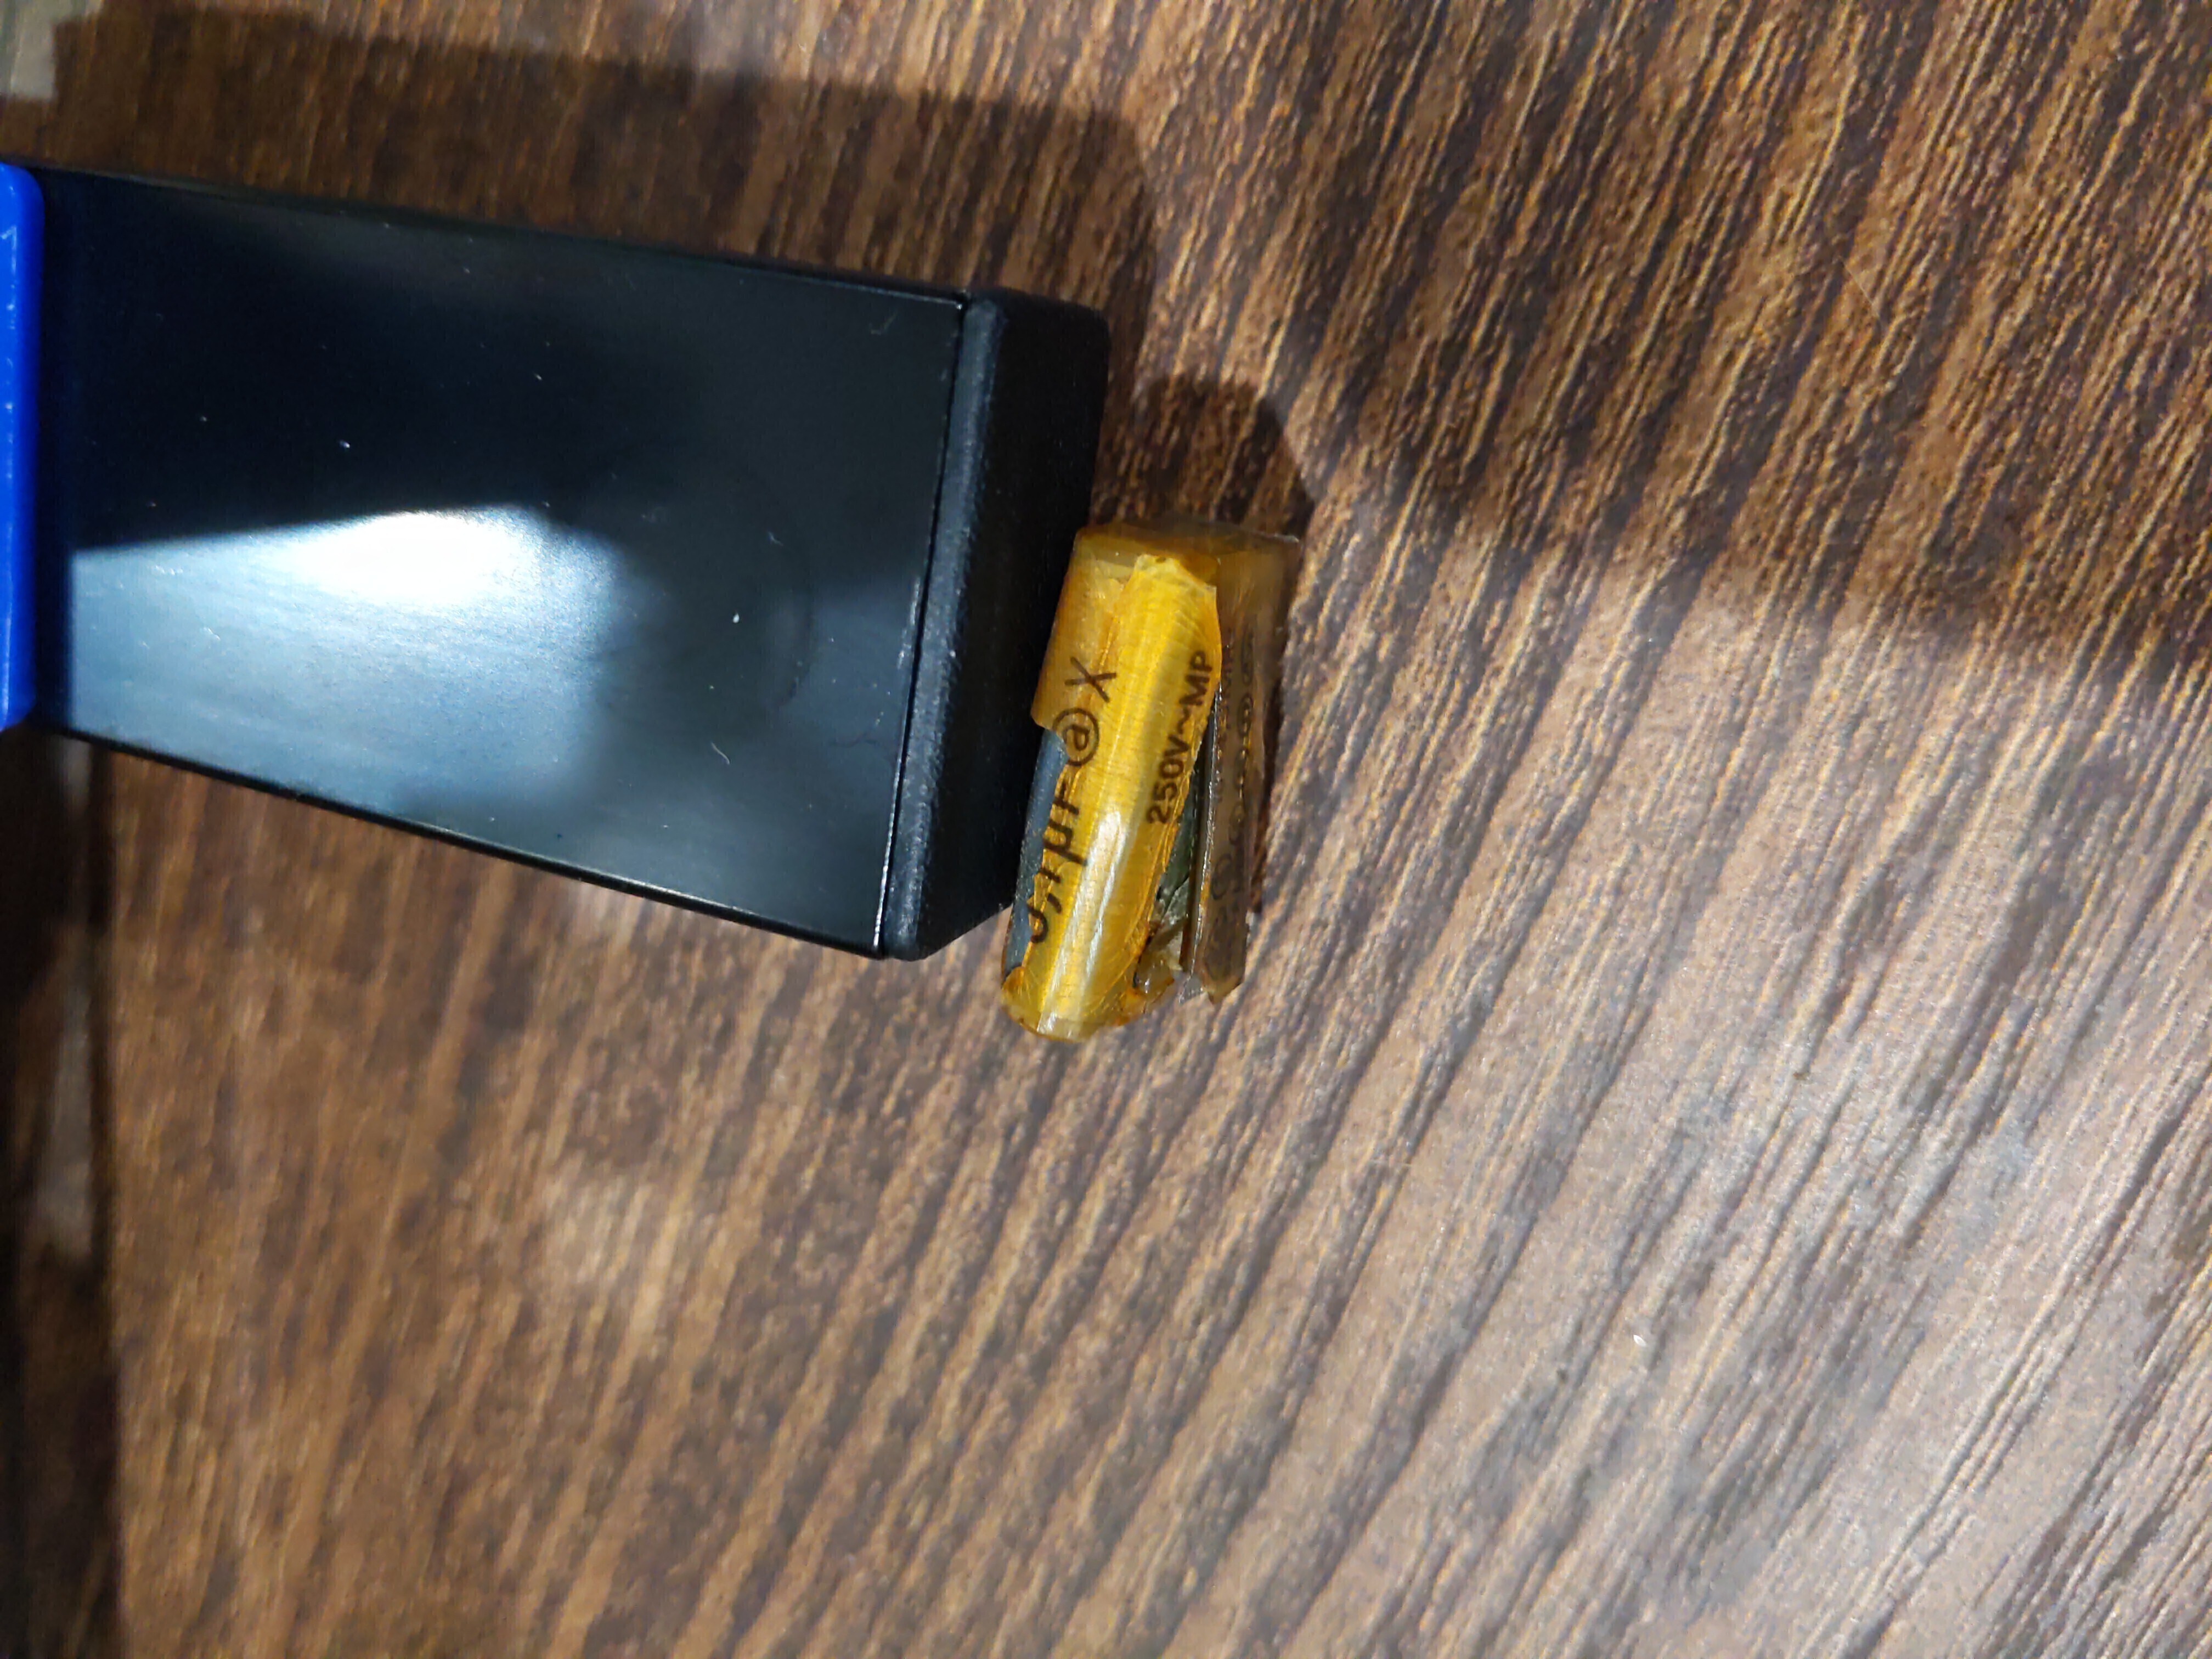
I progressed onwards and removed the next capacitor, which was definitely gone:

The last capacitor, the one on the left, was by far the worst:

With all three gone, I installed the new capacitors.

All that was left, was to test the system, making sure I reconnected the video shunt.
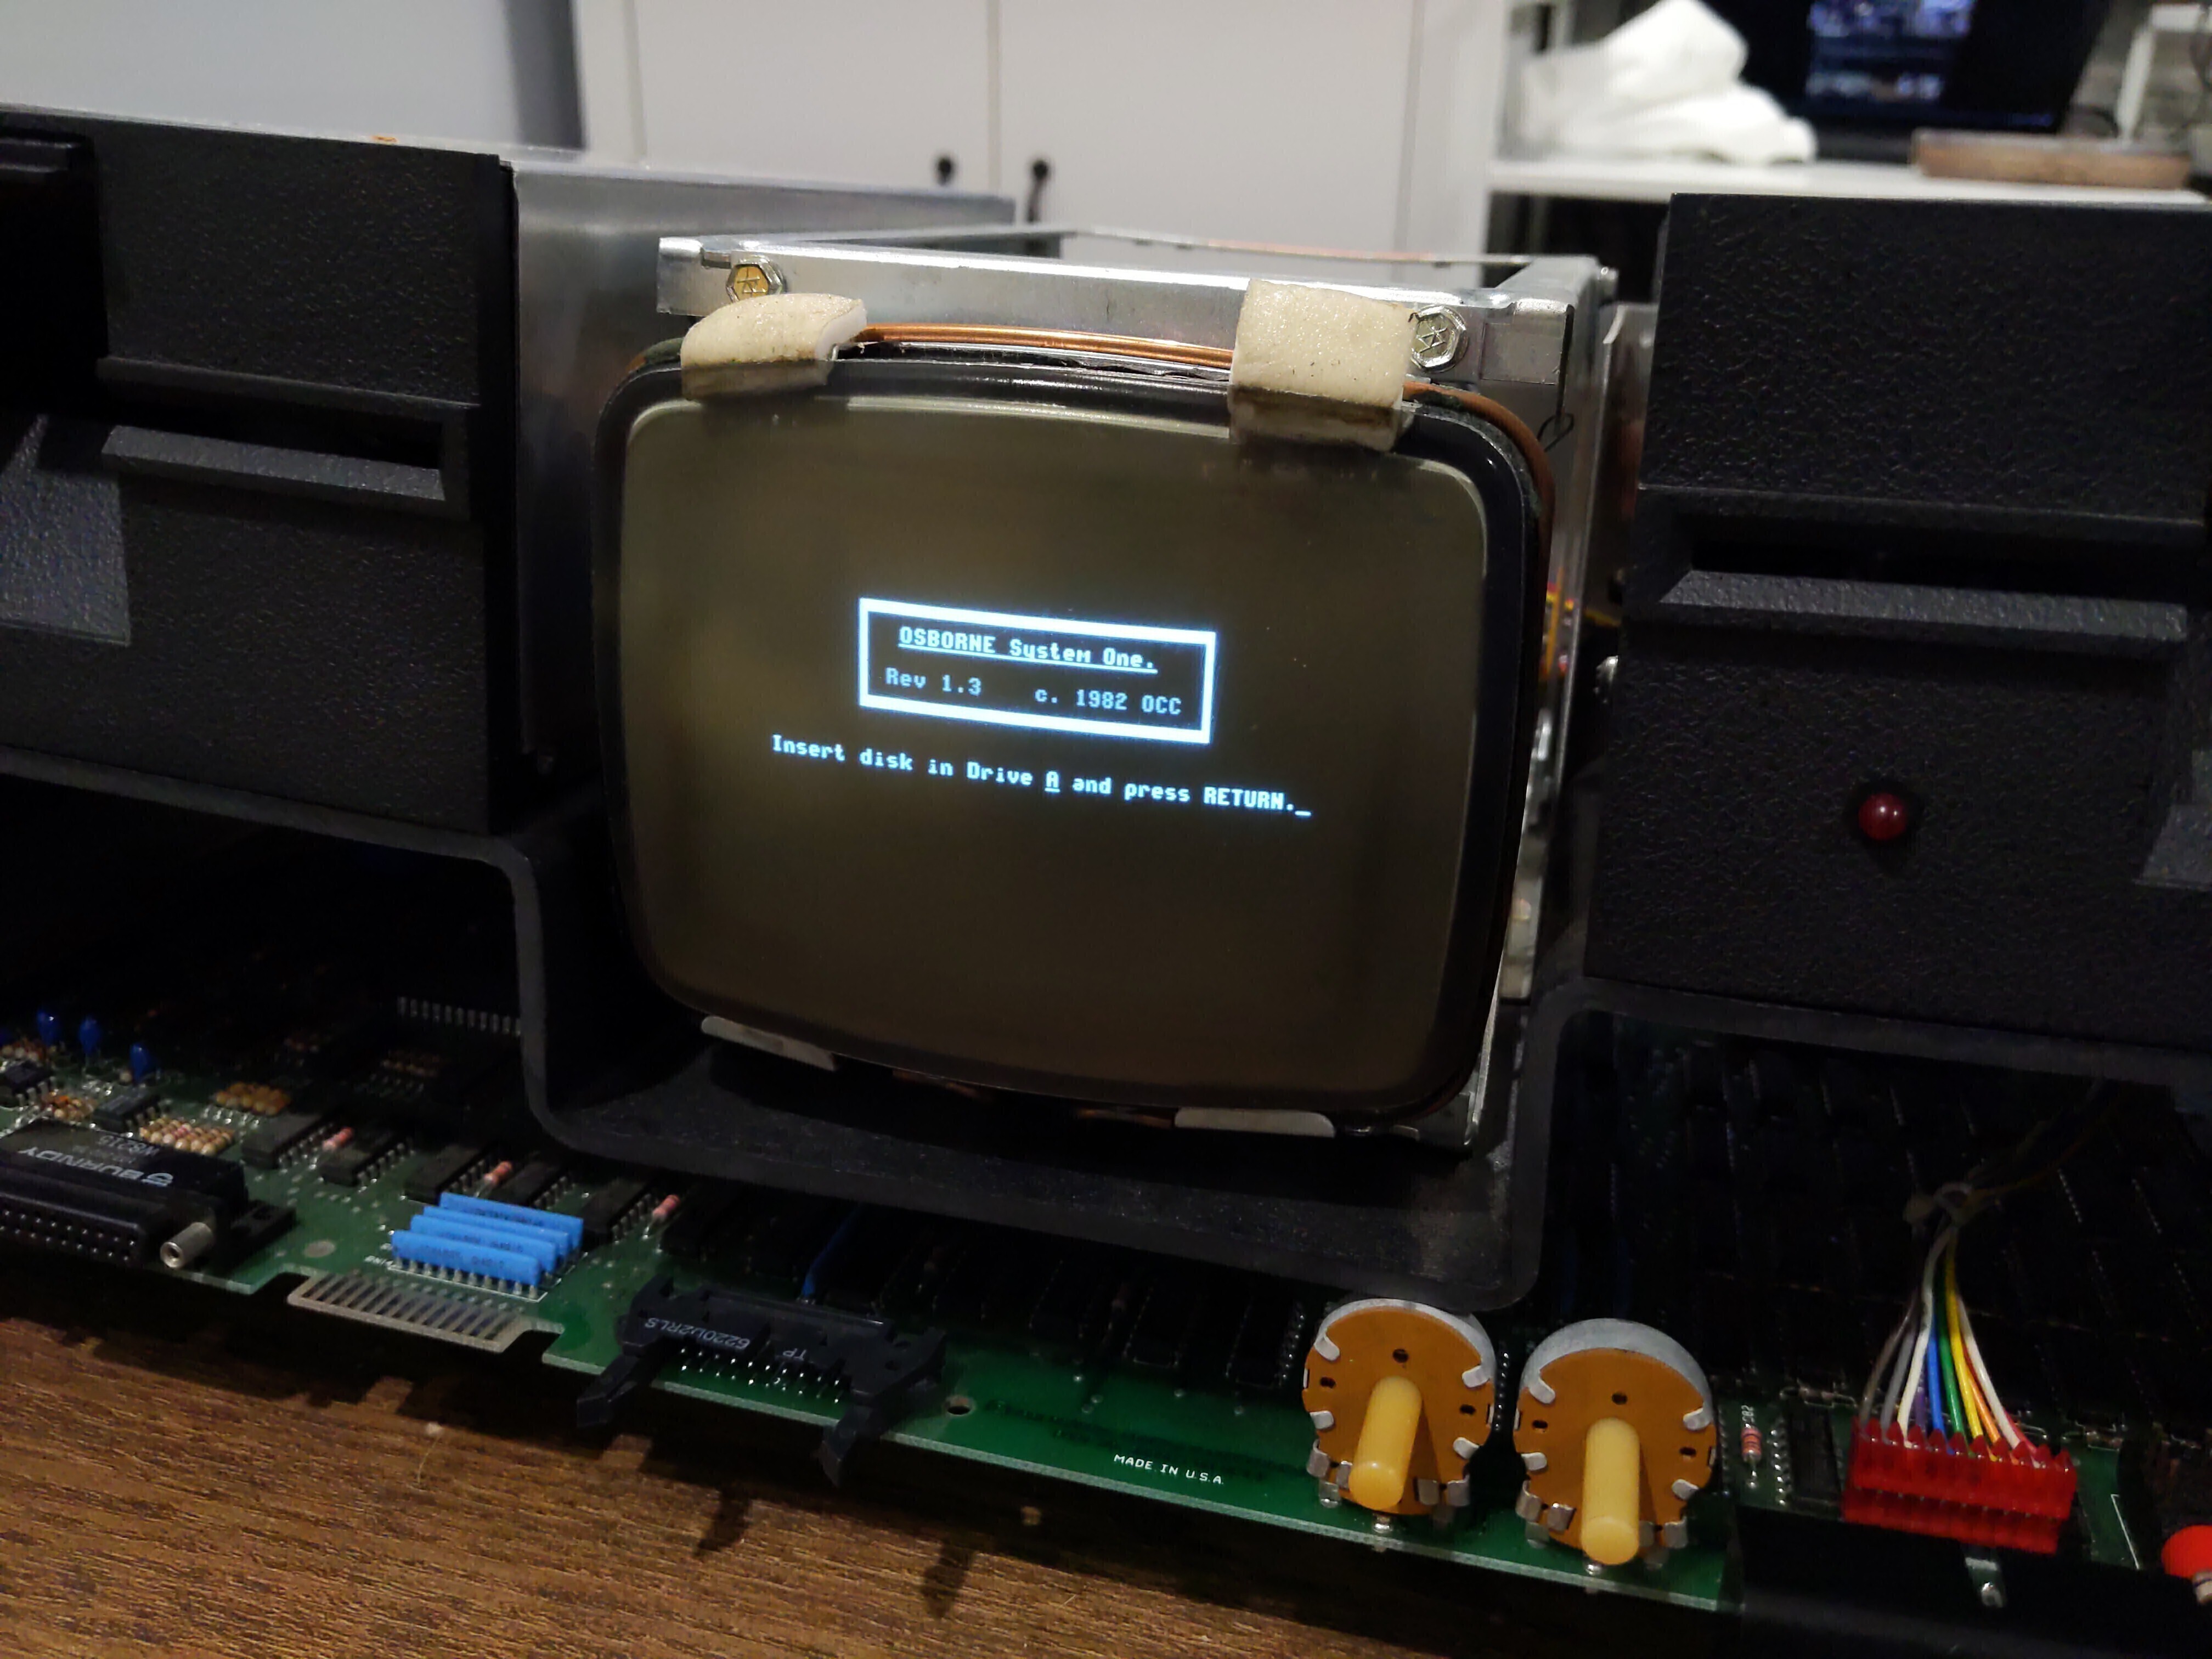
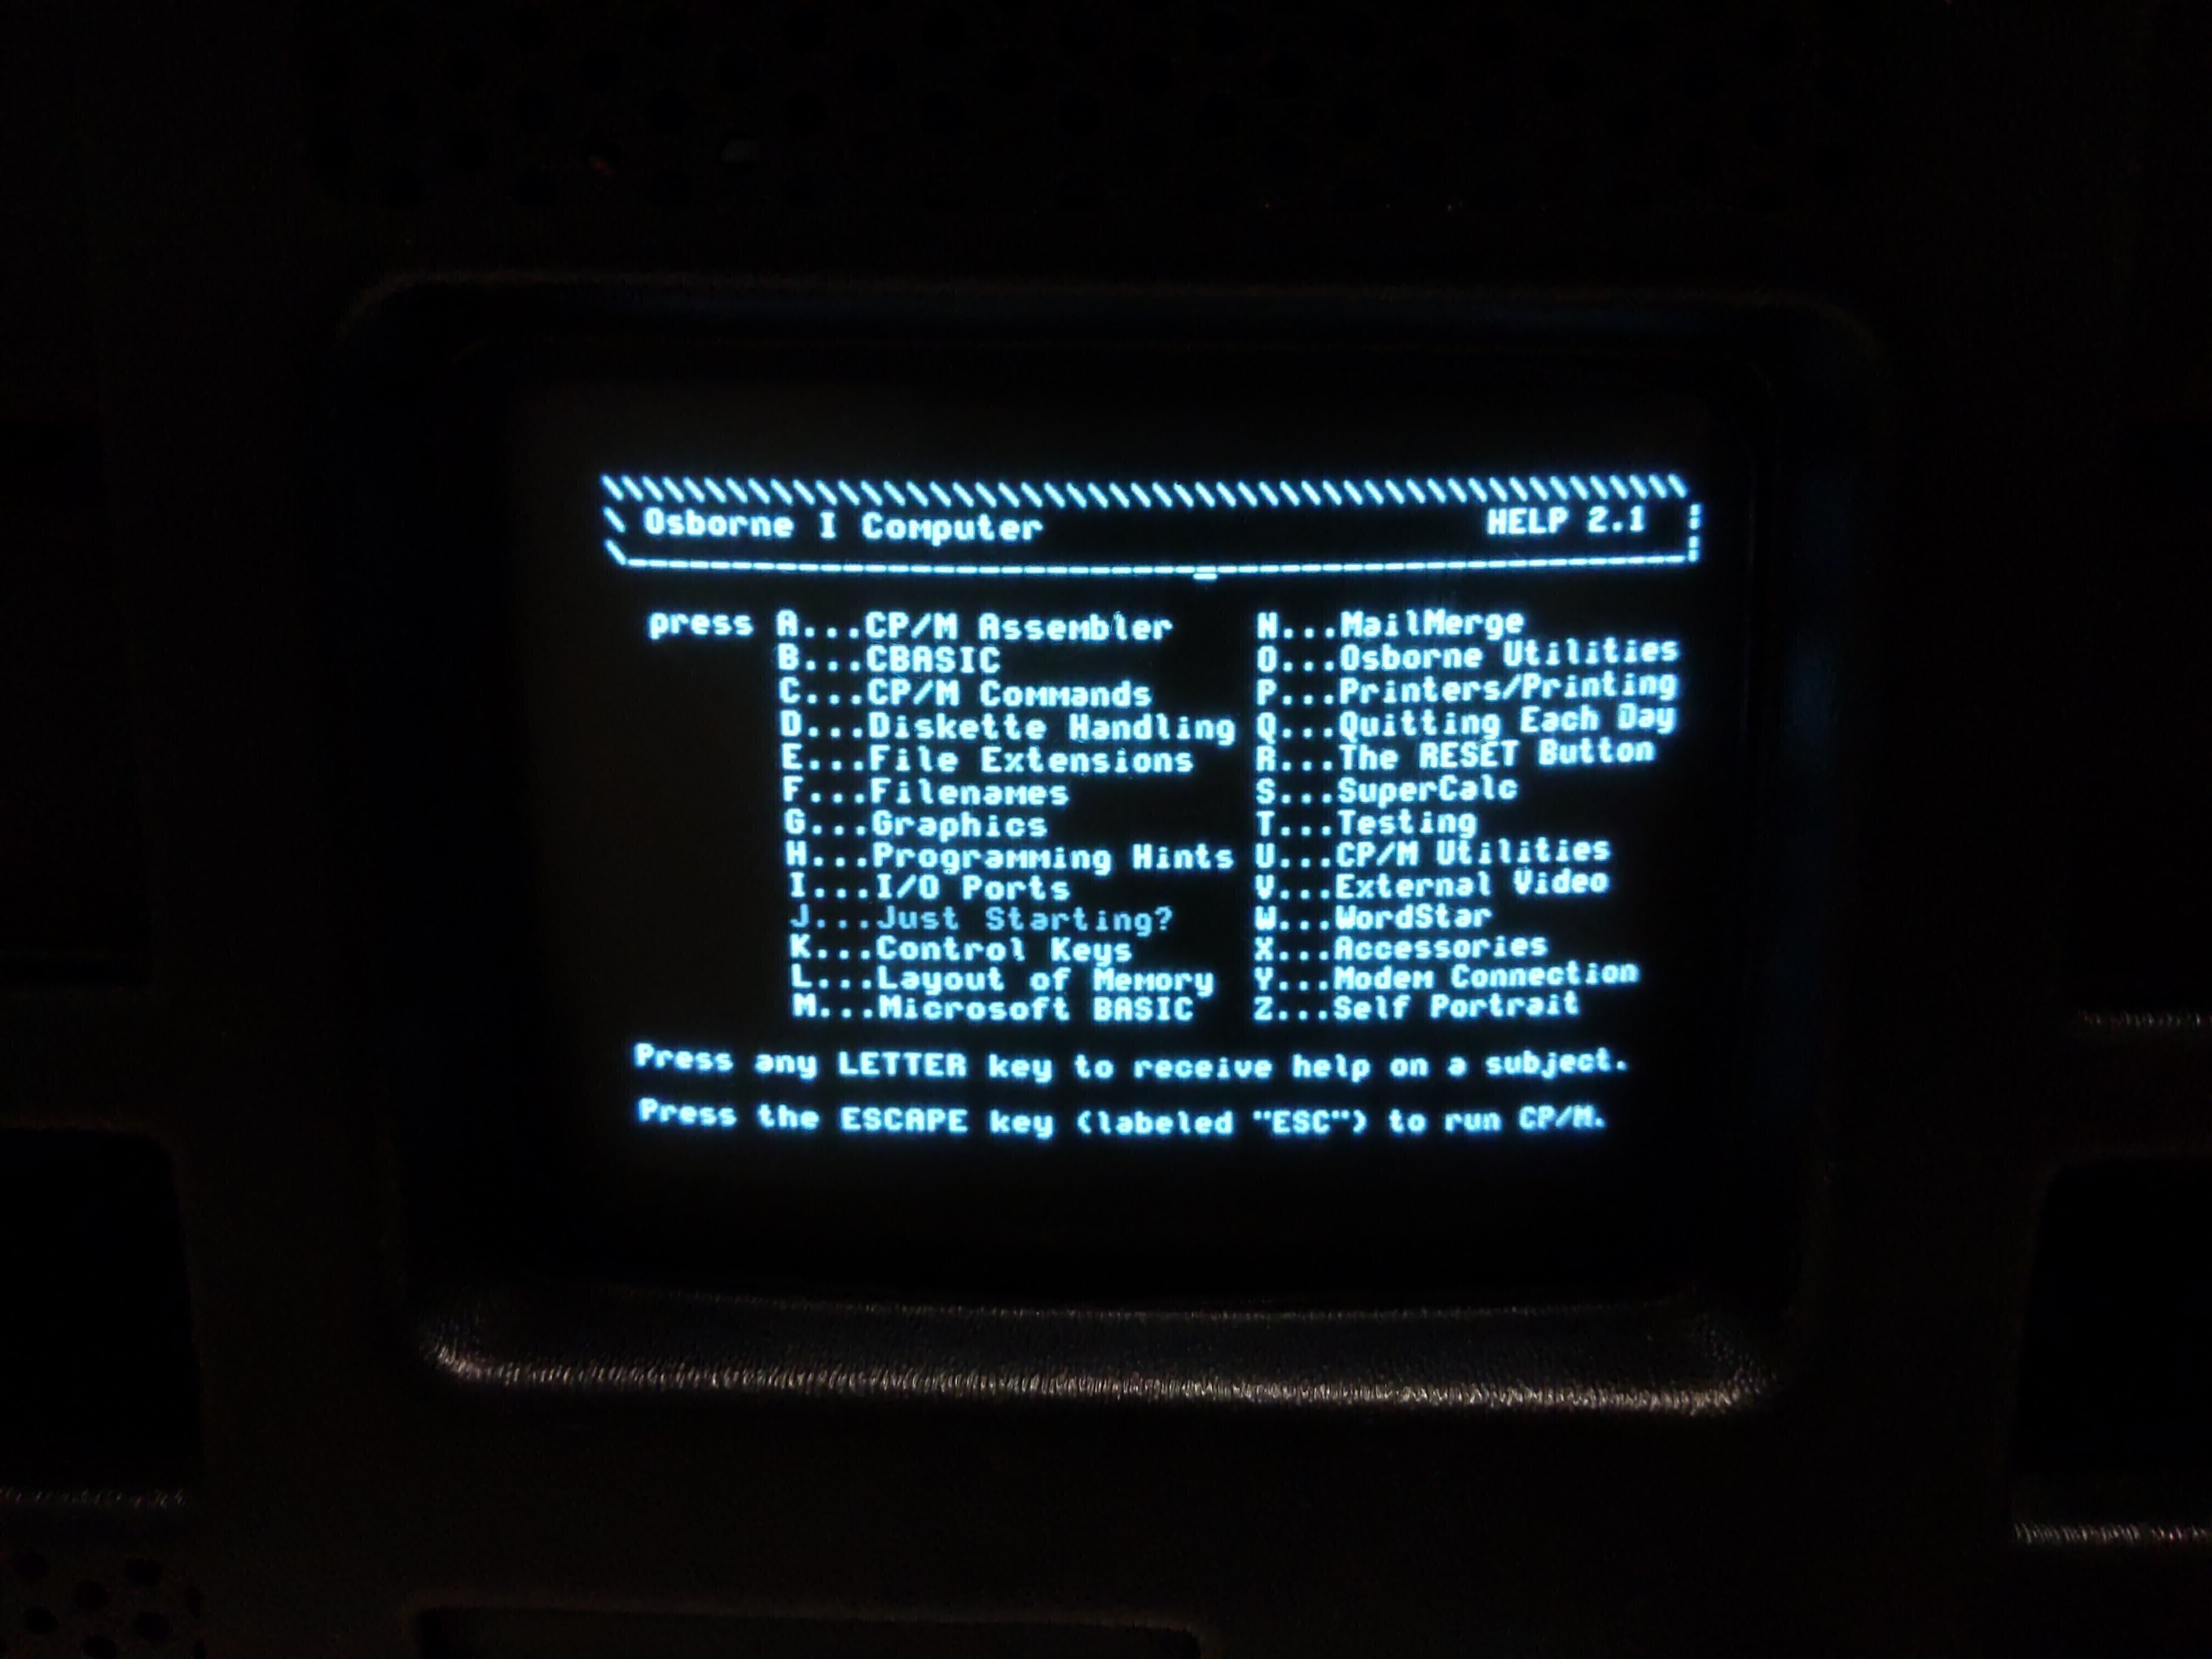
Once I was able to make some floppies, I was able to test and confirm that the system boots! [3]
Unfortunately, the keyboard has some keys stuck. A few posters on VCF Forums [4] appear have had some success with removing the switch "posts" and gently separating the domes, and others have had just applying a gentle amount of heat to the right spot work. I've got that on my list of things to do and I'll write up a detailed guide once I've confirmed it.
Links
- https://forum.vcfed.org/index.php?threads/astec-ac8151-psu-giving-low-output-osborne-trs80-etc.55385/
- https://elektrotanya.com/astec_ac8151_sm.pdf/download.html
- https://blog.nroach44.id.au/hx-20-tf-20-startup-disk.html - Applies to making disks for the Expson HX-20 TF-20 Floppy Drive expansion, but also works for the OCC1, simply by setting single sided and using the appropriate files.
- https://forum.vcfed.org/index.php?threads/osborne-1-debug.1239554/page-2